|
Step 4.
Now we will give the brush a swirl.
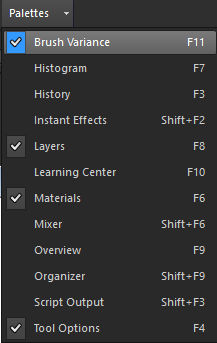
If the Brush Variance Palette isn't already open, click the F11 key on the keyboard,
or click 'Palettes' on the toolbar and choose it from the dropdown list of palettes. 
This is a screenshot of the the brush variance palette.
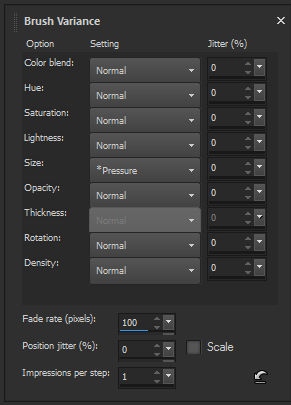
There are a lot of possibilities for experimenting in the Brush Variance Palette
and I'm not going to cover them all here but we will try out a few ideas that we
could use to make our swirly brush. I am going to look at the 'Rotation and 'Size'
sections and the Fade rate. Let's look at Rotation first.
Click on the dropdown window next to 'Rotation'. I'm using a regular mouse,
not a tablet, so I am going to ignore the options marked with *
The 'Normal' option doesn't rotate the brush at all. If you paint across the image
and then downwards. Whichever direction you paint in the brush stays the same way up
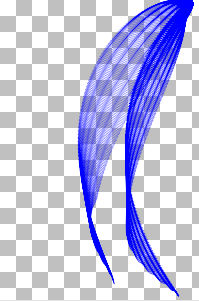
(as in my screenshots in Step 3.
Try changing the Rotation to 'Direction' and then painting across and downwards again
and you will see that the brush now turns to face in the direction that you are painting.
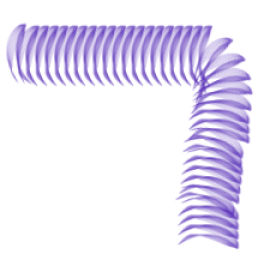
Interesting, but not the swirly effect we are looking for, so let's try
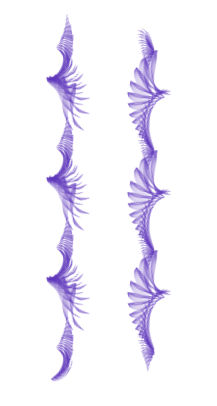
changing the Rotation to 'Repeating Fade in'. Drag the brush across your image.
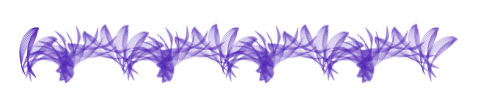
That's more like it :) The brush tip is rotated in a repeating pattern.
Drag the brush in the opposite direction and see what happens.
It looks like the same pattern, but upside down.
You can also get some interesting variations by changing the Fade rate
in the section near the bottom of the Brush Variance Palette.
The Default value is 100. To slow down the rate, increase the number and to speed
it up, decrease the number. Try raising, or lowering the number and see what happens.
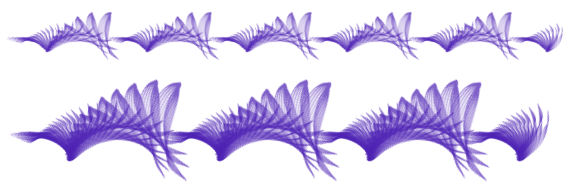
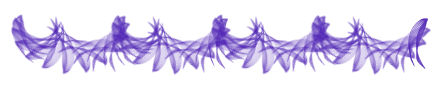
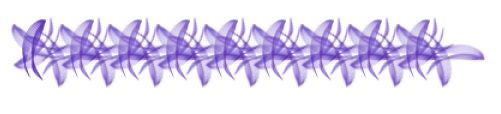
In this example I changed the Fade rate to 300

and in the following example I lowered it to 10, so as you can see,
changing the Fade rate can make dramatic changes to the brushstrokes.
Click the 'Reset Brush Variance Palette' button at the bottom right corner of
the palette to go back to the default settings. Change the Rotation setting to
'Oscillating Fade' and drag the brush across your image.
This also rotates the brush in a repeating pattern, but alternates the direction
of the rotation. Because the rotation goes in both directions the pattern will be
the same whether you paint from right to left, or from left to right, the same
with top to bottom and bottom to top.

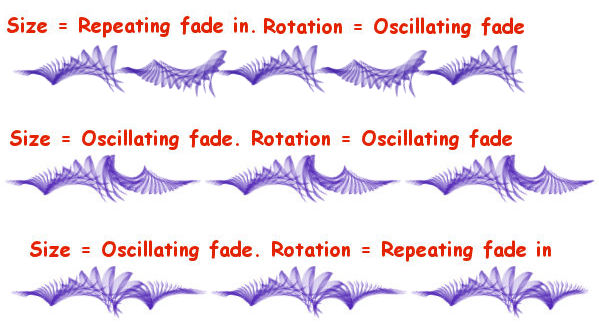
Both the 'Repeating Fade In' and the 'Oscillating Fade' options would work well on
our brush, but let's experiment a bit more before deciding what to use For now click
the 'Reset Brush Variance Palette' button again and we will look at the'Size' settings.
|