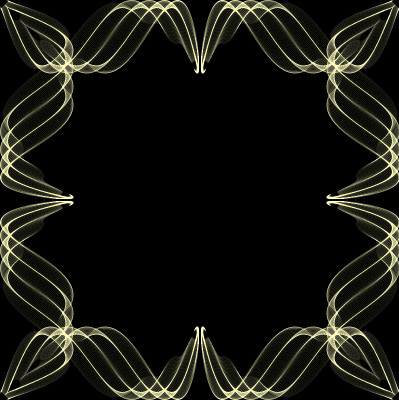
title image

Sinedots Mask Frame
Tutorial
image
This tutorial was created 14th January 2002©Copyright Artwork by EssexGirl
Re written for PSP2018 March 2018
please do not copy it, or put it anywhere else without my written permission.

Filters and programs used in this tutorial :-
Paint Shop Pro
Dragonfly's Sinedots II
VM Toolbox

Materials :-
My sg_spiral1.cfg Here
(Unzip .cgf file into the folder you have made for Sinedots II)

some images have been made smaller to shorten file size


step 1.
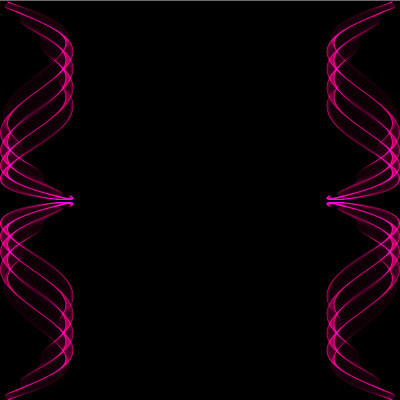
open a new image 150 x 400 transparent,
flood fill with black. (this is just to make
the image easier to see)
Add a new layer.

Go to Effects...Plugins...Sinedots...
and open the sg_spiral1.cfg choose the spiral1 preset.
if you are new to sinedots and don't know how to open
the .cfg file click HERE for more information

Some presets use different 'blend' settings and it is
important for this tutorial to make sure that the blend
in the sinedots setting is set to 'screen' like this:-

image

image

Go to Edit...Copy...this image can now be closed


Step 2.
open a new image 800 x 800 transparent and flood fill with black
Add a new layer, then go to Edit...Paste as a New Selection...
in the top left corner

image

De-select


Step 3.
Go to Layers...Duplicate...then Image...Mirror... Mirror Vertical... (Flip in older versions)

image

Go to Layers...Merge...Merge Down...


Step 4.
Go to Layers...Duplicate...then
Image... Mirror... Mirror Horizontal (Mirror in older versions)
Layers...Merge...Merge Down

image


Step 5.
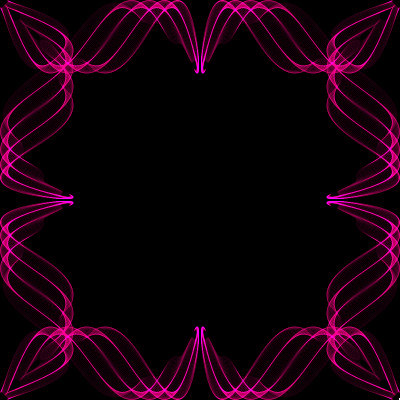
Layers...Duplicate...then Image...Free Rotate...
and rotate by 90° (either direction)

image

Layers...Merge...Merge Down

Hide the black background layer, by clicking the eye for that layer in the layers palette, so that only the layer with the sinedots image is visible.

If you want to save this sinedots frame as a mask to use again,
carry on with the next step. If you don't want to keep the mask
and are only using it for this tutorial it can be applied from
the current image, so go to step 7


Step 6.
Go to Layers...New Mask Layer...From Image...
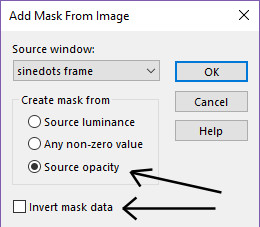
For this tutorial we will use source opacity instead of source luminance
Click on the drop down list for the Source window and choose your sinedots
image (mine was called sinedots frame as I'd saved it under that name earlier)
Create Mask from source opacity
Invert mask data box = unticked

image

Go to Layers...Load/Save Mask...Save Mask to disk...
give it a name and save.
Close the image.


Step 7.
Open a new image 800 x 800 transparent.
Flood fill with a dark colour, I used black, then add another layer
and flood fill this with a pale colour I used #FFFFC0 (pale yellow).
The bottom colour (black) will show through the sinedots image
when the mask is applied.

If you saved your mask to disk go to step 9, if not follow step 8


Step 8.
Go to Layers...New Mask Layer...From Image...
Click on the drop down list for the Source window and choose your sinedots image
(mine was called sinedots frame as I'd saved it under that name earlier)
Create mask from source opacity

image

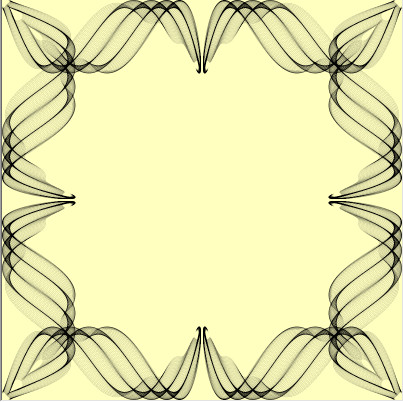
if you tick the invert mask data box, you
will have a black sinedots image and a yellow background.

image

if you untick the 'invert mask data' box the
colours will be reversed like this screenshot

image

Go to Layers...Merge...Merge Group
Go to step 10


Step 9.
If you saved you mask to disk
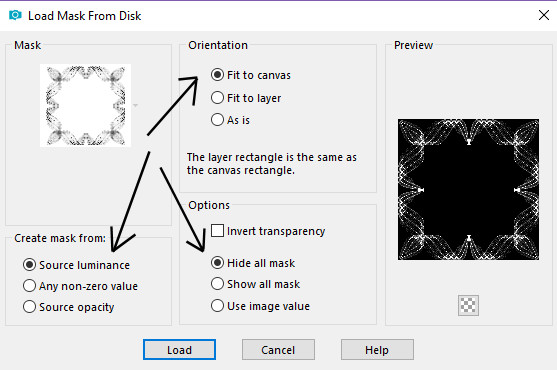
Go to Layers...Load/Save Mask... Load mask from disk...
and choose the mask that you saved in step 6
Create mask from = Source luminance
Orientation = Fit to canvas
Options = Hide all mask

image

If you have the invert mask data box unticked, you will have
a black sinedots image and a yellow background.

image

if youtick the 'invert mask data' box the
colours will be reversed like this screenshot

image

Go to Layers...Merge...Merge Group


Step 10.
Add a new layer and using the Selection Tool
Selection type = circle
mode = Replace
Feather = 0
Anti-alias = ticked
Make a circle dragging from the centre of the image to the inner
points on the sinedots image (co-ordinates 400,400 to 150,150).
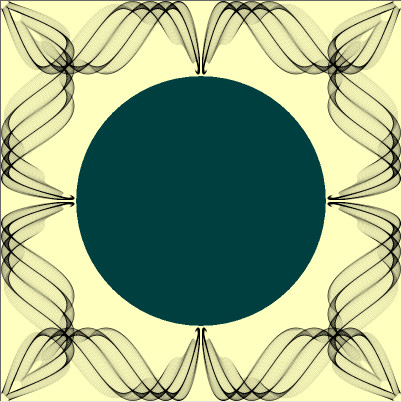
Flood fill the selection with a colour of your choice.
I used #004040 (dark blueish green).

image

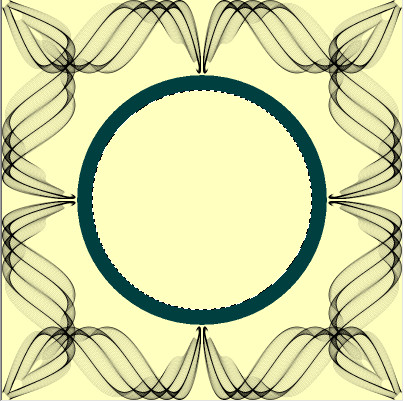
Go to Selections... Modify... Contract... contract by 30 pixels
Press the delete key on your keyboard. Don't De-select yet

image


Step 11.
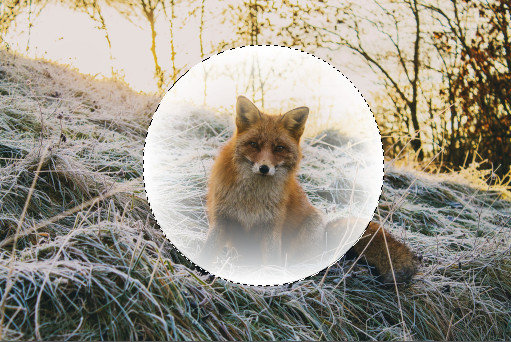
Open the picture you are going to put in your
frame, duplicate it and close the original.
I have used a beautiful fox Photo by Linnea Sandbakk on Unsplash

Use the Selection Tool with the same settings as in the
last step, make a circular selection containing the part of
your picture that you want to put in your frame, then
Go to Effects...Plugins...VM Toolbox...Softborder
Using the default settings

image

While still selected go to Edit...Copy...
The picture is no longer needed, so you can close it.
Go back to the sinedots frame, make sure you are on the top layer.
Add a New Layer and Paste into Selection.

image

Layers... Arrange...Move Down...
Select None.


Step 12.
Make the Layer with your green circle active

Activate the Magic Wand and use these settings
Mode = Replace
Match mode = RGB Value
Tolerance = 0
Use all layers = unticked
Contiguous = ticked
Feather = 0
Anti-alias = ticked

click on the green ring around your picture to select it.

Go to Effects...3D Effects...Inner Bevel...
Using these settings
Bevel = 2
Width =10
Smoothness =15
Depth = 11
Ambience = 0
Shininess = 38
Colour = white
Angle = 315
Intensity = 50
Elevation = 30

Effects...3D Effects...Drop Shadow...
and apply a small drop shadow with these settings.
Vertical and Horizontal = 5
Opacity = 75
Blur = 10
Colour = black

Repeat the drop shadow with the horizontal and vertical at -5 (minus 5) Select None

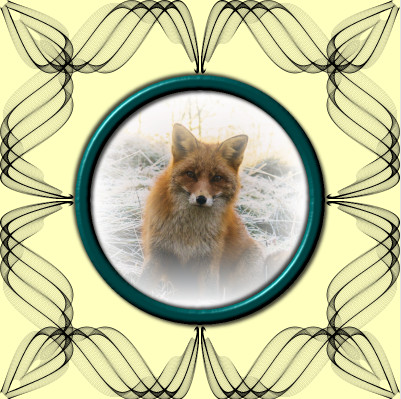
image


Step 15.
To finish off
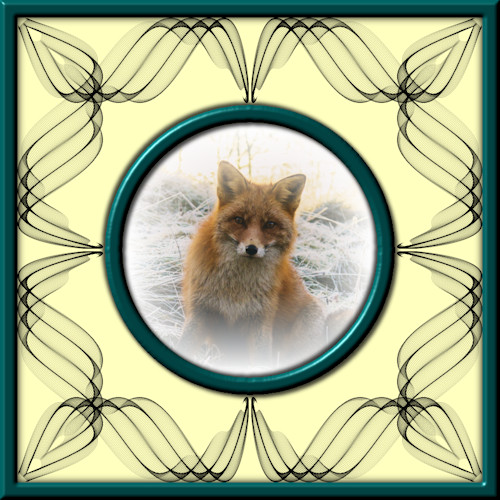
Image...Add Borders...add a symetrical border of 30
In the same colour you used for the circle round your picture
Click on border with the Magic Wand tool to select it.
Apply an Inner Bevel with the same settings used previously.

Go to Selections...Invert...
Effects... 3D Effects... Cutout... use these settings
Horizontal and Vertical = 0
Opacity = 100
Blur = 12
Fill with interior colour = unticked
Select None

You can get lots of different results by
varying the flood fills you use in step 7.

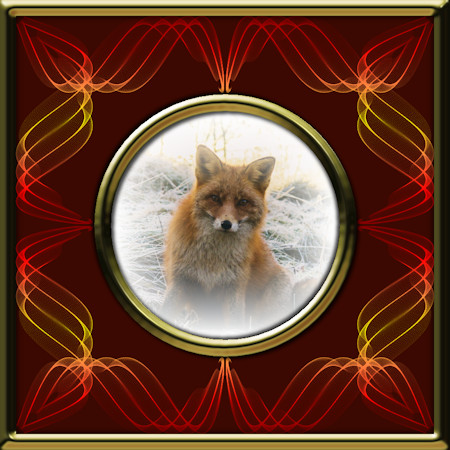
In this last picture I flood filled the first layer with a gradient
and the second layer with dark reddish brown. As a further variation I used
SuperBladePro instead of the inner bevels on the inner circle and outer frame.
You can also use different sinedots presets and I have included two
extra ones in the sg_spiral1.cfg for you to play with.

image


I hope you enjoyed this tutorial.
Thankyou to my great testers
To see my other tutorials click Here

If you wish to contact me you can find an email address to use included on my Site Map
Home