|
Step 7.
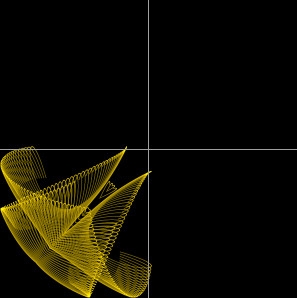
If you find the second sinedots layer distracting, you can hide it for now if you
want to, by clicking the eye on the layers palette. It's not too bad to see what
part of the image you are colouring while there are only two sinedots layers, so I
left it visible for this image but if you go on do fancier versions with several
layers it can be tricky to see which parts you are colouring
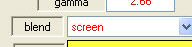
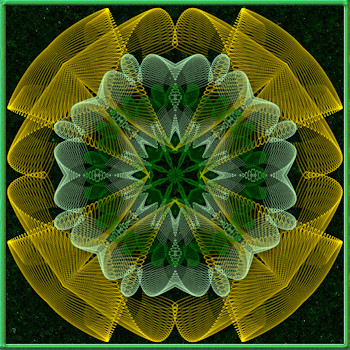
On the materials palette choose the colour, or gradient, that you want to use.
I used a gradient with these settings to colour this layer
Gradient type=Rainbow pastel (Corel_06_039), Style=Radial,
Angle=0, Repeats=0, invert=unticked
Centre point:- Horizontal=50, Vertical=50,
Texture=unticked
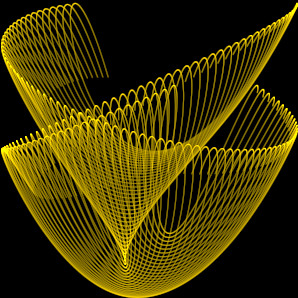
I used the Flood Fill Tool to fill my sinedots image with the colours,
alternatively you could use the Paint Brush if you prefer.
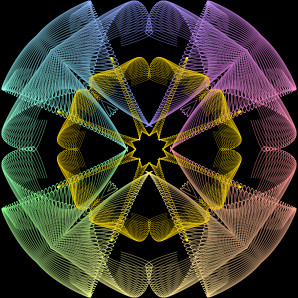
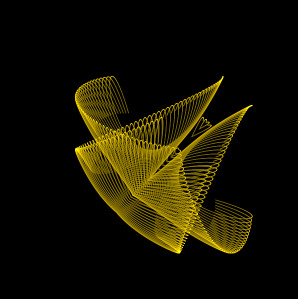
Repeat this step on the other sinedots layer (or layers).
You can use the same gradient, or colour, or change to a different one.
I used the same gradient, but changed the repeats to 5
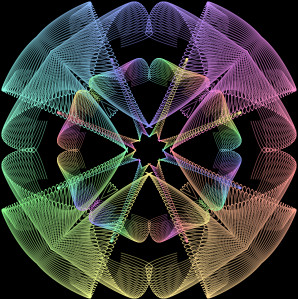
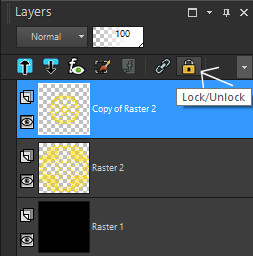
Click the 'lock transparency' padlocks again to
unlock
the transparent areas.
|