title image

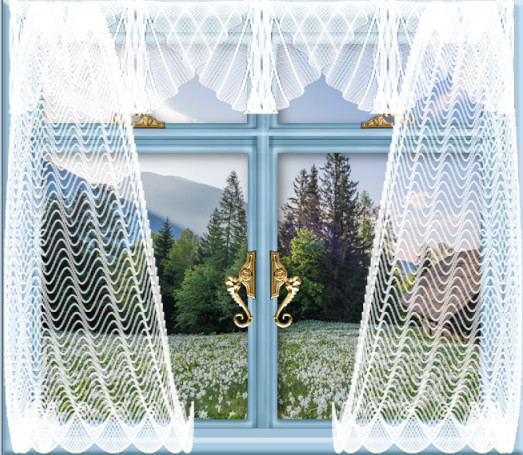
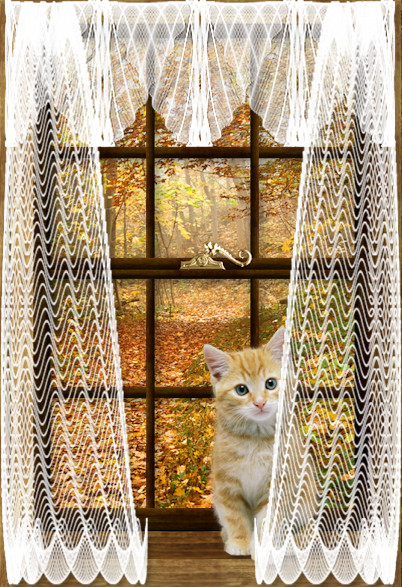
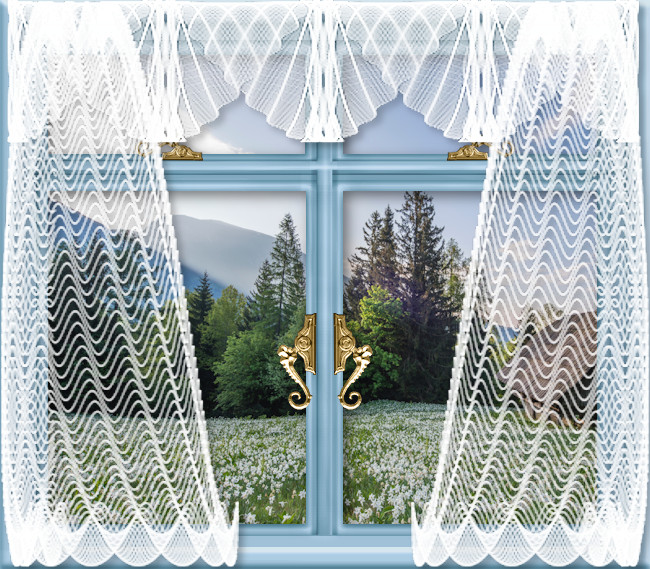
Lace Curtained Window

image
This tutorial was originally created 18th Sept. 2002 using PSP 7 ©Copyright Artwork by EssexGirl
I have Updated it for PSP X9 3rd August 2017
please do not copy it, or put it anywhere else without my written permission.

Filters and programs used in this tutorial :-
Paint Shop Pro
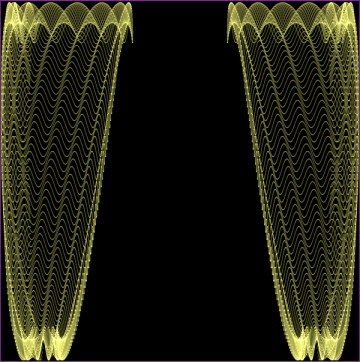
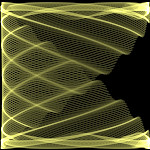
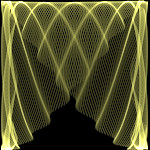
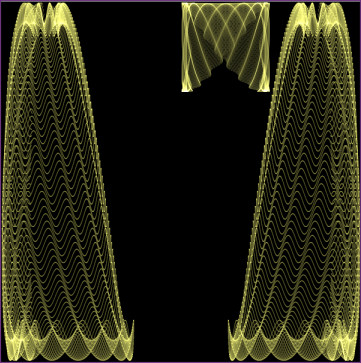
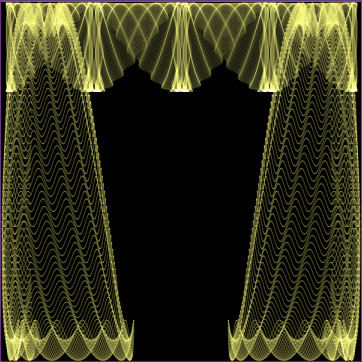
Dragonfly's Sinedots II

Materials :-
My material zip file Here
This includes the sinedots sg_curtains.cfg and the optional Metallic gradient
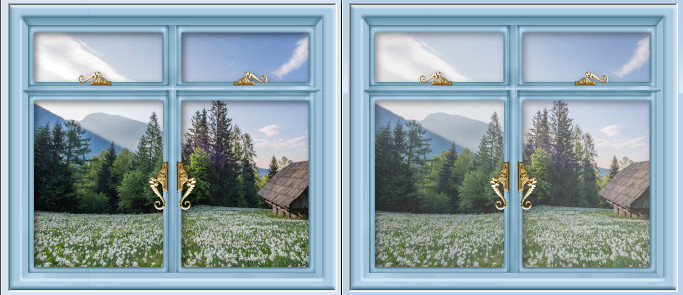
You will need a window frame tube, you can use your own window, or one of mine.
You will find mine Here there are various shapes and sizes. The page will open in a new window.
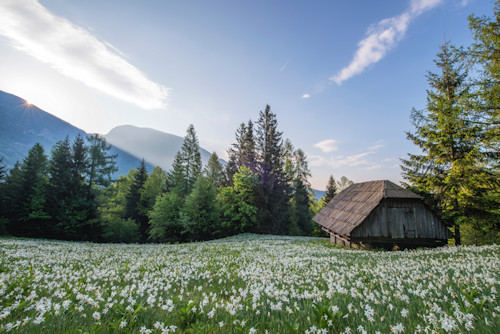
You will also need a picture for the view from your window. The photos I used in this tutorial are
from Unsplash it's a wonderful resource for free photos.

some images have been made smaller to shorten file size


Step 1.
Open a new Image 225 x 600 transparent. Flood fill with black and add a new layer
Go to Effects...Plugins...Sinedots... Open the sg_curtains.cfg and choose
the frilly curtain preset. If you are new to sinedots and don't know how to open
the .cfg file click HERE for more information

If you have any problems downloading the sinedots preset
you can view the settings in a new window, by clicking Here

Some presets use different 'blend' settings and it is important for this tutorial
to make sure that the blend in the sinedots setting is set to 'screen' like this:-

image


Step 2.
Go to Image...Canvas size... Change the canvas size to 400 x 400
In the placement area choose the centre right box

image

Make the background layer active and flood fill with
black, then activate the sinedots layer again

image


Step 3.
Go to Layers...Duplicate... then Image... Mirror... Mirror Horizontal... (mirror in earlier versions)

image

Go to Layers...Merge...Merge Down... Go to Image...Mirror... Mirror Vertical...(flip in earlier versions)

Next we are going to make a pelmet, so save this image naming it curtains.
You can either close the image or minimise it for now.


Step 4.
Open a new Image 150 x 150 transparent. Flood fill with black and add a new layer
Go to Effects... Plugins...Sinedots... This time choose the 'cafe net' preset
you can view the settings in a new window, by clicking Here

As before make sure that the blend on the sinedots setting is 'screen' before you click ok.
Because this image is small it's a little fuzzy so go to Adjust...Sharpness...and Sharpen...

image

Go to Image...Rotate Right... 90°

image


Step 5.
Go to Edit...Copy...(ctrl+C) This image is no longer needed.
Open the curtains image that you made earlier.
Add a new layer then go to Edit...Paste...and Paste as New Layer...
Go to Effect... Image Effects... Offset... Use these settings
Horizontal Offset=75, Vertical Offset=225 Edge mode= Transparent

image


Step 6.
Select None.
Duplicate this layer 3 times and use the Mover Tool to reposition the
duplicates so that they are side by side across the top

image

Turn off the visibility of the background layer, by clicking the 'Eye' on the layer.
Go to Layers...Merge... Merge Visible... Then turn the visibility of the background back on.
You can thicken the Sinedots curtain by Duplicating the merged layer and
Going to Layers...Merge... Merge Down...


Step 7.
Now we are ready to make the mask. Go to Layers... Merge... Merge all...
Go to Layers...New Mask Layer...From Image... Choose your curtain image
as the source window and create mask from 'source luminance'
leave invert mask data unticked

Now go to Layers...Load/Save Mask...Save mask to Disk... and give the mask a name.
I called mine 'sinedots curtains' not very original, but it is descriptive ;-)

Now that you have your sinedots curtains mask saved you can close the image.


Step 8.
Open the image that you want to use as the view from your window
I have used this Photo by Ales Krivec on Unsplash
There is a link to the site's home page in my materials section of this tutorial.

The screenshot here has been resized

image

Open a window frame tube, you can use a frame of your own, or one of my frames
There is a link to my frame tubes page in the materials section of this tutorial

You will have to resize your picture to fit into your window, I won't give any measurements here,
because the frames are different shapes and sizes and you picture will be a different size to mine.
It's unlikely that it will be the same proportions as the frame, so won't fit exactly, but if you
resize it until it's slightly larger than the frame you can use the mover tool to place it where the
best part of the scene shows through the window. When your picture is about the right size
Go to Edit...Copy... Then on your window frame go to Edit...Paste...Paste as a New Layer...
Drag the picture below the frame on the layers palette (or layers, arrange, move down)
and use the mover tool to adjust it's position to where you like it inside the window.

image


Step 9.
Make the top layer (the window frame) active
Go to Effects... 3D Effects... Drop Shadow...
Horizontal and Vertical = 5
Opacity = 50
Blur = 20
*Optional* You could add a glassy layer below the frame.
(this won't work if you've used one of the open window tubes)
Add a new layer, Flood fill with Metallic gradient Angle 45, repeats 0
(this is an old PSP7 gradient I have included in the materials zip)
Lower the transparency of the layer on the layers palette to about 25
and drag it below the window frame layer.

I've done a screenshot below, so you can see the two versions side by side.
There is not a big difference, so it's just personal preference

image


Step 10.
Add a new layer
Flood fill with white or the colour you want your curtains to be.
Go to Layers...Load/Save Mask...Load Mask from Disk...
Navigate to the folder where you saved your curtains mask
Create mask from source luminance.... Fit to Canvas...
invert = not ticked... Hide all mask... mask.

Or you can open the mask in psp, minimise it and go to
Layers... New Mask Layer... From Image...
and choose your curtain mask from the dropdown list

In the layers palette, right click on the layer and Merge...Merge Group...
I made the curtains thicker by duplicating the layer and going to
Layers... Merge... Merge Down... Then Adjust... Sharpness...Sharpen...
but you can leave them as a single thickness if you prefer

image

I finished by adding a drop shadow to the curtain
Go to Effects... 3D Effects... Drop Shadow...

image
Vertical and Horizontal=5,
Opacity=30,
Blur=10,
Colour= black

You could add a layer with ornaments, or a flower vase, on a shelf below
the window, or as I have done in my example below a cat.

image
the scene through the window here is Photo by Vanessa Von Weiding on Unsplash

This tutorial was inspired by a 'Curtain Mask' tutorial by Sherrie
at Foxielane, sadly I don't think the site exists any more

I hope you enjoyed this tutorial.

I hope you enjoyed this tutorial.
Thankyou to my very helpful testers
To see my other tutorials click Here


If you wish to contact me you can find an email address to use included on my Site Map
Home