|
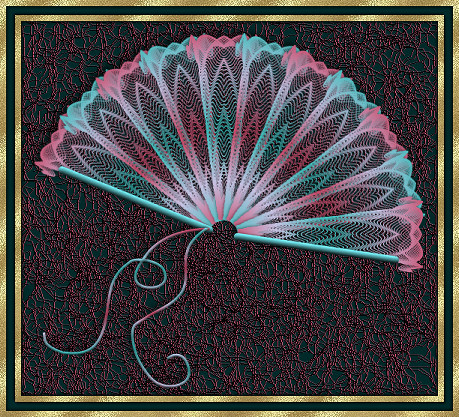
Step 5.
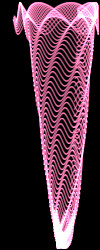
If you plan to make several fans using different sinedots
presets, or in other colours it's a good idea to make a script
of this step, as it will save a lot of time in future.
If you are making a script, open the Script Toolbar and
click on the 'Start Script Recording' button
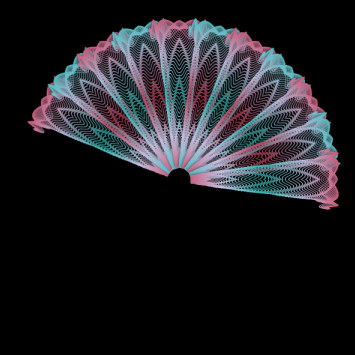
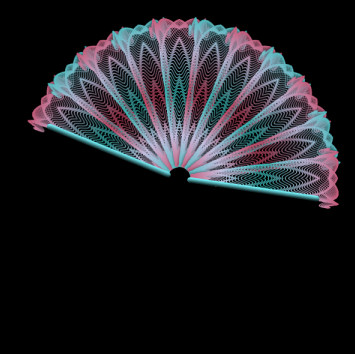
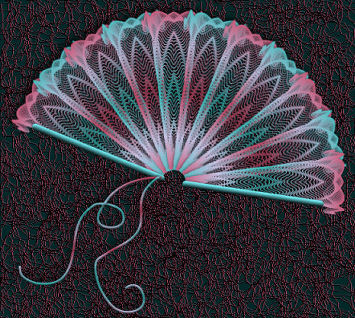
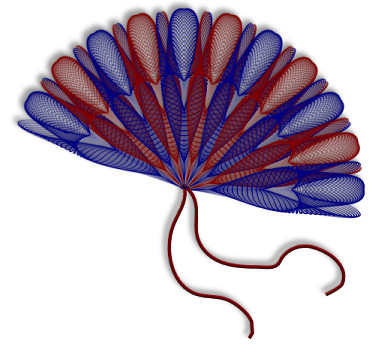
Go to Layers...Duplicate...10 times
You should now have a black layer at the bottom (Raster 1), your original
sinedots shape (Raster 2), plus 10 copies of the sinedots layer
Next we will rotate the layers.
Starting at the top layer (copy (10) of Raster 2) and working
down to Raster 2, rotate each layer in turn using these settings
Image...Free Rotate...
All Layers = unticked
Rotate single layer around canvas centre = ticked
(copy (10) of Raster 2) - Direction = Right, Degrees = 90
(copy (9) of Raster 2) - Direction = Right, Degrees = 75
(copy (8) of Raster 2) - Direction = Right, Degrees = 60
(copy (7) of Raster 2) - Direction = Right, Degrees = 45
(copy (6) of Raster 2) - Direction = Right, Degrees = 30
(copy (5) of Raster 2) - Direction = Right, Degrees = 15
(copy (4) of Raster 2) - don't rotate this layer
(copy (3) of Raster 2) - Direction = Left, Degrees = 15
(copy (2) of Raster 2) - Direction = Left, Degrees = 30
(copy of Raster 2) - Direction = Left, Degrees = 45
Raster 2 - Direction = Left, Degrees = 60
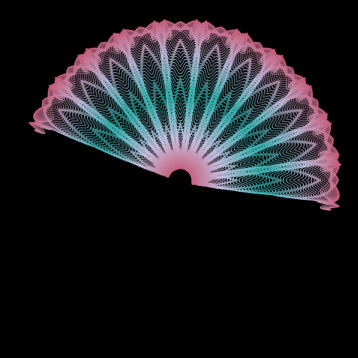
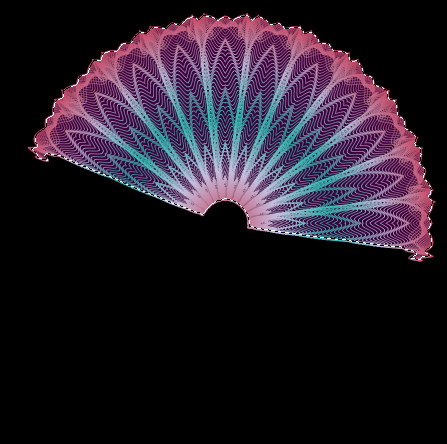
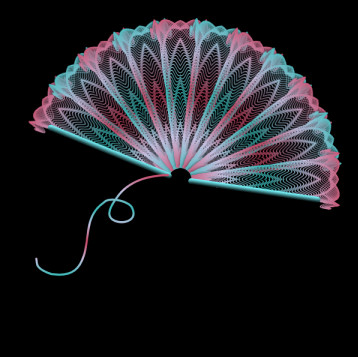
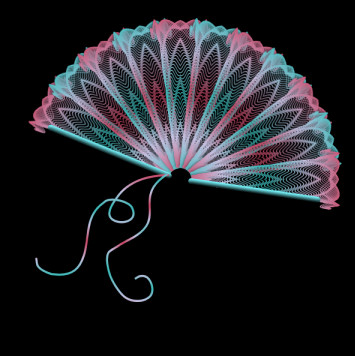
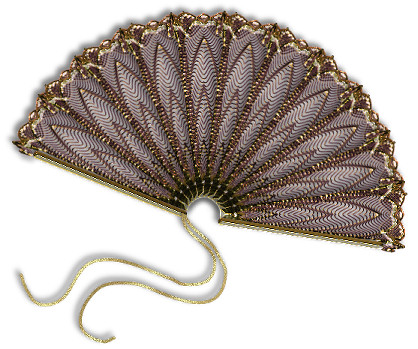
Make the top layer (copy (10) of Raster 2) active again and working
your way down apply the following drop shadow to each of the layers
(except the black layer at the bottom, of course.)
Effects...3D effects...Drop Shadow...
Vertical = -1 (minus 1)
Horizontal = -1 (minus 1)
Opacity = 40
Blur = 5
Shadow on new layer = ticked
(the reason that ticked the 'shadow on new layer' box is so
that you will be able to change the colours on individual
layers without affecting the shadows in step 6)

If you have recorded this step Click the 'Save Script Recording'
button and give your script a name. Next time you make a fan, you
can run the script instead of doing all the duplicating and rotating.
|