title image

Christmas Cracker

PSP X9

image

image

This tutorial was created 1st December 2002 using PSP7 and updated for PSP X9 on 20th July 2017
©Copyright Artwork by EssexGirl
please do not copy it, or put it anywhere else without my written permission.

Filters and programs used in this tutorial :-
Paint Shop Pro
Dragonfly's Sinedots II Super Blade Pro

Materials :-
Here

some images have been made smaller to shorten file size


Screen sizes are much larger now, than when this tutorial was first
written, so I have adjusted the image sizes used in this version.

Step 1.
Open a new Image 450 x 150 transparent. Flood fill with a black and add a new layer
Go to Effects...Plugins...Sinedots...
Open the sg_Xmas_cracker.cfg and choose the challenge_K preset. The cfg contains a few
other presets that also make good crackers, but you may need to experiment with the image
size and the overlap on the duplicate layer if you use these. Have fun with them.

If you are new to sinedots and don't know how to open the .cfg file click HERE for more information

Some presets use different 'blend' settings and it is important for this tutorial to make sure
that the blend in the sinedots setting is set to 'screen' like this:-

image

image

For a slightly different shaped cracker you could reverse the sinedots
shape by going to Image... Mirror... Mirror Horizontal... (Mirror in earlier versions)


Step 2.
Go to Image...Canvas Size...
Change the canvas size to 750 x 300
Adding 75 to the top and bottom, 280 to the left and 20 to the right.

image

Make your bottom layer active and flood fill with black, then make layer 2 active again.
Go to Layers...Duplicate...then Image...Mirror ... Mirror Horizontal...

image

This is the result if you mirrored the sinedots image at the end of step 1

image

Layers...Merge...Merge Down...
Rename the merged layer 'cracker'.

That is the basic cracker shape, but with all those holes in the
lacy sinedots shape the goodies would fall out so we will make a lining


Step 3.
With the 'cracker' layer active, and using the Magic Wand,
match mode=RGB tolerance=0 feather=0 sample merged unticked,
click on the blank area surrounding the cracker to select it.
Go to Selections...Invert...

image

Go to Selections...Modify...Contract... Contract by 2 pixels
Add a new Layer and name it 'lining', then go to Layers...Arrange...Move Down...

*A little note about choosing colours for the lining and in the next step for the cracker*.
My personal preference is to have a darker colour, or gradient for the lining and a lighter
colour, or gradient for the cracker, so that is what I am doing for this tutorial, but feel
free to experiment to see what you prefer.

Flood fill the selection with a colour, or gradient of your choice.
Here are a couple of examples that I made. For the first example I filled with
dark blue and for the second example I used a background/Foreground gradient
using dark red and green Angle = 90 Repeats = 7

image

image

Select None.


Step 4.
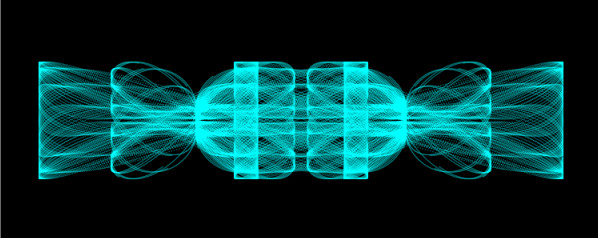
Next we will change the colour of the cracker layer.

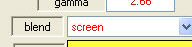
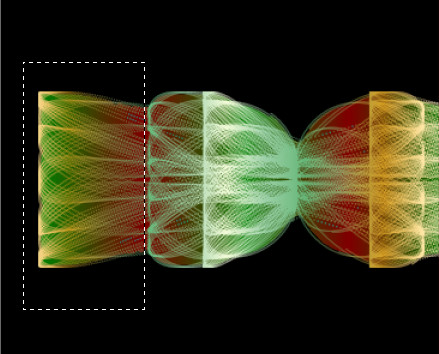
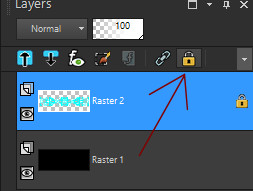
One of my favourite methods is to lock the layer transparency of the layer by
clicking padlock on the layer palette Arrowed in this screenshot,
you will see a padlock appear on the layer in the layers palette to show it's locked.

image

Flood fill the shape with colour, pattern or gradient. If you use this method don't forget
to click the padlock again after you've finished to unlock the transparency again.

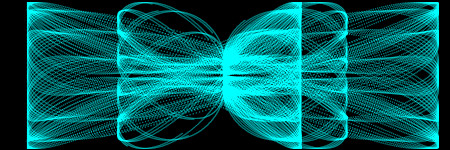
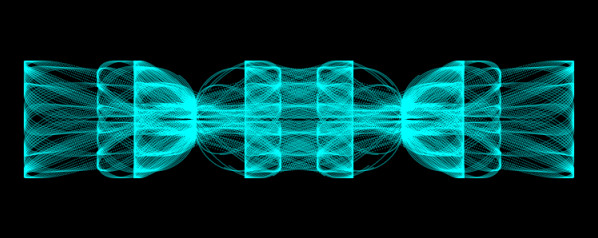
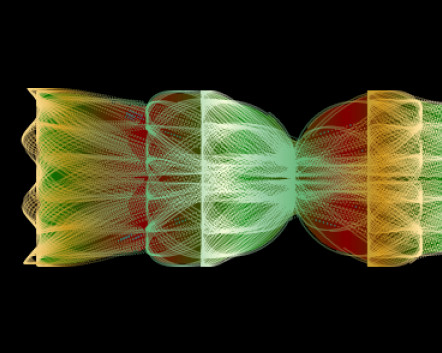
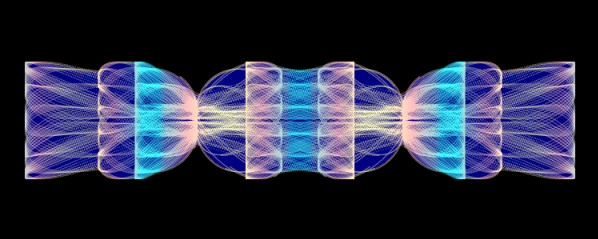
For this example I used the dark blue lining layer that I created in
the previous step and I flood filled the cracker with a pale gradient

image

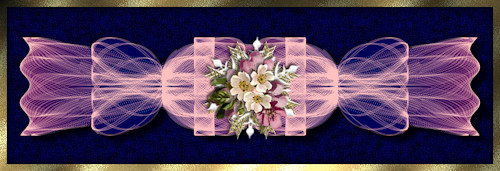
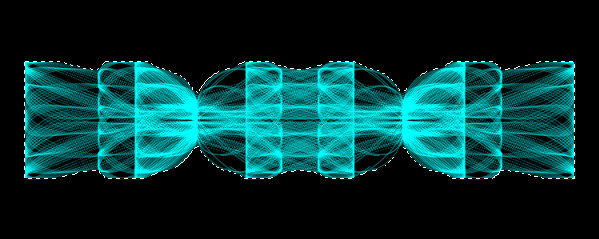
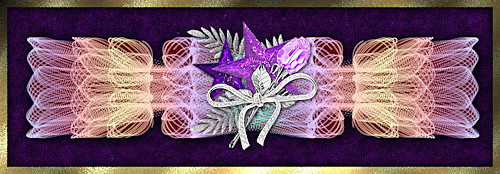
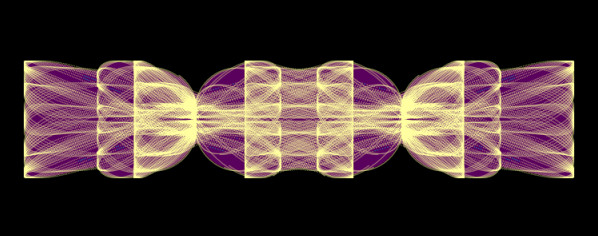
For the next example I flood filled the lining with dark purple and the cracker in a pale yellow.

image

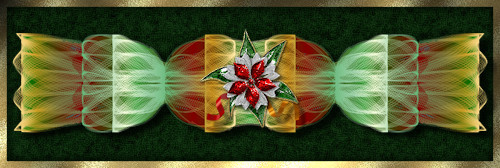
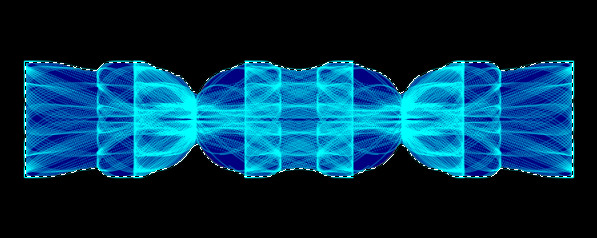
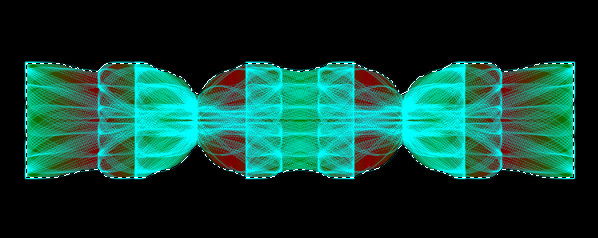
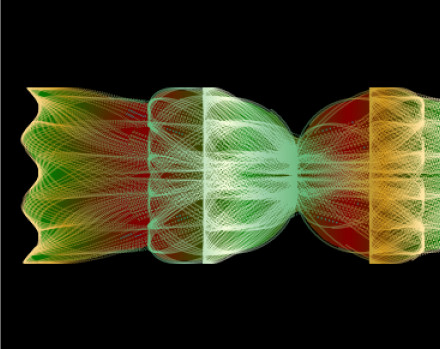
For my last example I chose gradients for both layers, a dark red and green gradient
for the liner and a pale green, white and yellow gradient for the cracker

image

Make sure the 'cracker' is the active layer ready for the next step,
Where we are going to add a frill to the ends of the cracker.


Step 5.
Next we will give the ends of the cracker a frill.
I have used two ways of making the frill, so duplicate your image (Shift+D)
and minimise the copy for now, we will use that for the second method.

Select around the end section on the left side of the cracker.

image

Go to Selections ... Promote Selection to Layer ...then Select None.
Go to Effects ... Geometric Effects ... Wave ...
and use these settings
Horizontal Displacement Amplitude=1 Wavelength=18
Vertical Displacement Amplitude=0 Wavelength=1
Edge mode = Transparent

image

Use the Mover Tool to drag the waved section slightly to the left

image

Go to Layers... Duplicate... Image... Mirror... Mirror Horizontal...
Now you have a frill on both ends.


Step 6.
The alternative way of making the frill is to merge the cracker and lining layers
together before you make the selection. So open the copy of your image which you
minimised and with the 'cracker' layer active go to Layers... Merge... Merge Down...
Now your cracker and lining have been merged together finish it as in Step 5
The result is very similar, but a gives a slight variation to the frill.

image

You can compare the two images and decide which you prefer.


Step 7.
You can finish by decorating your cracker with ribbons, flowers, beads, or whatever
other ideas you have. I have included a few small decos in the materials zip, which
you can use if you don't want to make your own

If you want to tube your cracker, delete the background layer, then go to
Layers...Merge...Merge Visible.
Add a drop shadow of your choice if you want to, then
Go to File ... Export... and Export as a Picture Tube,
or you could simply add a background and frame of your choice.

Here another cracker that I made using the other setting in the sinedots cfg provided.
This one had a very pretty lacy ends already, so I skipped the step for adding a frill to them.

image

I hope you enjoyed this tutorial and have fun making crackers.
To see my other tutorials click Here

If you wish to contact me you can find an email address to use included on my Site Map
Home