Sinedots Animation Tag
This tutorial was written April 14th 2006by Sandie © Artwork by EssexGirl, All Rights Reserved.
please do not copy it, or put it anywhere else without my written permission.

Filters and programs used in this tutorial :-
Paint Shop Pro
Dragonfly's Sinedots II
Materials :-
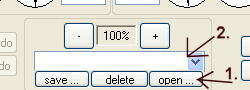
My sg-anim-tut.cfg Here
(Unzip .cgf file into the folder you have made for Sinedots
II)
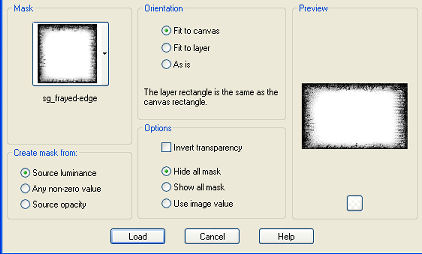
OPTIONAL:-
My sg_frayed-edge mask Here
unzip into your masks folder
This mask is in PspMask format, if you would prefer it as a
jpg click Here
A font of your choice. The font that I used is
called
Walrod and is available from DaFont.com
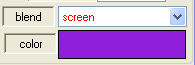
This tutorial has lots of possibilities for variation,
using
different presets, colours etc. I hope you will
experiment.
I'd love to see some of your results