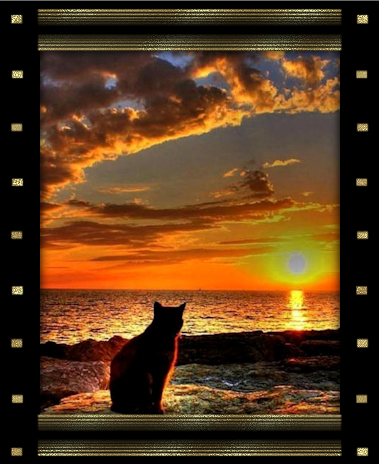
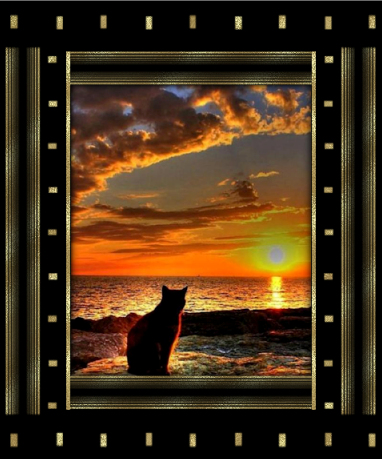
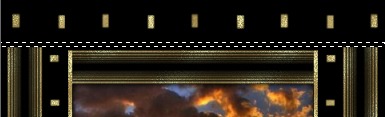
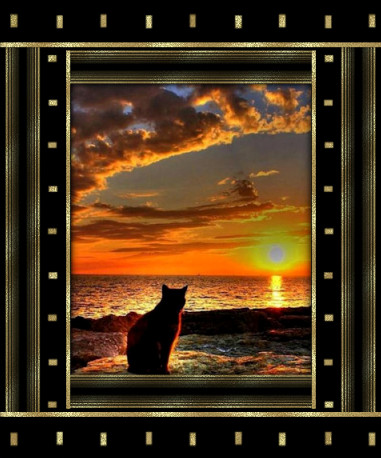
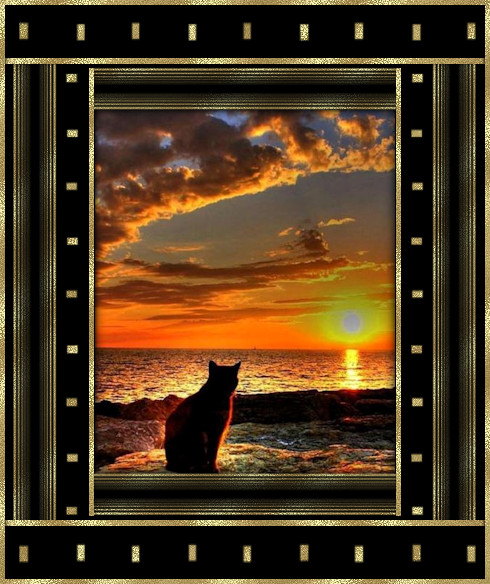
Sand and Sea FrameUpdated for PSP X8 please do not copy it, or put it anywhere else without my written permission. Filters and programs used in this tutorial :- Materials :- some images have been made smaller to shorten file size |
Although I named this tutorial 'Sand and Sea Frame' I was just influenced by This tutorial is in two parts, on this page we will
create the Step 1. Open the image that you want to frame. This tutorial uses a portrait style image. If Resize your image so that the width is 450 pixels, psp will automatically set the height. Use the dropper tool to select a dark colour from your image for Make the foreground of your palette pattern fill and |
Step 2. Go to Selections...Select All... Select None |
Step 3. |
Step 4. Go to Layers...New Mask Layer...From Image... Go to Layers...Merge...Merge Group... |
Step 5. Activate the Selection Tool Select a strip approximately 5 to 10 pixels wide down the
left Add a new raster layer Deselect |
Step 6. Go to Effects...3D Effects...Drop Shadow Go to Layers...Merge...Merge All (flatten) |
Step 7. Back on the image we are working on, go to |
Step 8. Go to Layers...New Mask Layer...From Image... Go to Layers...Merge...Merge Group... |
Step 9. Add a new raster layer Select None |
Step 10. Go to Effects...3D Effects...Drop Shadow Go to Layers...Merge...Merge All (flatten) |
Step 11. Select None |
To see my other tutorials click Here I hope you enjoyed this tutorial. To see my other tutorials click Here If you wish to contact me you can find an email address to use included on my Site Map Home |