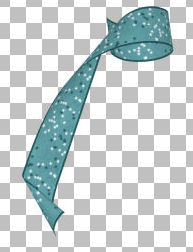
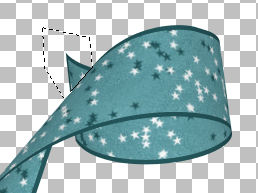
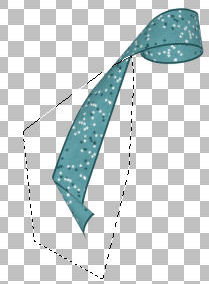
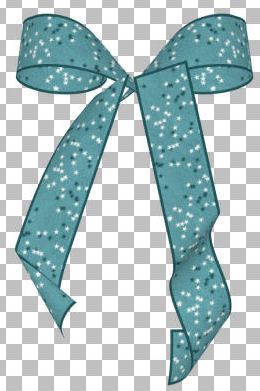
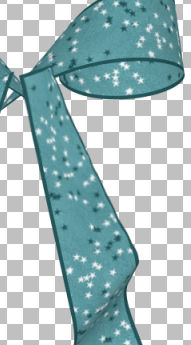
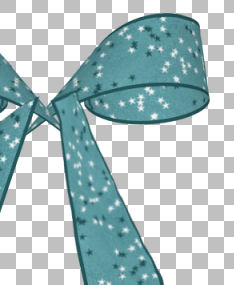
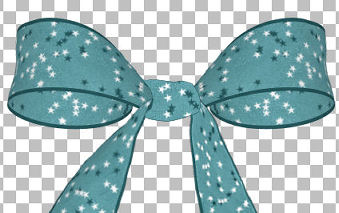
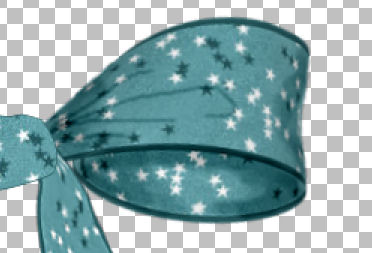
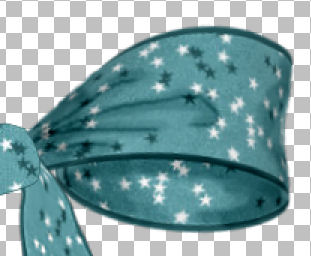
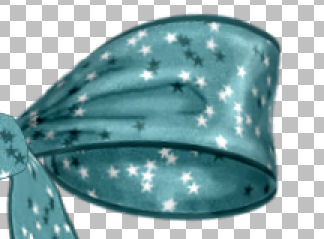
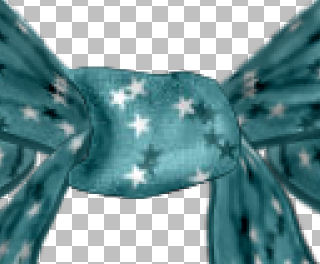
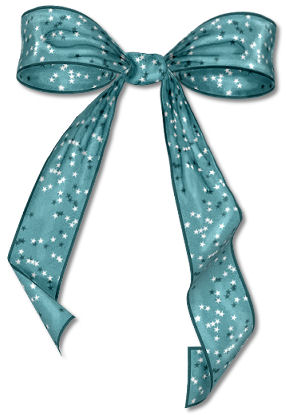
title image

Ribbon Bow

image

This tutorial was created 28th November 2008©Copyright Artwork by EssexGirl
please do not copy it, or put it anywhere else without my written permission.

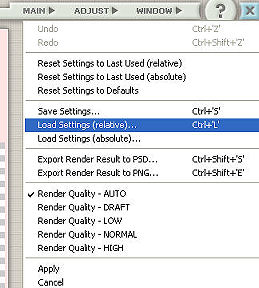
Filters and programs used in this tutorial :-
Paint Shop Pro
AV Bros Page Curl 2.2 this is a commercial filter

Materials :-
Page curl presets and aquastar pattern Here
The pattern (created by me) is the one I used in the tutorial, so I
have included it in the zip, but you can use your own choice of pattern.
put the pattern in your patterns folder and if you don't already have a
folder for AV Bros page curl presets, create one.

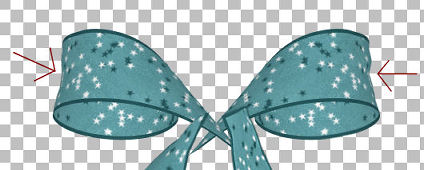
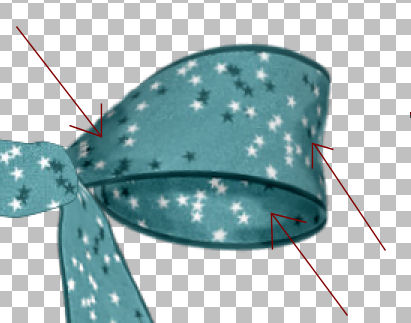
Images have been made smaller to shorten file size
and in some cases only show part of the image.

This is an advanced tutorial, but I have used lots of
screenshots to make it as easy as possible


I only work with tagger sized scrap and the finished size of this bow
is approximately 425 x 635 pixels. If you create scrap for printing
you will need to double, or triple the sizes I have given in this tutorial

Step 1.
Open a new image 700 x 100 pixels
Flood fill with your choice of pattern, colour or gradient.
Select All (Ctrl+A)
Go to Selections...Modify...Select Selection Borders...
Border width = 5
Inside
Anti Alias = unticked
Flood fill with a contrasting, or complimentary colour
De-select
Minimise this image for now, we will need it later


Step 2.
We need another image, but wider this time, so
repeat step 1, but make the image 1000 X 100
Don't minimise this one, as we will work on this first.

Go to Image...Canvas size...
1000 x 1000, in the placement section choose one of the top squares
Your patterned strip will be at the top of the image,
with lots of space underneath it.

Go to Effects...Plugins...AV Bros Page Curl...
Go to Main...Load Settings Relative (Ctrl+L)

image

Navigate to the folder that you saved my presets in
and load the sg_half-bow-with-ribbon.avcps
Click Apply

image

Rename this layer 'right bow loop' this will make it easier to know
which layers I'm talking about as we go through the tutorial.


Step 3.
Use the Freehand selection tool with these settings
Selection type=Point to point, Mode=Replace, Feather=0,
Smoothing=0, Anti-alias=ticked
Select around the small piece of ribbon at the top
as shown in this screenshot

image

Press the delete key


Step 4.
Now select around the hanging section of ribbon, carefully
separating it from the loop section, as shown in this screenshot

image

Go to Edit...Cut...then Edit...Paste As New Layer...
Deselect
Rename this layer 'left side ribbon'

If you want to you can use the same section of ribbon for both sides,
by duplicating and mirroring the layer, but for this tutorial I used
a different shape for the ribbon hanging on the right side.


Step 5.
Open the image that you minimised earlier
Go to Edit...Copy (Ctrl+C)...
On your larger image go to Edit Paste As New Layer...
Rename this layer 'right side ribbon'

This will place the ribbon in the middle of the image, which is
where it needs to be when we apply the next page curl preset
The smaller image can now be closed.

Go to Effect...Plugins...AV Bros Page Curl...
Go to Main...Load Settings Relative...(Ctrl+L)
This time choose the sg_ribbon-strip1.avcps

image

You now have 3 shapes on your image


Step 6.
Make the 'right bow loop' layer active, go to
Layers...Duplicate...Image Mirror... Mirror Horizontal (mirror in older versions)
Rename this layer 'left bow loop'

Use the Mover Tool to move the pieces into place, it won't be exact
because we need to do some work on the top part of the hanging sections
of ribbon and we haven't made the knot yet.
Here is my screenshot

image


Step 7.
Next we are going to use the Warp Brush to squeeze the ribbons so they
will go into the knot. The part that needs most work is the 'right side
ribbon', so make that the active layer. With the Warp Brush, I used
these settings, but feel free to adjust them to suit yourself
Warp mode=Push, Size=30, Hardness=0, Strength=100,
Edge mode=Background, Draft quality=Medium,
Final Apply=Best Quality ticked

Zoom in if you need to, so that you are close enough to get a good view
of what you are doing. Gradually work down the top right side of the
ribbon pushing inward with fairly small strokes.
Some strokes I started from outside the ribbon like this screenshot

image

And some strokes I started on the ribbon, like this

image

This will move the pattern on the ribbon across more evenly,
so that the pattern won't look too squashed at the edge

This is my ribbon when I had finished working on the outside edge

image

I worked on the inner edge in the same way, it didn't
need as much warping as the outer edge

image

Step 8.
If the warping has blurred the pattern too much, you can use the
Sharpen Brush to sharpen it up again. I used these settings
Shape=Round, Size=50, Hardness=30, Step=10, Density=100, Rotation=0,
Opacity= 30, continuous=unticked, Use all layers=unticked
Run the brush once over the blurred area


Step 9.
The 'left side ribbon' can be worked on in the same way, this side
won't need much warping. I also used the warp brush on the straight
sides bow loops to give them a slightly softer shape.

image


Step 10.
To add the Knot, choose the Pen Tool with these settings
Mode=Draw Freehand, Connect Segments=ticked, Create On Vector=ticked,
Show Nodes=ticked, Line Style=Solid, Width= 1, anti-alias=ticked
Make the background on your palette your pattern and the foreground
a darker shade of your pattern colour.

Make the top layer active, so that the knot will be on top of all the
layers. As you are creating this as a Vector, it will automatically
create it's own layer. Draw a knot like shape in between the bow loops
Rename the layer 'knot'

Here's a closeup of mine, but just use it as a rough guide

image

While this layer is still a vector, you can move the nodes
to adjust the shape if you want to.
Go to Layers...Convert to Raster Layer...


Step 11.
Use the Mover Tool to adjust the position of any of your ribbon pieces
if you need to. Next remove the pointed ends, which you can see sticking
out below the knot. These are on the bow loop layers. You can use the eraser,
or select around them with the Point to point selection and delete

My 'right side ribbon' needed a little more work with the Warp Brush,
to tuck the top corner under the knot, so check to see if you need
any ends tidied away :)

image


Step 12.
This step is optional
I felt the loops looked a bit too level both sides, so I rotated the
right one slightly, so that they were not quite even. It's just a matter
of personal taste though, so you can skip this step if you want to.

With the right bow loop layer active choose the Pick Tool
Move your mouse over the centre handle until you see the two
curved arrows, then click down with the mouse and rotate
the handle downwards a little bit.
You may have to reposition the loop after the rotation.

image

Rotating the loop blurred it a little, so you will need to sharpen it.
Go to Adjust...Sharpness...Sharpen...


Step 13.
Now we will start adding shadows, creases and highlights.
I used the Lighten/Darken Brush, you can also use the Burn and
Dodge Brushes, the effect is stronger with those though, so if
you use them instead you'll need to adjust the opacity.

Start with the Darken/Lighten Brush, using these settings
Shape=Round, Size=10, Hardness=50, Step=25, Density=100,
Thickness=100, Rotation=0, Opacity=60, Continuous=ticked,
Mode=RGB, Swap mouse buttons=ticked (I find it easier to use
the left mouse button and this swaps the lighten and darken).
Feel free to adjust the settings to suit yourself

Darken the areas where the bow loop goes into the knot, around the
top and sides of the underside of the loop and where the outside
edge folds backward, I've arrowed the areas in this screenshot.

image


Step 14.
Change the brush size to 4 and the opacity to 80
Draw a few deep creases from the knot outwards across the bow loop,
the number and length is up to you.
This is my screenshot, you can use it as a rough guide

image

Change the brush size back to 10 and the opacity back to 60
Go over the crease lines with this wider, paler brush

image

Now lets add some highlights
Untick the Swap Mouse box, the other setting stay the same
Run the brush over some of the areas between the shadows
Here is my screenshot, you can compare it with the previous one

image

You can add more shadows and highlights varying the
brush size and opacity, if you wish.

Work on the other bow loop and the side ribbons in the same way,
darkening and adding shadows and creases, especially where the
ribbon goes into the knot, then putting highlights in. Add some
shading and highlighting to the knot as well.
Here is a closeup screenshot of my knot

image


Step 15.
When you have finished your shading and highlighting, go to
Layers...Merge...Merge visible...
With the Selection Rectangle Tool active, click on
'Create selection from Layer opaque' on the toolbar
Go to Image...Crop to Selection...
Save you bow in .png format


To see my other tutorials click Here

I hope you enjoyed this tutorial.

To see my other tutorials click Here

If you wish to contact me you can find an email address to use included on my Site Map

Home