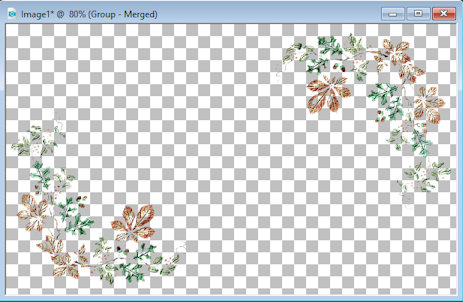
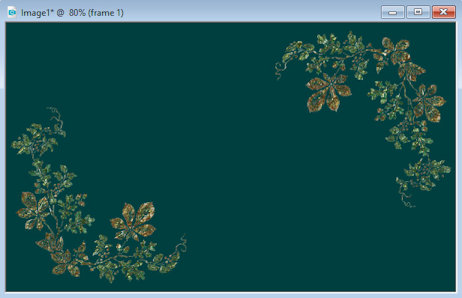
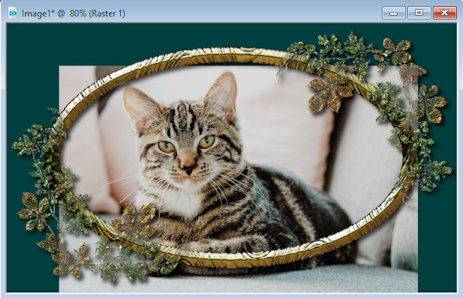
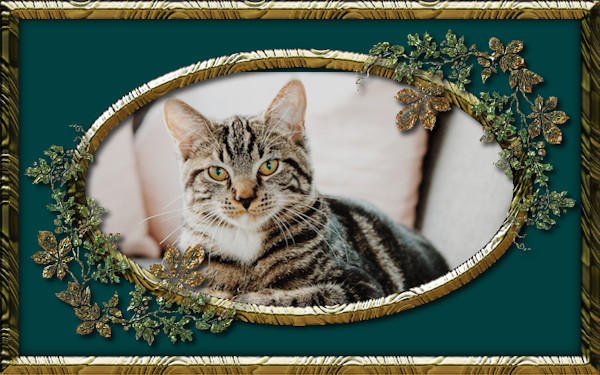
Raised Decoration Frame
Tutorial
This tutorial was created April 26th 2002©Copyright
Artwork by EssexGirl rewritten for PSPX and X2 2nd April 2010
please do not copy it, or put it anywhere else without my written permission.
Filters and programs used in this tutorial :-
Paint Shop Pro
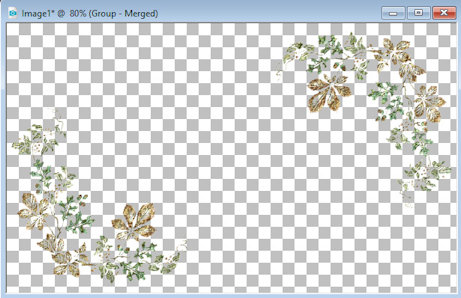
Super Blade Pro
FM Tiles Tool
Materials :-
There is a text file included in the zip, if you don't know
where to place the items.
My SBP preset (sg_golden jelly)and the spray tube Here
You could use a different tube if you prefer.
some images have been made smaller to shorten file size