|
Step 7.
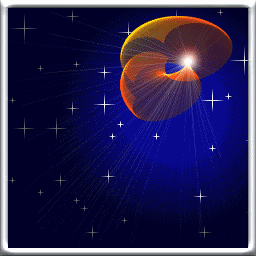
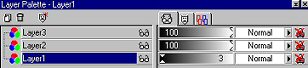
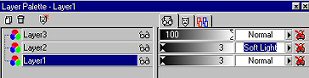
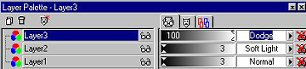
On the first image go to Layers...Merge...and merge all
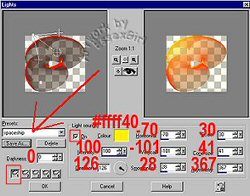
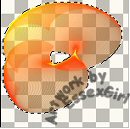
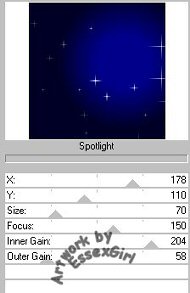
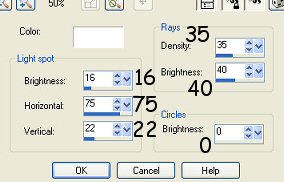
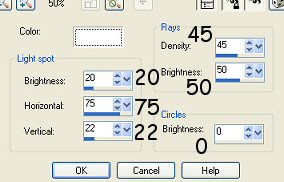
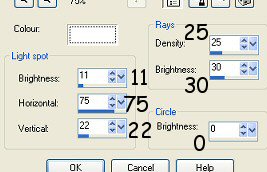
Go to Effects...Illumination Effects...Sunburst...
and use these settings
OPTIONAL :-
If you want to add a border to the animation you
can do so now, just make sure that you make a note
of all the settings etc because all the images must
use the same ones. This is how I did mine.
I made the palette background white
Image...Add Borders...
I used a symetrical border of 10, clicked on the border
with the Magic Wand tool to select it
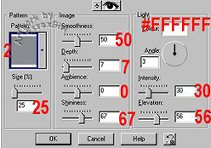
Effects...Texture effects...Sculpture...
with these settings
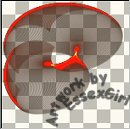
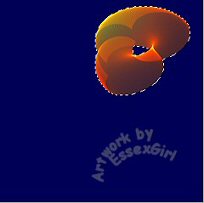
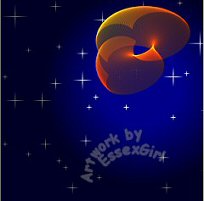
This is the first frame of the animation.
When it is saved you will need to make it psp7 compatable,
otherwise Animation Shop will not be able to use it, so
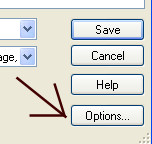
go to File...Save as...
In the dialog box click on Options
On the 'Save Options' dialog box, in the
'version' section, choose PSP7 compatable file
Save it in any folder you want, as long as you know where to find it
when we open Animation Shop. I created a folder called animations.
Name the image 'frame 1'
Unless you change it back afterwards, PSP will save all your images
as psp7 compatable now. Personally, I prefer to leave it at psp7.
|