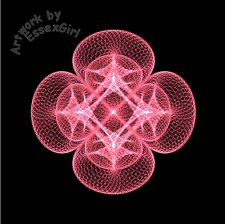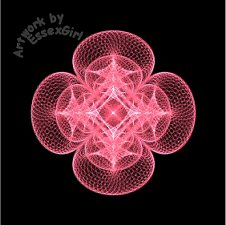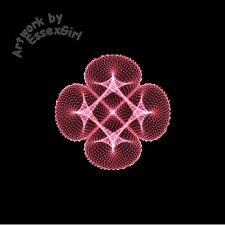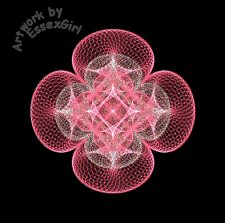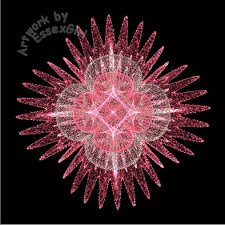
Pink Star Tutorial


This tutorial was created December 8th 2001©Copyright Artwork by EssexGirl
updated for pspX 11th Feb 2007
please do not copy it, or put it anywhere else without my written permission.

Filters and programs used in this tutorial :-
Paint Shop Pro
Dragonfly's Sinedots II
Super Blade Pro (optional)
VM Distortion

Materials :-
There is a text file included in the zip, if you don't know where to place the items.
My horned_sheild.cfg and silvery sparkle SBP preset Here
The SBP pre-set I originally used was Dee's 'Silver Shimmer' which is no longer
available. the zip file includes a similar one of my own (sg_silvery sparkle)

some images have been made smaller to shorten file size


step 1.
Open new image 150 x 150 transparent and flood fill with
a dark colour this is just to make it easier to see the image
Add a new layer


step 2.
go to Effects...Plugins...Sinedots
and open the 'horned sheild' pre-set
if you are new to sinedots and don't know how to open
the .cfg file click HERE for more information

Some presets use different 'blend' settings and it is
important for this tutorial to make sure that the blend
in the sinedots setting is set to 'screen' like this:-

This is the sinedots image

Go to Edit... and Copy (this image is no longer needed)


step 3.
Open a new image 400 x 400 transparent
Flood fill with black, go to
Edit... Paste and paste as a new layer
To make positioning easier Go to View...Grid
if necessary go to View... Change Grid, Snap and
Guide properties and change the horizontal and vertical
settings for the current image to 100

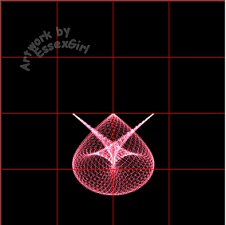
Use the mover tool to move the sinedot so that the
top point is touching the centre.
My screenshot is here

The grid is no longer needed so that can be turned off
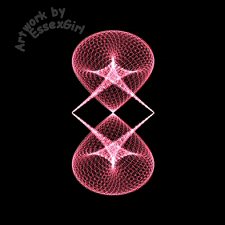
Go to Layers...Duplicate...then Image...and Flip


step 4.
Go Layers...Merge...Merge Down.


step 5.
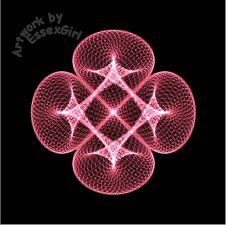
Go to Layers...Duplicate...then Image...Free Rotate
make sure the 'all layers' box is not ticked and
rotate by 90° it doesn't matter which direction
Go to Layers...Merge...Merge Down.
Re-name this layer pink 1


step 6.
Go to Layers...Duplicate. Rename this layer 'silver'
Go to Image...Resize..Make sure that the 'resize all layers'
box is not ticked and resize the layer to 70%
Resample using Smart Size
go to Image...Sharpness...and sharpen


step 7.
Repeat step 6 but rename this layer pink 2
This is my screenshot


step 8.
Go to the layers palette and turn off the visibility of
layers 'pink 1' and 'pink 2' by clicking the eye for this layers

Make the layer 'silver' the active layer and using the magic Wand
select the image by clicking on the background area.
Go to Selections...Invert.

then Effects...Blade Pro...and apply sg_silvery-sparkle
then turn the visibility of layers pink 1 and 2 back on.

De-select


step 9.
Make 'pink 1' the active layer, then go to
Effects...VM Distortion...Gear...and use these settings
Teeth=73 Strength=50


step 10.
Turn off the visibility of the background layer
Go to Layers...Merge...and Merge visible
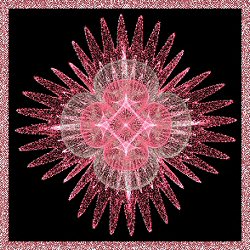
You are now ready to tube the star, or frame it.


I hope you enjoyed this tutorial.
Thankyou to my great testers


Old Tuts List