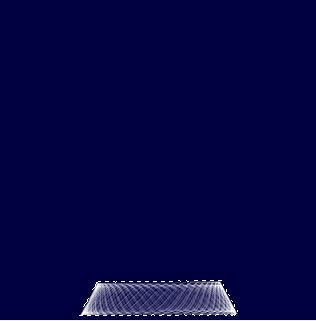
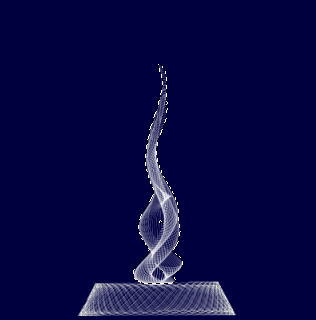
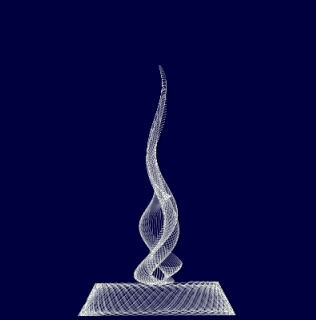
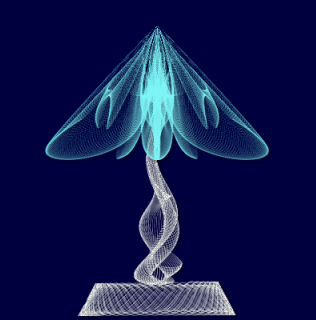
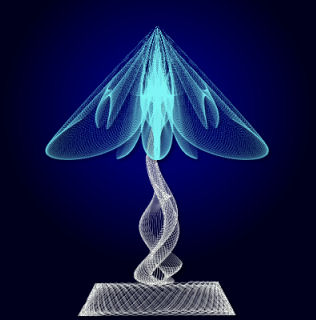
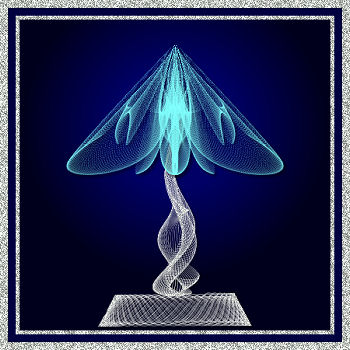
title image

Tablelamp

PSP X

image
This tutorial was created March 27th 2002©Copyright Artwork by EssexGirl
Updated for pspX 10th Feb 2007
please do not copy it, or put it anywhere else without my written permission.

Filters and programs used in this tutorial :-
Paint Shop Pro
Super Blade Pro
Greg's factory output vol II

Materials :-
There is a text file included in the zip, if you don't know where to place the items.
My lamp_selections.pspimage and silvery sparkle SBP preset Here
Although the result is the same as the psp7 version of this tutorial, from
PSP9 onwards the effect of the geometric perspectives changed and distorted
the images so much that it isn't possible to use them.
This version uses selections instead of the sinedots images, so
most of the steps are entirely different to the original tutorial.

some images have been made smaller to shorten file size


Step 1.
Open the lamp_selections.pspimage.
At the moment it just looks like a dark blue image, but the
selections we are going to use are in the Alpha Channels.

You can change the background colour if you wish to, so flood fill
with a colour of your choice, a dark colour works best.

Add a new layer.
Go to Selections....Load/Save Selection...
Load Selection from Alpha Channel
Load the lamp base.

Flood fill the selected area with white, clicking 3 or 4 times with
the flood fill tool to get a stronger colour, don't deselect yet

image

Go to Effects...Plugins...Flaming Pear...SuperBladePro...
Apply the sg_silvery sparkle preset (or a preset of your choice)
Select none


step 2.
Add a new layer.
Go to Selections....Load/Save Selection...
Load Selection from Alpha Channel
Load the lamp stem.

Flood fill the selected area with white, clicking 3 or 4 times with
the flood fill tool to get a stronger colour, don't deselect yet

image

Go to Effects...Plugins...Flaming Pear...SuperBladePro...
Apply the sg_silvery sparkle preset (or a preset of your choice)
Select none

Go to Layers...Merge...Merge Down...

To make the stem and base look thicker, go to
Layers...Duplicate...
then layers...Merge...Merge Down...
I thought this gave a better effect.


Step 3.
Go to Effects...3D Effects...Drop Shadow...
Horizontal and Vertical offsets=3
Opacity=50
Blur=5
Colour-Black

image


Step 4.
Add a new layer.
Go to Selections....Load/Save Selection...
Load Selection from Alpha Channel
Load the lampshade.

Flood fill the selected area with the colour that you want your
shade to be (I used #80ffff), clicking 2 or 3 times (it doesn't
need as many as the base and stem) with the flood fill tool to
get a stronger colour. Select none

Add a drop shadow to the lampshade using the same
settings as you used on the merged stem and base

image


Step 5.
To give the glow around the lamp, make the
background layer active then go to
Effects...Plugins...Greg's Factory Output Vol II...
Spotlight...I changed the X setting to 128
and the Y setting to 88, the rest I left
at the default settings.

image

Resize if you wish (Shift+S) Resample using Bicubic
And add a frame of your choice

Here is a lamp I made in another colour.
I used #400000 for the background,
#DF7777 for the lampshade

image


I hope you enjoyed this tutorial.
Thankyou to my very helpful testers


Old Tuts List