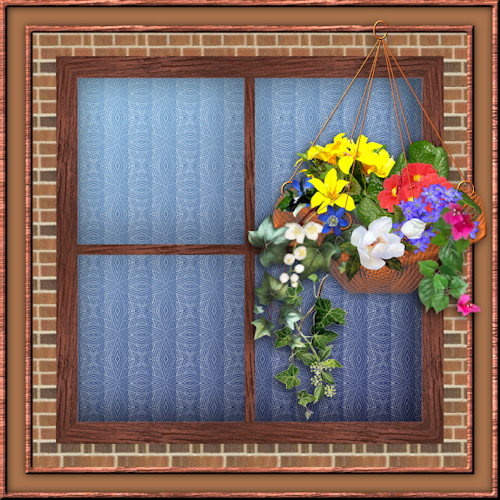
![]() Hanging Basket![]() This tutorial was created April 20th 2002©Copyright Artwork by EssexGirl updated for PSP2018 March 2018 please do not copy it, or put it anywhere else without my written permisson. Filters and programs used in this tutorial :- Materials :- some images have been made smaller to shorten file size |
Step 1. Some presets use different 'blend' settings and it
is ![]() ![]() |
Step 2. ![]() ![]() You could duplicate the layer and merge down to make the basket thicker |
Step 3.
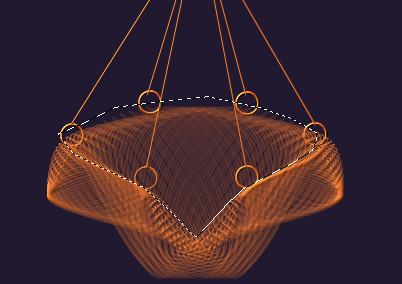
Activate the Presets Shape Tool type=elipse width = 3 antialias ticked, ![]()
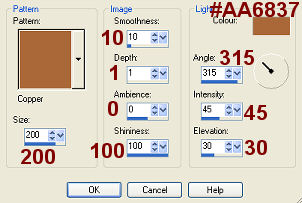
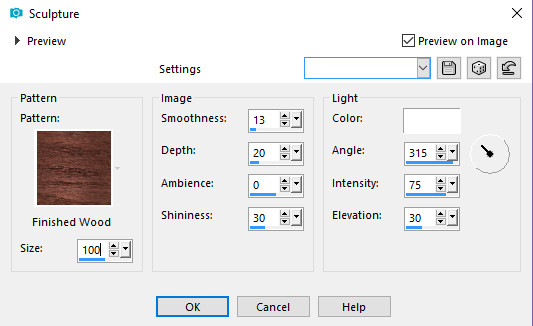
Go to Effects...Texture Effects...Sculpture... ![]() |
Step 4.
Use the Mover Tool to move this loop to the right side of the basket ![]()
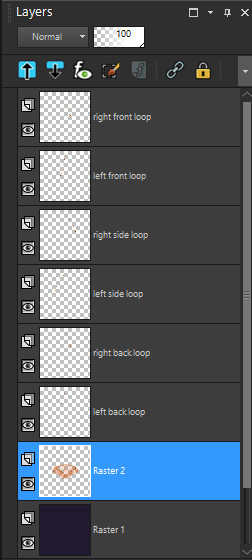
Duplicate the layer, rename it 'front right loop' and move into position ![]() I also made 2 loops in the same way, for the back of the basket, ![]() |
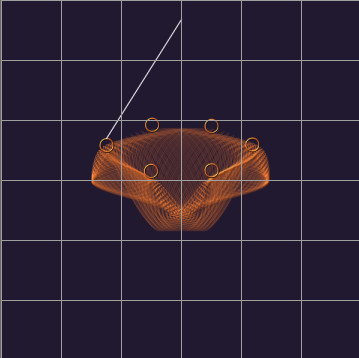
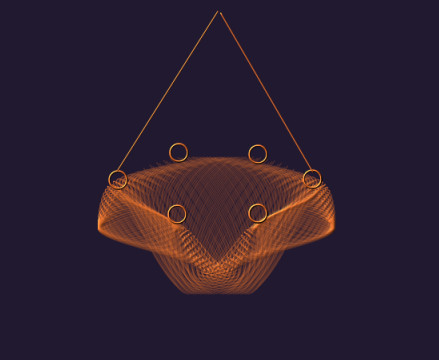
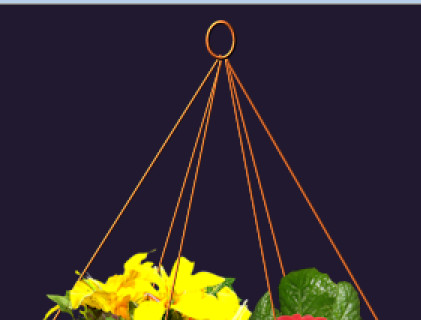
Step 5. Use the Pen Tool Draw a line from the loop to a point in the centre horizontally and ![]()
Go to Effects... Texture Effects... Sculpture and
Make the 'right side loop' layer active and add a new layer Now that you can see the joining point for the cords, you can turn the grid off ![]()
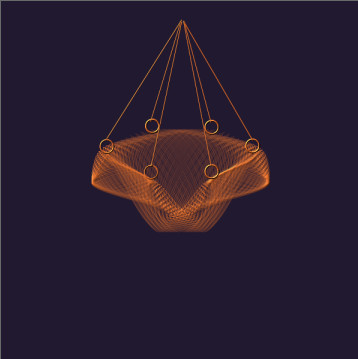
Repeat this sequence on all the other loop layers (making the loop ![]() |
Step 6. ![]() The back of the basket needs to be separated from the front for the flowers to Firstly, make the basket layer (Raster 2) active. ![]() Go to Selections...Promote to layer... Go to Layer ...Arrange...Bring to Top...then |
Step 7.
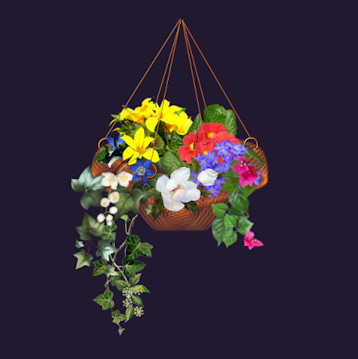
The arrangement is up to you, most will be on layers between the front and ![]() Finish by adding a new layer and with the preset shapes tool ![]()
Hide the background layer then Minimise, or save the filled basket for now, as we are creating the window next |
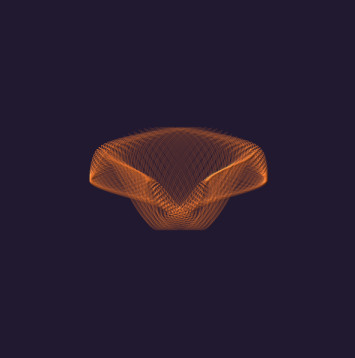
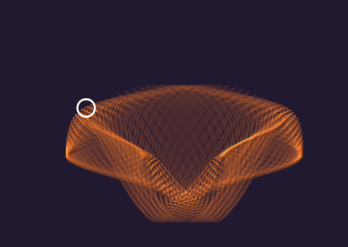
Step 8. Open up the the sinedot image that you minimized or saved I am going to change the colour of mine to white, (but you Go to Edit...Copy...this image is no longer needed Back to the main image, make the background the active layer, |
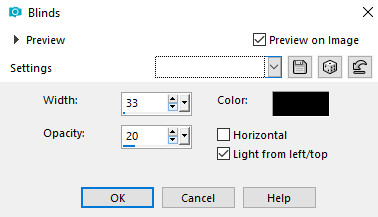
Step 9. ![]() Change the blend mode for this layer to 'hard light' in the layer palette ![]() |
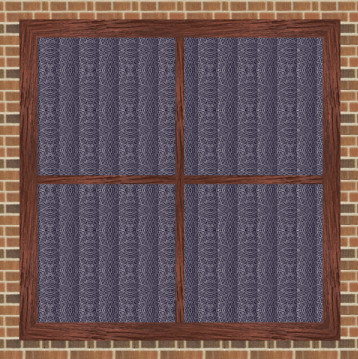
Step 10. ![]() ![]() Re-name this layer 'curtains' |
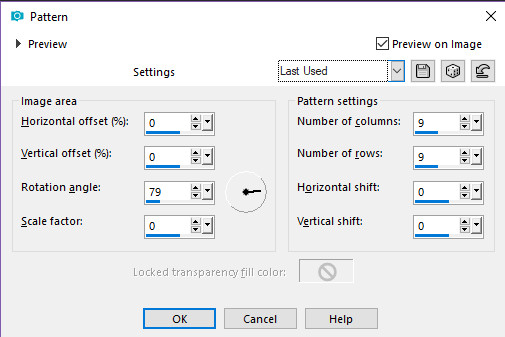
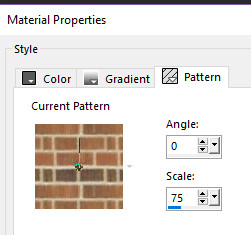
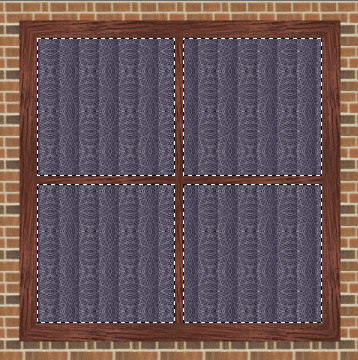
Step 11. Change your foreground style to 'pattern fill'. ![]() Flood fill the selected area with bricks ![]() |
Step 12. With the Pen Tool Mode=Draw Lines and Polylines
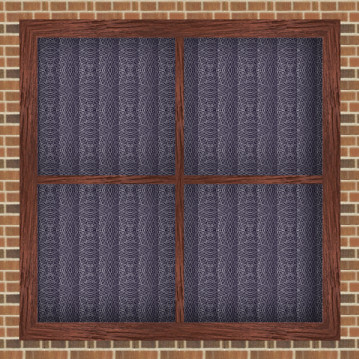
Add a new layer, naming it wood frame. ![]() Go to layers...Duplicate... ![]() |
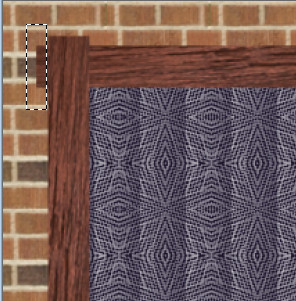
Step 13. ![]() Then press the Delete key, select none. You could use the erasor if you prefer. ![]() While you are on this layer repeat this for the other 3 corners
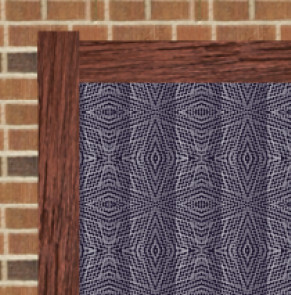
Next make the top layer (copy of wood frame) active and remove the ![]()
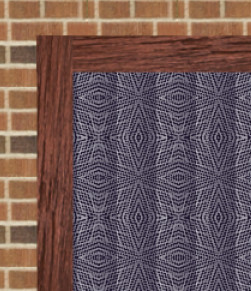
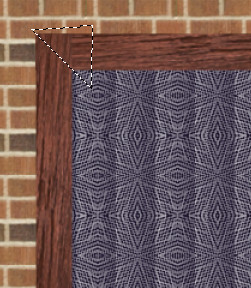
You could leave the corners like this, but thought it looked better with Use the Freehand Selection Tool (lasso) ![]()
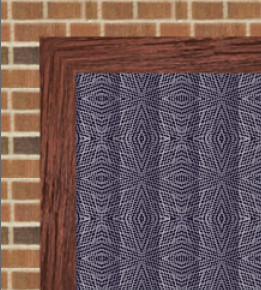
press the delete key and that small section of the vertical line ![]() Repeat this on the other 3 corners |
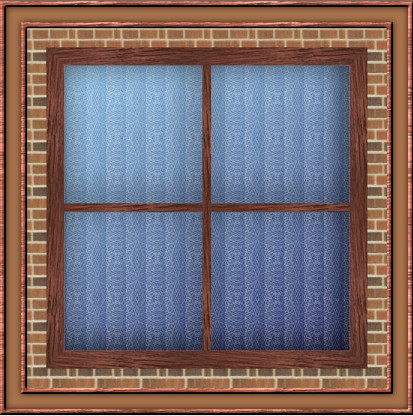
Step 14. ![]()
Layers... Duplicate... Image... Free Rotate... ![]() |
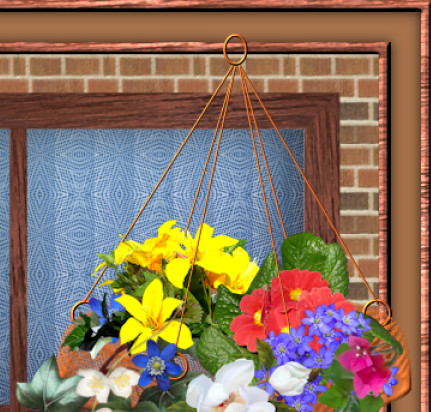
Step 15. ![]() Add a new layer, then go to Select None ![]() |
Step 16. Flood fill the background layer with your chosen colour, or gradient ![]() |
Step 17. Go to Layers...and Merge All Select the border with the Magic Wand, go to ![]() Go to Selections...Select All, then Image...Add borders... Go to Effects...3D...Cutout... Select None. Add a symmetrical border of 10 in white. Select it with the Magic Wand ![]() |
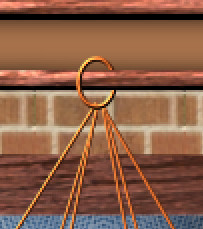
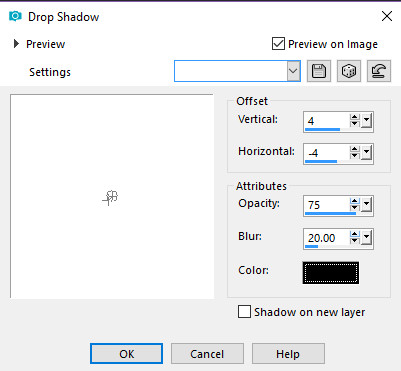
Step 18. ![]() Zoom in so that you can get a close up on the loop and use the Eraser Tool to br> erase part of the loop, so that it looks like it goes behind the border ![]() Finally add a drop shadow tou your hanging basket, these are the settings that I used ![]() Merge All |
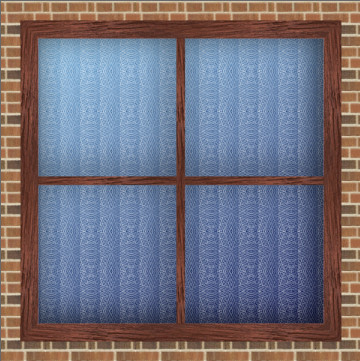
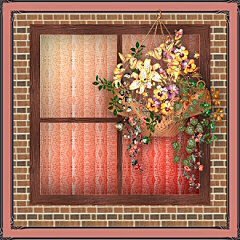
This is one I made with different background colours ![]() |
I hope you enjoyed this tutorial. |
Old Tuts List |