title image

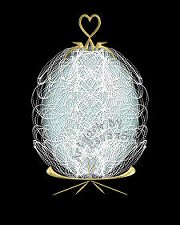
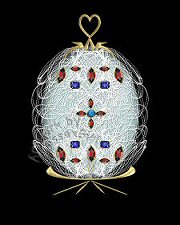
Faberge Egg

PSP X9

image
This tutorial was created 28th January 2004 for PSP 8 ©Copyright Artwork by EssexGirl
It has been updated for PSP X9 on 22nd July 2017
please do not copy it, or put it anywhere else without my written permission.

Filters and programs used in this tutorial :-
Paint Shop Pro
Dragonfly's Sinedots II

Materials :-
My sg_egg3.cfg, and tubes Here

This tutorial assumes that you already know where to find
the tool boxes and palettes and have set up the workspace
and preferences to suit yourself.

Some images have been made smaller to shorten file size


Step 1.
Open a new image 300 x 300 transparent, flood fill with a
dark colour, I used black. (this just makes it easier
to see the sinedots image).
Name this layer background.

Add a new raster layer naming it 'lace'.
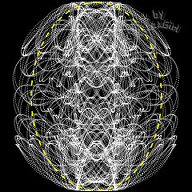
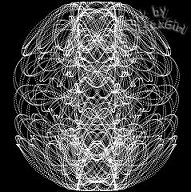
Go to Effects...Plugins...Dragonfly...Sinedots II...
If you are new to sinedots and don't know how to open
the .cfg files and the presets that they contain,
click HERE for more information

Open the sg_eggs.cfg preset. Click the little window
at the bottom of the sinedots screen to get the drop
down list of presets. The one I am using in this tutorial
is egg3, but you can choose one of the others if you prefer.
Before clicking ok we want to change the colour.

Click on the 'color' box and choose white, or another colour
if you want to. Some of the presets are on a black background
and for this tutorial it needs to be transparent, so if the
preset that you've chosen is on a black background(you can
see it in the preview window), click on the blend window
and from the dropdown list choose 'screen'.
Click OK

image


Step 2.
Next we will make an egg to fit inside the sinedots shape

Add a new layer naming it 'egg'.
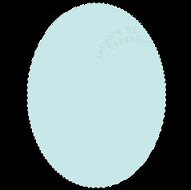
Activate the selection tool and make the
selection type=ellipse mode=replace
feather=0 anti-alias ticked
Starting in the centre of the image (co-ordinates 150, 150
drag outwards with the mouse to select an ellipse inside the
lacy sinedots shape. The exact size is up to you, but to
give you a rough guide I have drawn the shape of my
ellipse in this screenshot.

image

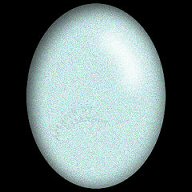
With the 'egg' layer active flood fill the selection with
your choice of colour I have chosen #C8E8E8.
Don't de-select yet, we will keep the shape selected
until the cutouts and highlight are finished.

Now that we've got the egg the right size to fit into
the sinedots shape, we can hide the sinedots while we
finish making the egg, so on the layers palette
click the eye on the 'lace' layer hide it.

image


Step 3.
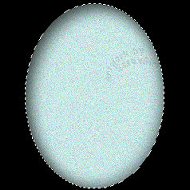
Go to Adjust...Add/Remove Noise...Add Noise...
and use Gaussian, 25%, with monochrome unticked.

Now we will use cutout to give it some shape, so
Go to Selections...Float...
Go to Effects...3D Effects...Cutout...
Vertical=10 Horizontal=10 Opacity=60
Blur=30.69 Shadow colour=Black

Apply another cutout, but change the Horizontal and
Vertical settings to minus 4 (-4) and the Opacity to 50

image

Go to Selections...Defloat...but don't de-select yet.


Step 4.
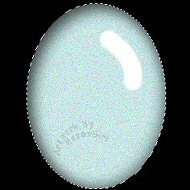
To add a highlight change the foreground
colour of your palette to white.

Add a new layer naming it 'highlight'.
Activate the Paintbrush Tool and use these settings
shape=round size=30 hardness=80 step=25 density=100
thickness=100 rotation=0 opacity=100 blend mode=normal

Paint a curved line in the top right corner of your egg
shape, similar to the one shown in this screenshot.

image

Go to Adjust...Blur...Gaussian Blur... blur with a radius of 16.00
Now you can de-select

image


Step 5.
Make sure you are on the 'highlight' layer.
Go to Layers...Merge...Merge Down...

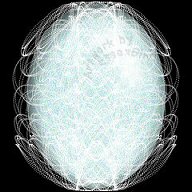
Turn the visibility of the 'lace' layer back on and move it abovebr> the egg layer, either by dragging it up in the layer palette, or make
sure 'lace' is the active layer and go to
Layers..Arrange...Bring to Top.

image

We will make the lace stand out more by adding a drop
shadow, but we need more space to work in first.


Step 6.
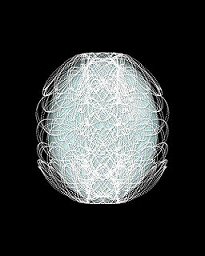
Go to Image...Canvas Size...
Make sure that the 'Lock aspect ratio' box is unticked.
Change the width to 400 pixels and the height to 500
Select the centre box in the placement section.

Make the background layer active and flood fill with
your background colour again to fill the gaps.

Make the 'lace' layer active
The sinedots preset that I a used for the lace is very fine,
so the layer needed duplicating to thicken it (if you chose one
of the thicker presets you won't need to duplicate and merge down,
I also found that the thicker preset didn't need to be sharpened).

Go to Layers...Duplicate...
Then go to Layers...Merge...Merge Down...

Go to Effects...3D Effects...Drop Shadow...
Horizontal and Vertical offsets=1
Opacity=between 57 and 100 Blur=3.96 colour=Black

Go to Adjust...Sharpness...Unsharp Mask...
Radius=2.00 strength=50 clipping=5

image

You should have 3 layers, the lace at the top, the egg in the middle
and the background at bottom. Make sure that the top layer (lace) is active
Go to Layers...Merge...Merge Down.

Next we will give a drop shadow to the lace covered egg.
Go to Effects... 3D Effects... Drop Shadow...
Vertical=minus 6(-6) Horizontal=11
Opacity=60 Blur= 19.80 colour black


Step 7.
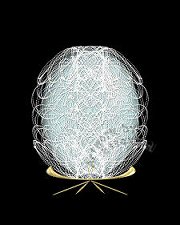
In the download zip file I have provided tubes for the base and the
top in a choice of silver or gold. You can of course use a base and
top of your own if you prefer.

Open the tubes for the top and base either in gold, or silver.
Copy the base and paste as a new layer on your image, use the Mover Tool to
move it to the bottom. Repeat with the top, but move it to the top of the egg.

image

Go to Layers... Merge... Merge Down... to merge the top and base together

Add a Drop Shadow to the base and top layer
Vertical offset=minus 3 (-3) Horizontal offset=3
Opacity=70 Blur=8.00 colour=black

Now go to Layers... Merge... Merge down...
to merge your lace covered egg and its top and bottom together

image


Step 8.
Decorate your egg with jewels or beads. There are some of my
jewels included in the materils zip which you can use if you wish,
or you can use your own decorations.

Place them on seperate layers, so that they can be moved,
it is also easy to delete any that you don't want to use.
The jewels will need resizing, I resized then between 50% and 75%,
but the size you want depends on what jewels you use and how large,
or small you want them to be, so experiment.

When you are happy with the decoration, hide the egg,
and the background layers, make sure that one of
the jewel layers is active
Go to Layers...Merge...Merge visible.
Turn the visibility of all layers back on.

image


Step 9.
Make sure the layer containing your jewels is active.
Go to Effects...3D Effects...Drop Shadow...
Vertical and Horizontal offsets=0 Opacity=50 Blur=8 colour=black
This will make the jewels stand out a little bit.

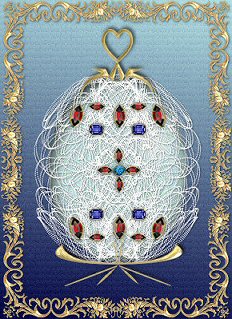
Decorate the background layer in any way that you wish.
For the one shown in this tutorial I flood filled the
background layer with a linear gradient and then applied
Effects...Texture Effects...Mosaic Glass... using the
default setting (for the default setting, just click on
the curved arrow at the top right of the dialogue box.

Finish with a frame of your own choice.

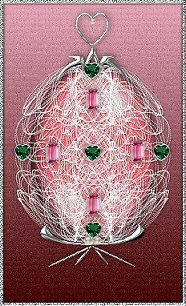
This is another example using different colours.

image

I hope you enjoyed this tutorial.
Thankyou to my very helpful testers


the original version of this tutorial I adapted for the PSPUG
I'm not sure if it still exists as it was written for PSP8, but if it
does it can be found there under my screen name of cassandrablue.


Old Tuts List