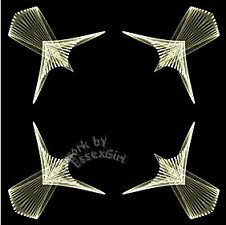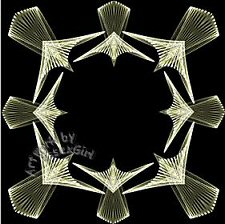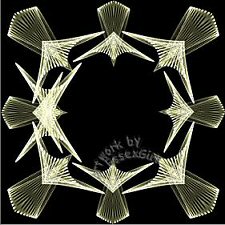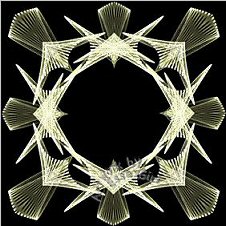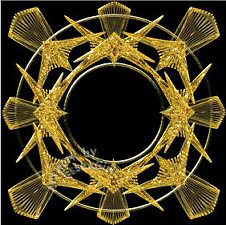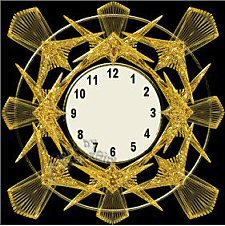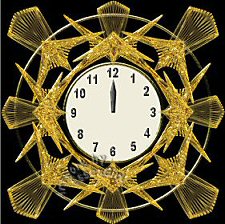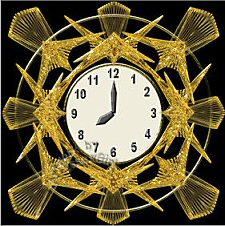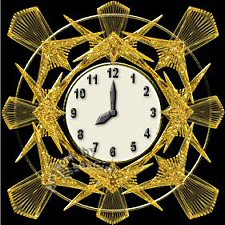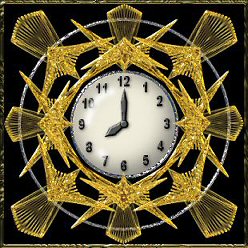
title image

Topaz and Gold Clock

PSP9 version
image
This tutorial was created 3rd Sept. 2002©Copyright Artwork by EssexGirl
Updated for PSP9 12th March 2005
please do not copy it, or put it anywhere else without my written permission.

Filters and programs used in this tutorial :-
Paint Shop Pro
Dragonfly's Sinedots II Super Blade Pro

Materials :-
There is a text file included in the zip,
if you don't know where to place the items.
My sg_clock.cfg Here
The topaz SBP preset that I use in this tutorial was made by
Joe Cilinceon and can be found at dizteq on This Page
put the preset and bmps in SBP's Environments and textures folder

some images have been made smaller to shorten file size


Step 1.
Open a new Image 200 x 300 transparent.
Flood fill with a dark colour and add a new layer
Go to Effects...Plugins...Sinedots...
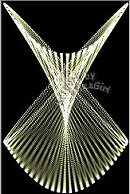
Open the sg_clock.cfg and choose the ballet dress preset
If you are new to sinedots and don't know how to open
the .cfg file click HERE for more information

Some presets use different 'blend' settings and it is
important for this tutorial to make sure that the blend
in the sinedots setting is set to 'screen' like this:-

image

image


Step 2.
Go to Image...Canvas size...
Change the canvas size to 400 x 400
In the placement section choose the centre square

Make the background layer active and
flood fill with your dark colour.
Make the sinedots layer active again.
Duplicate the image (shift+D) and minimise
the duplicate for now you will need this soon

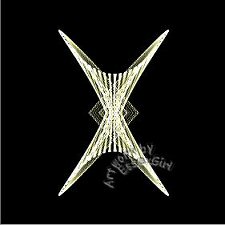
Go to Effects...Reflection Effects...Rotating Mirror....
Horizontal offset=0, Vertical offset=0,
Rotation angle=270, Edge mode=Reflect

image

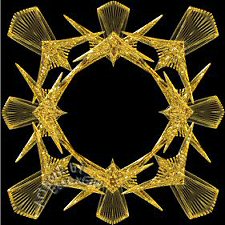
Save this Image naming it 'winged brooch'
You can either close the image or minimise it.


Step 3.
Open the copy of your sinedots image
that you made earlier
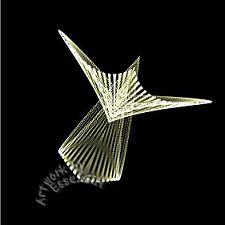
Go to Effects...Rotating Mirror...
Change the Rotation Angle to 205, leave the other
settings the same as before.

image

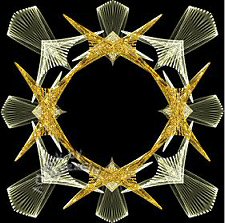
Save this image, naming it 'winged droplet'
but don't close it yet.

You may find other uses for these two images
if you do I'd love to see what you come up with


Step 4.
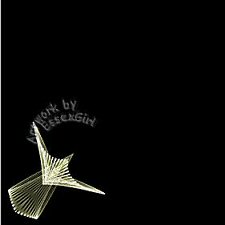
To use this image in the clock it needs
to be resized and rotated slightly, so
Go to Image...Resize...
with the 'resize all layers box' unticked and
Resample using Bicubic, resize to 60%
Next, go to Image...Rotate...Free Rotate...
and with the all layers, and the rotate single
layer round canvas centre boxes unticked rotate
by 20° Right. The image will need sharpening,
so go to Adjust...Sharpness...Sharpen...

Go to Edit...Copy...(Ctrl+C)
This image can now be closed


Step 5.
Open a new Image 400 x 400 transparent
Flood fill with a dark colour and add a new layer
Go to Edit...Paste...and paste as a new selection
at co-ordinates 11,216 and de-select(you can see the
co-ordinates at the bottom left of the screen)
De-select

image

Go to Layers...Duplicate...then Image...Mirror...
Go to Layers...Merge...Merge Down...
Duplicate the layer again and this time go to
Image...Flip...then Layers Merge...Merge Down...
Re-name the layer 'frame 1'

image


Step 6.
Go to Layers...Duplicate...
Re-name this layer 'frame 2'
We are going to rotate this layer,
but first it needs to be resized, so
Go to Image...Resize...
with the 'all layers' box unticked resize to 80%
Go to Image...Rotate...Free Rotate...with the all layers,
and the rotate single layer round canvas centre boxes
unticked rotate by 45° in any direction then go to
Adjust...Sharpen...and Sharpen.

image


Step 7.
Open the 'winged brooch' image
Go to Image...Resize...
with the 'resize all layers box' unticked resize to 60%
Copy (Ctrl+C) and close this image.
Back on your main image, paste as a new layer and move it
to the left side like the following screenshot
De-select.

image

Go to layers...Duplicate the layer.
Image...Mirror... go to Layers...Merge...Merge Down...
Duplicate the layer again, this time
Go to Image...Rotate...Free Rotate...with the all layers,
and the rotate single layer round canvas centre boxes
unticked rotate by 90° in any direction.
Merge Down again. Re-name the layer 'frame 3'

image


Step 8.
Make sure that the 'frame 3 layer is active.
Go to Selections...Select all...
Then Selections...Float...
Go to Effects...Plugin Effects...
Flaming Pear...SuperBladePro...
Apply the Topaz preset and de-select.

image


Step 9.
Repeat step 8 on the 'frame 2' and 'frame 1' layers
I moved the'frame 3' layer below the other two by
dragging it down in the layer palette, but this is
a matter of preference.
It doesn't make a lot of difference, but seemed
to make the V shape on the top and side wings
stand out a little more.
This is my screenshot

image


Step 10.
Make the background the active layer and
add a new layer. Name this layer circles.

Activate the Preset Shapes Tool

image

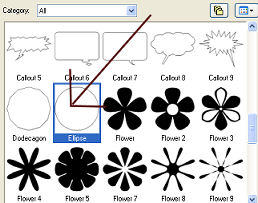
In the list of shapes choose Ellipse

image

Use these settings
Retain style=unticked
Create on vector=unticked
Antialias=ticked
Line style=Solid
Line width=5

Make the palette foreground colour white, the foreground
style solid fill and the background style null.
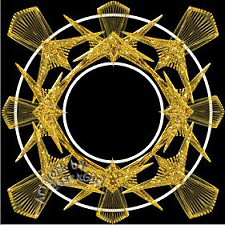
Hold down the shift key and use the right mouse button
to make a circle starting in the centre (co-ordinates
200,200) and dragging outwards almost to the edge of
the centre space, like the following screenshot

image

Make another circle in the same way, starting at
200,200 finishing at co-ordinates 445,445.
It should look something like this screenshot

image


Step 11.
Use the magic wand with these settings
Mode=Add
Match mode=RGB Value Tolerance=0
Sample merged=unticked
Contiguous=Unticked Feather=0
Antialias=Ticked
Outside.
Select the circles (you should only need to
click one and they will both become selected).
Apply SuperBladePro's gold basic and de-select.

image


Step 12.
Put a tick in the Contiguous box, in the magic
wand settings, the other settings can stay the same.
Click on the area in the centre to select it
Go to Selections...Modify...Expand...
and expand the selection by 1 pixel
Add a new layer naming it 'clock base'
Change the foreground colour to #EFECDB
and flood fill the selection, then De-select.
Move the layer below the 'circles' layer


Step 13.
Add a new layer and activate the Text Tool
Change the palette background colour to black, make the
foreground style null and the background style solid fill.

It is best to put each number on a seperate layer
so that they can be moved individually.

With the Text Tool place each number in position on the
clock face. Add a new layer for each number, so that it is
easy to move them seperately.
re-positioning with the Mover Tool as necessary.
Choose any font that you like.
I used Arial Narrow size 18, with 'bold' style selected.
I found it easiest to position the numbers
12,3,6 and 9 first.
When you are happy with the position of the numbers,
turn off the visibility of all the layers except
those with the numbers on, by opening the layer palette
and clicking the eyes to hide them

Go to layers...Merge...Merge visible.
Re-name the merged layer 'numbers'

image

Go to Effects...3D Effects...Inner Bevel...
Use psp's 'metallic' preset, found in the drop down
list of presets at the top of the dialogue box.


Step 14.
Add a new layer naming it 'big hand'.
Activate the Preset Shapes Tool and change the
shape to 'pentagon' then make a long narrow
pentagon for the big hand of the clock.

The size is a matter of personal preference.
The screenshot shows mine.
Move it into position with the Mover Tool and
apply the same inner bevel as before.

image

Add a new layer naming it 'small hand' and make
a shorter, wider shape using the Preset Shapes
Tool, again using the 'pentagon' shape.
Unless you want the time to be 12 o'clock, you
will need to rotate and/or flip this hand.
I rotated by 125 ° Left (make sure that
the 'all layers' box is unticked). I also needed
to sharpen the layer (Adjust, Sharpness, Sharpen).
When you have the hand pointing in the direction that
you want, move it into position with the Mover Tool
and apply the same inner bevel as before

image


Step 15.
Add a new layer naming it 'centre'.
Change the shape of the Preset Shapes Tool to
ellipse, hold down the shift key and with the
right mouse button make a small circle in the
centre, starting at co-ordinated 200,200 make
it just large enough to cover the join between
the big and small hands of the clock.
Apply the same inner bevel as before.

Turn off the visibility of all the layers except
the numbers, big hand, small hand and centre.
Merge visible. Rename this layer 'clock face'
Go to Effects...3D Effects...Drop Shadow...
vertical=1, horizontal=1, opacity=80,
blur=7.9, colour=black

Turn visibility of all layers back on.

image


Step 16.
Make the 'clock base' layer active. Click in the centre
with the Magic Wand to select the circle.
Make the 'clock face' layer active and add a new layer.
Go to Effects...3D Effects...Cutout...
Vertical=15, Horizontal=15,
Opacity=16, Blur=36.3, colour=black

Add a new layer and apply another
cutout changing the settings to
Vertical=minus 15, Horizontal= minus 15,
Opacity=40, blur=43.7, colour=black

Add a new layer.
Make the Pen Tool active
Mode=Draw lfreehand
Connect segments=unticked
Create on Vector=unticked
Show nodes=unticked Segment type=freehand
Line style=Solid
Width=10
Antialias=Ticked
Make the foreground colour white and the style
solid fill. Make the background style null.

Draw a curved line around the top left of the
face of the clock and a smaller curved line at
the bottom left. You don't need to be accurate
with this, as we are going to blur it.

image

Go to Adjust...Blur...Gaussian Blur...
Apply a radius of 4.00 and de-select.


Step 17.
Turn off the visibility of the background by clicking
the eye in the layer palette. Merge Visible, then
turn the background layer's visibility back on.

You can tube the clock (you will need to delete the
background layer first), or flood fill the background
layer with a colour, texture, or pattern of your choice.
If you want to use a background colour other than black
You will probably need to apply a drop shadow to the clock.
Vertical=6, Horizontal=6,
Opacity=65, Blur=33.3, colour=black.

If you resize, use Bicubic

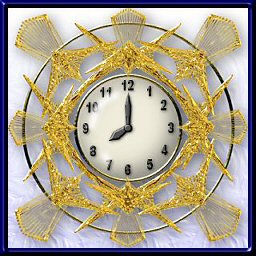
For the following example I applied SBP's
germanium preset to the circles instead of
gold basic and used a black background.

image


I hope you enjoyed this tutorial.
Thankyou to my very helpful testers


Old Tuts List