title-image

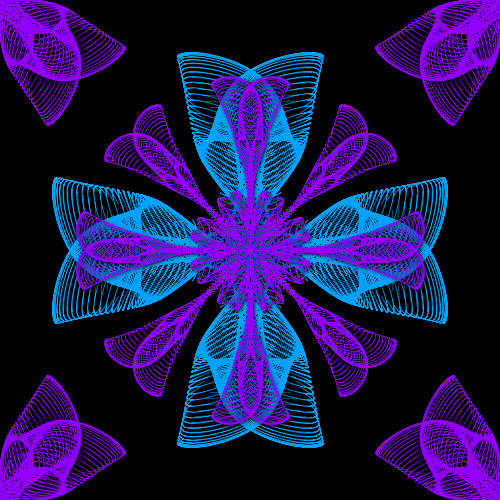
Celtic Cross Tutorial
PSP X2
image
This tutorial was created November 5th 2001
©Copyright Artwork by EssexGirl
Updated for PSP8 and PSPX2
please do not copy it, or put it anywhere else
without my written permission.

Filters and programs used in this tutorial :-
Paint Shop Pro
Dragonfly's Sinedots II filter you can get

Materials :-
There is a text file included in the zip, if you don't know where to place the items.
My sg_crinolin.cfg Here

I have included another couple of my presets in the same folder


step 1.

Create a new image 200 x 200 transparent
Go to Effects...Sinedots II and load
the sg_crinolin.cfg preset there are 3 pre-sets
in the same folder, select 'crinolin'
if you are new to sinedots and don't know how to open
the .cfg file click HERE for more information

Some presets use different 'blend' settings and it is
important for this tutorial to make sure that the blend
in the sinedots setting is set to 'screen' like this:-

image

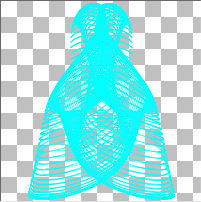
The image should look like this

image

Go to Edit...Copy
you don't need this image any more, so you can close it


step 2.
Create a new image 500 x 500 transparent
Flood fill the layer with a dark colour, this will make
it easier to see the sinedots image, I have used black.
The colour can be changed to something else later if you want to.

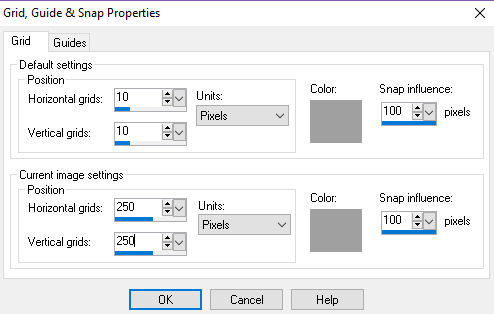
Go to View...Grid, then View... Change Grid Guide and Snap Peoperties...
Change the current image settings to 250 horizontal and vertical
this will make it easy to see where the centre of the image is

image

Go to Layers and add a new layer.
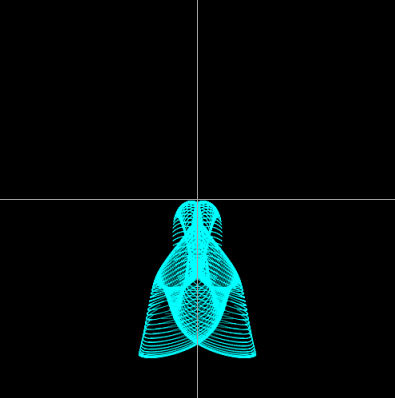
Go to Edit...Paste as new selection, placing the top of the sinedots
image so that the top touches the centre and de-select.
It should look like this

image

You can turn off the grid now (View... Grid...)


Step 3.
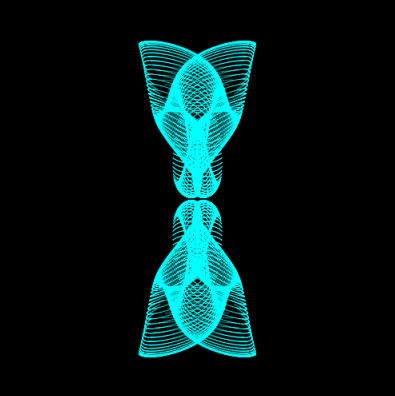
Go to Layers...Duplicate, then go to Image...Flip...
Layers...Merge...Merge Down...
This is what you now have

image


Step 4.
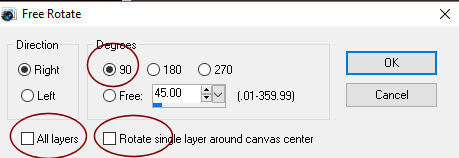
Go to Layers...Duplicate, then to Image...Free Rotate 90°
all layers unticked, it doesn't matter which direction

image

Go to Layers...Merge...Merge Down...
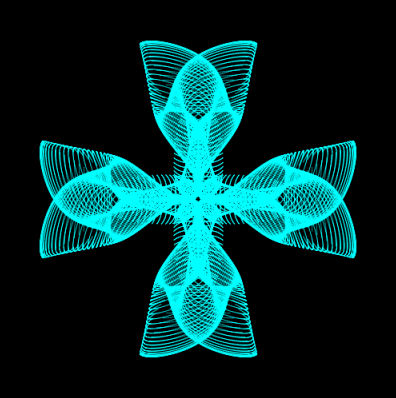
Your picture should now look like this

image


Step 5.
Go to Layers...Duplicate then go to
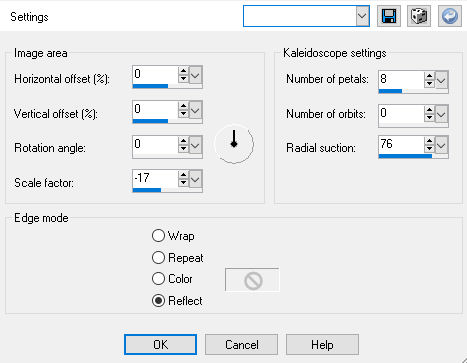
Effects...reflection effects...Kaleidascope, use these settings

horizontal=0, vertical=0, angle=0, scale factor=-17, petals=8, orbit=0, radial suction=76, edge mode=reflect

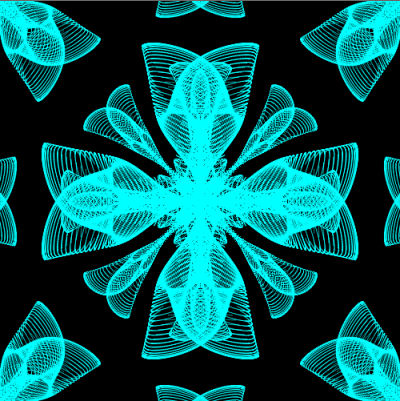
This is the result

image


Step 6.
This gives a pretty effect, but I then decided to change the colours
There are various methods for changing colour and you may have to decide
which suits you best. In the original PSP7 version of this tutorial I used
Colourize and that worked well in PSP8 as well, but when I tried it in my PSPX2
even with the saturation setting at maximum it gave a pale washed out colour
so I used Hue/Saturation/Lightness instead.
Use whichever method suits your version of PSP best and choose your own colours.
This is what I did here

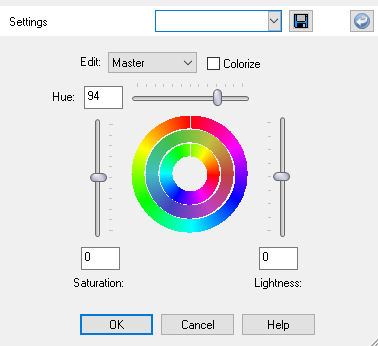
Go to Adjust...Hue and Saturation...Hue/Saturation/Lightness

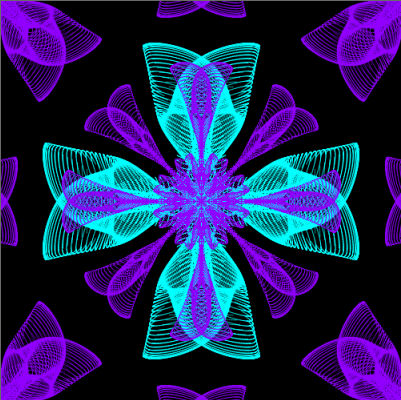
hue=94, saturation=0, lightness=0

This was my result

image

You can also go to the layers palette, select the previous
layer and play around the colour settings there too
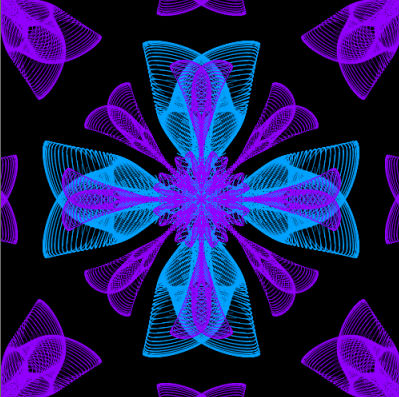
I changed the 'hue' on mine to 22 and this was what I got

image


Step 7.
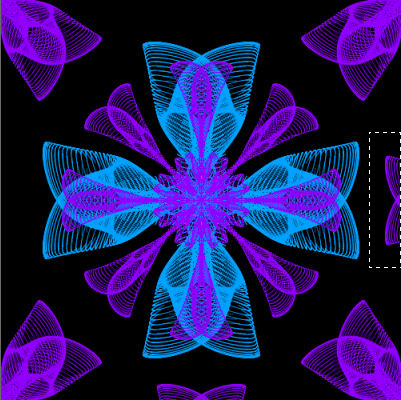
I wanted to take out the bits in the centre of each side
and top and bottom, so make the top layer active and using
the selection tool (type rectangle, ot point to point) select
around each in turn and hit the delete button. You could remove
the corner ones too if you want, but I left those in place.
This is the screen shot halfway through the process

image


Step 8.
You could flood fill the background layer with a different colour. I preferred
the black background, but it's interesting to try different colours out and
see what you like. You can also add a small drop shadow to both of the sinedots
layers them stand out if you want to. I did so with these settings
Effects... 3D Effect... Drop Shadow... Vertical and Horizontal = 1, Opacity = 75, Blur = 5, colour = Black
And finally Merge all layers

You can get a variety of effects by altering the
Kaleidascope and colourize settings,
or using different pre-sets.
A couple that I did are shown below

image image


I hope you enjoyed this tutorial.

I'd like to give a big thankyou to Lorelai
for suggesting that I write a tutorial on
my Celtic Cross and for testing it for me.


Old Tuts List