|
Step 7.
To add some decoration and to cover the join between
the stick and the mask, These are the tubes that I
used, but if you don't have the same ones you can
use any alternative tubes you that like.
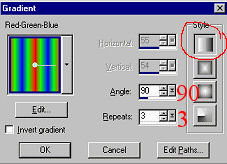
For my ribbons I used the 'streamers' tube
that came with psp7 (I have included this in the
materials zip for this tutorial) scale=100 step=100
place each one on a seperate layer and stretch them
to different lengths using the Deformation Tool,
you can flip or mirror them, if you think any of
the ribbons would look better the other way around.
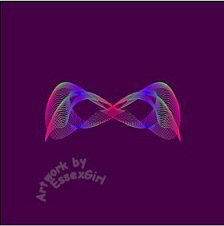
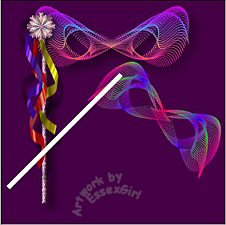
This was my first ribbon (streamer)
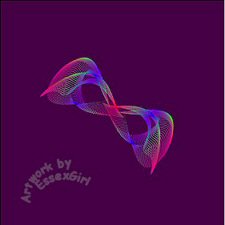
Click on the Deformation Tool and then pull
the bottom centre down to stretch it
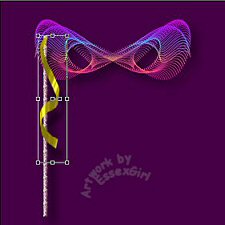
Double click to remove the deformation box
Then go to Effects and sharpen
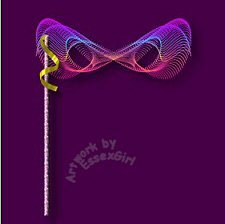
I did three ribbons deleting any that I didn't
like the shape of. You can use the colourizer on
them if you need to change the colours.
Don't forget to put them on seperate layers.
The streamers already have a drop shadow
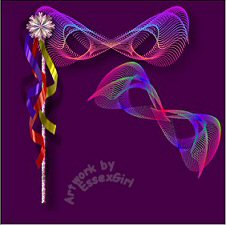
so you don't need to add one. I finished with
a tube of my own called sg_pink flower using
scale =30 step =200
Go to Effects...Sharpen...and sharpen
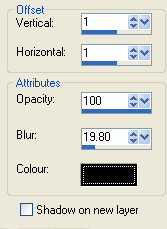
then I added a small drop shadow, changing
the vertical and horizontal setting to 2.
The sg_pink flower and sg_pink blossom tubes that
I use in this and the second mask are available for
download at the top of the page if you want them,
but you can use your own if you prefer
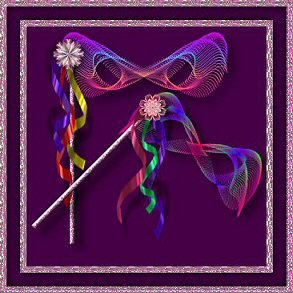
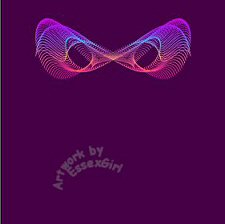
This is how my first mask looked after decorating

Turn off the visibility of the background layer
by clickin the eye on that layer in the layers
palette. Go to Layers...Merge...Merge Visible.
Turn the visibility of the layer background back
on, by clicking the eye again.
|