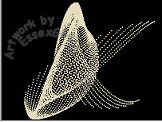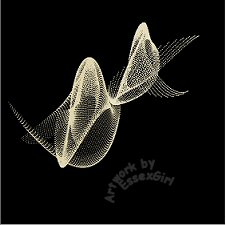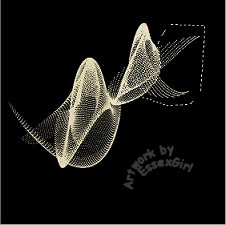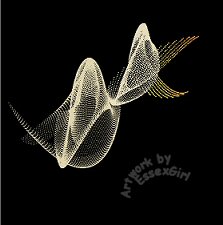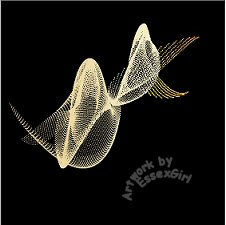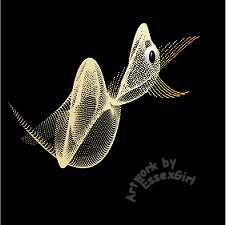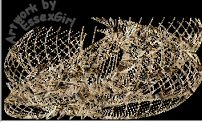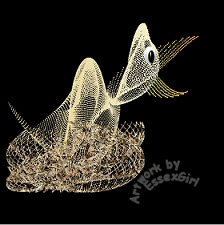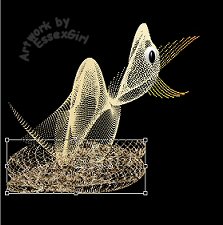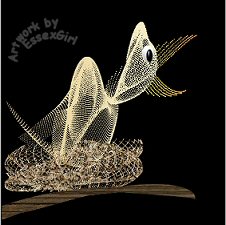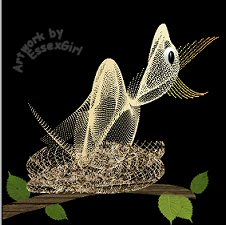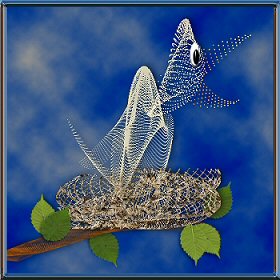
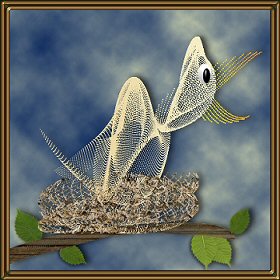
Bird in Nest
Tutorial
PSP X
This tutorial was created February 19th 2002©Copyright Artwork by EssexGirl
please do not copy it, or put it anywhere else without my written permission.
updated for pspX Feb 2007
Filters and programs used in this tutorial :-
Paint Shop Pro
Dragonfly's Sinedot II filter
Render 2D Hyperclouds, or Mura Meister's 'Cloud'
Materials :-
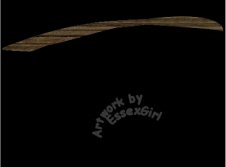
My sg_bird and nest.cfg, the Leaves tube and Shredded
Wood
and Phone Pole BMPs from psp7 Here
some images have been made smaller to shorten file size