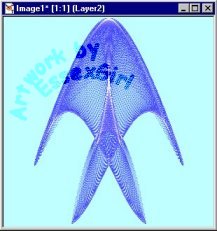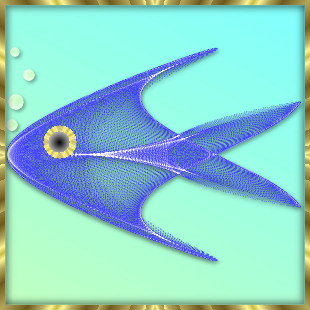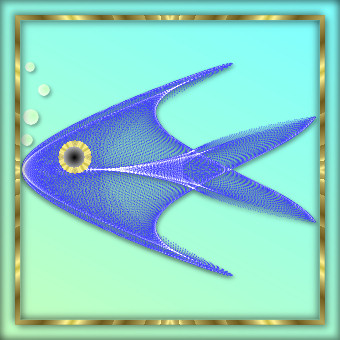
title image

Angelfish Tutorial

PSP X and X2
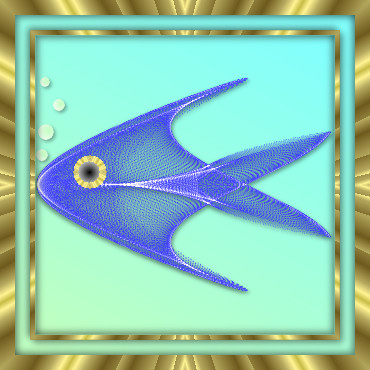
image
This tutorial was created October 2001© Copyright Artwork by EssexGirl
and updated for PSP X and X2 March 2010
please do not copy it, or put it anywhere else without my written permission.

Filters and programs used in this tutorial :-
Paint Shop Pro
Dragonfly's Sinedots II
Ulead Art Texture - optional
(When you are installing art texture it will look for photoshop
on your computer. You just need to click on the browse button
and navigate to your PSP plugins folder, then install it in there.)

Materials :-
My Angelfish pre-set Here
(The file also contains three other fish shapes
Unzip into the folder you have made for Sinedots II)

images have been made smaller to shorten file size


step 1.
Create a new image 300 x 300 transparent and
flood fill with a colour of your choice,
I have used #81FFFF
Go to Layers...New Raster Layer...


step 2.
Go to Effects...Pluggins...Dragonfly...SinedotsII
Click on the 'open' button at the bottom of the screen and
go to the folder containing the 'angelfish pre-set'
if you are new to sinedots and don't know how to open
the .cfg file click HERE for more information

Some presets use different 'blend' settings and it is
important for this tutorial to make sure that the blend
in the sinedots setting is set to 'screen' like this:-

image

Change it in the drop down list if you need to,
otherwise the sinedots image will be on a black layer
instead of a transparent one. Click ok
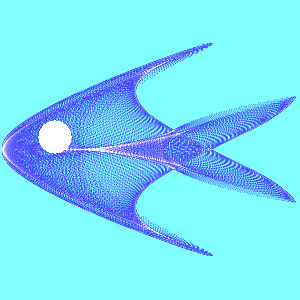
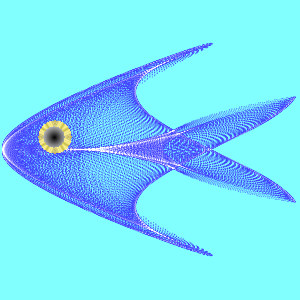
This sinedots shape should now be on your image

image

Go to Image...Rotate Left


step 3.
Now we can give the fish an eye.
I did this on a new layer in case I needed to adjust
the position of the eye, so add a new layer.
Click on the selection tool
Selection type = Circle
Mode = Replace
Feather = 0
Anti-alias = ticked
Make a circle the size you want the outer part of the eye
and flood fill with white.

image

Go to Effects...Pluggins...Ulead Art Texture
(I have used Ulead Art Texture for this tutorial,
but 'Super Blade Pro' is good too, or you could
just flood fill with a gold pattern.)
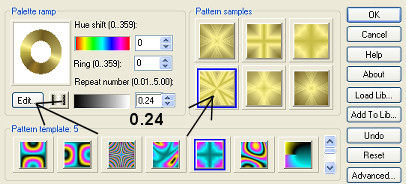
Click 'edit' and choose the gold 'palette #5'
I picked the bottom left of the 6 samples
and changed the repeat number to 0.24
here is the screen shot

image

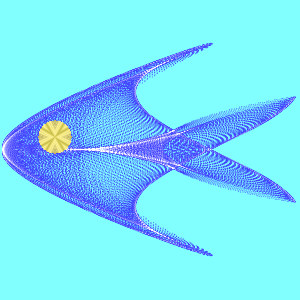
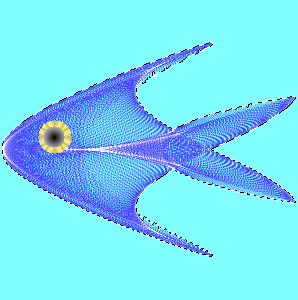
The fish should now look something like this

image


step 4.
Make a new layer so that any re-positioning is easy.
Go back to the selection tool, de-select and make
a new circle inside the gold one, ready for the inner eye.
Set the palette to foreground to 'black' and background
'white', and gradient fill with the following settings

Gradient = Foreground-background
Style = Sunburst
Horizontal=50
Vertical=50
Repeats=0

Then flood fill the inner circle.
The fish should now have an eye with a dark centre.

image

de-select the eye centre.
If you need to re-position the eye
you can do so with the 'mover tool'.


step 5.
This step is optional

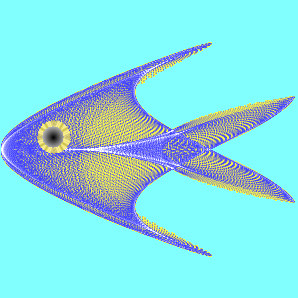
As a variation you could make the inner scales of the fish
a contrasting colour. I prefer it without the extra colour.
Make the layer containg your sinedots image active (Raster 2)
Use the magic wand tool
Mode = Replace
Match mode = RGB Value
Tolerance = 0
Use All Layers = unticked
Contiguous = ticked
Feather = 0
Anti-alias = ticked
click on area outside the fish, then go to
Selections...Invert...so that your fish shape is selected

image

Add a new layer, then go to
Layers...Arrange...Move Down...so that it is below the fish
and fill the selection with a contrasting colour.
Select none.
Make the layer with the sinedots image active, go to
Layers...Merge...Merge Down...
This example shows the fish shape below the sinedots
layer filled with yellow

image


step 6.
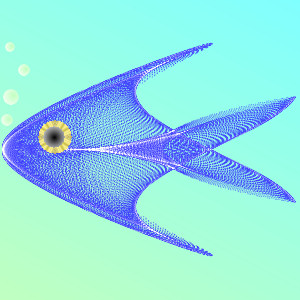
I filled the background with a gradient
in a watery colour and finished with a simple frame.

Set background colour to #80ffff
Set foreground colour to #c0ffc0
I set gradient fill to these settings

Gradient = Foreground-background
Style = Linear
Angle = 28 Repeats=0

you can experiment if you'd prefer something different.

Activate the background layer and flood fill with gradient


step 7.
To add a few bubbles, make a new layer,
change background gradient to white and use
the following gradient settings
the invert gradient box is ticked

Gradient = Foreground-background
Style = Sunburst
Horizontal=64
Vertical=37
Repeats=0

Use selection tool to make small circles
just above the fish's face, flood filling
each with gradient.
Select None

image

Go to Effects...3D Effects...Drop Shadow
Vertical and Horizontal = 2
Opacity = 33
Blur = 5

Make your fish layer active and repeat the drop shadow

Go to Layers...Merge...Merge All.


step 8.
Now for a frame Go to Image...Add Borders add a symmetric
border of 5 using a colour that isn't in your image.
Use the magic wand to select the border
Go to Effects...Ulead Art Texture...
or flood fill with a gold pattern
I clicked 'edit' and chose 'gold #5' again
I also chose the same pattern that I used
for the fish's outer eye, but left the repeat number
at the default setting this time.
Go to Selections...Invert...
Go to Effects...3D Effects...Cutout
Vertical and Horizontal = 3
Opacity = 40
Blur = 10 then repeat the cutout with the Horizontal and
Vertical at minus 3 (-3). Select none.

image


step 9.
Add another symmetric border this time of 15.
Use the magic wand to select the border and flood fill with the
same gradient used for the background, or with a contrasting colour.
Go to Effects...3D...Cut Out...
Use the same settings as in step 9 and repeat with minus
Horizontal and Vertical as before

image


step 10.
Add a symmetric border of 15.
Select with the Magic Wand and apply Ulead Art Texture
with the same settings as before (or fill with gold pattern).
Resize if necessary

image


I hope you enjoyed it.

I would like to thank Patti of Moon'sDesigns for testing
this tutorial for me and for the inspiration and help her
'tutorial on how to make a tutorial' gave me.


Old Tuts List