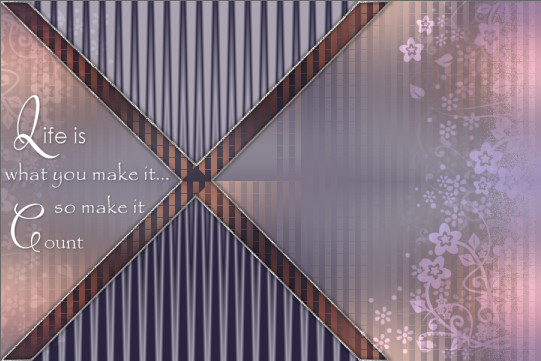
Life is ...

using PSP 2018 by Sandie © Artwork by EssexGirl, All Rights Reserved.
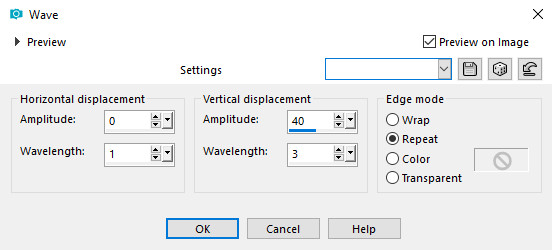
Filters and programs used in this tutorial :-
Paint Shop Pro
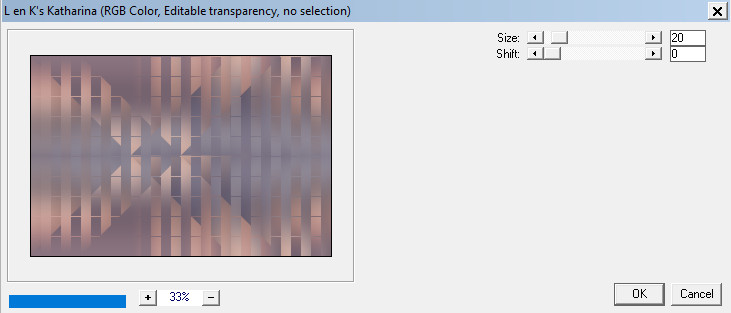
L&K Katharina
Materials :-
My mask, text tube and silver-sparkle, or gold-sparkle pattern
I've included both gold and silver patterns in the materials zip,
put them in your patterns folder, or you can use your own pattern.
Materials Here
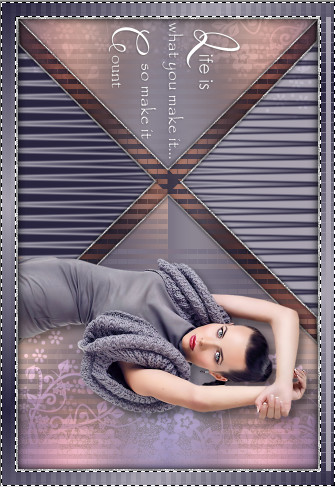
A tube of your choice
the tube I used here was created by Tubes Isa and is included
in the materials zip with permission from Isa.Thank you Isa