Hot Orange Tag

PSP X8
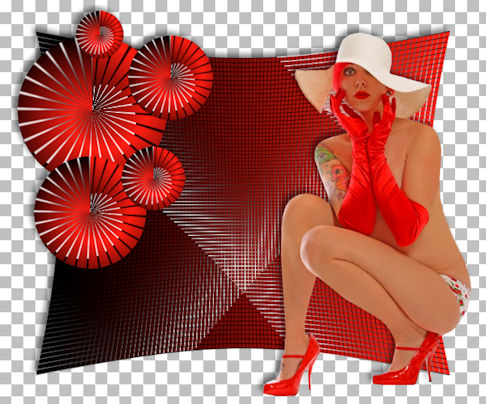
using PSP X by Sandie © Artwork by EssexGirl, All Rights Reserved.
It has been updated using PSP X8 on 12th April 2016
please do not copy it, or put it anywhere else without my written permission.
Filters and programs used in this tutorial :-
Paint Shop Pro
Tramages
Materials :-
A font of your choice
A tube of your choice
the tubes I used here were created by Ana Ridzi