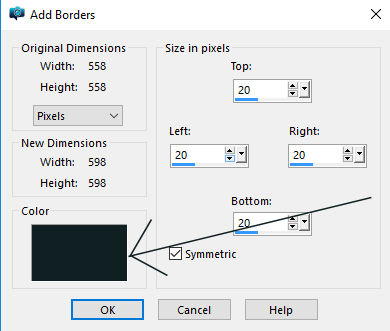
Step 1.
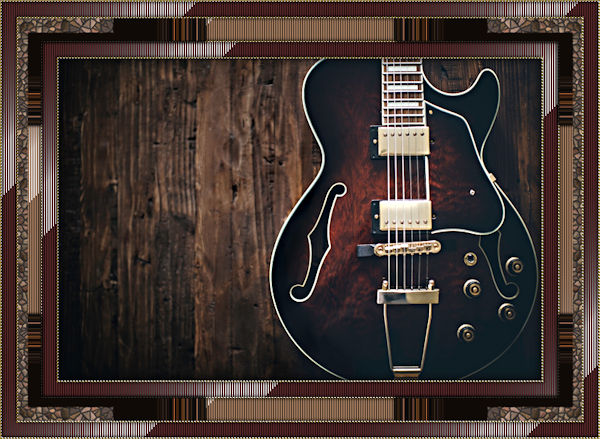
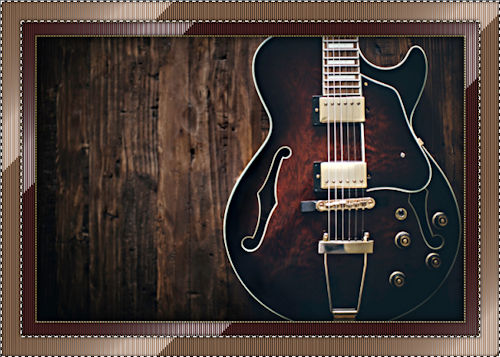
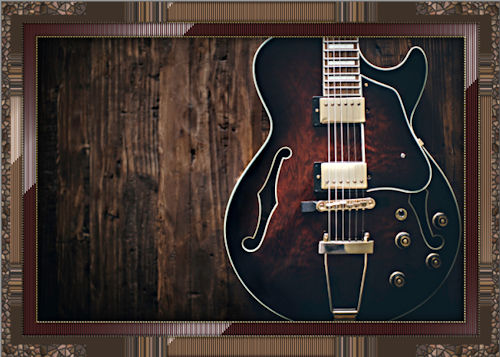
Open the image that you are going to frame and resize if neccesary.
My image was approximately 650px wide, you can use whatever size you want to.
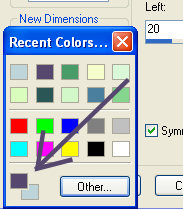
Use the dropper tool to select a dark colour from your image for your
foreground colour (left click) and a lighter colour for your background colour (right click).
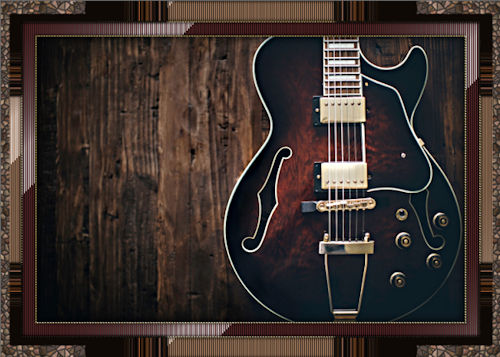
Open the sg_gravel-pattern and the goldbead pattern. Feel free to use your own patterns if you prefer.
Unless the image you are using is a similar colour to mine, you need to change the colour of
the sg_gravel-pattern, so add a new layer to it, flood fill with either your background, or
foreground colour (or another colour from your image), then change the Blend Mode of the layer
to Color, or Color Legacy, whichever you prefer and Merge All.
You can minimize the patterns. They will be available as patterns in your palette.
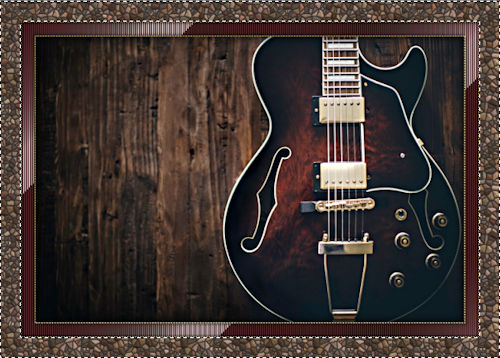
Make the foreground of your palette pattern fill and choose the goldbead pattern
Angle=0, Scale=100
Change the background of your palette to Pattern and choose the gravel pattern.
Angle=0, Scale=100
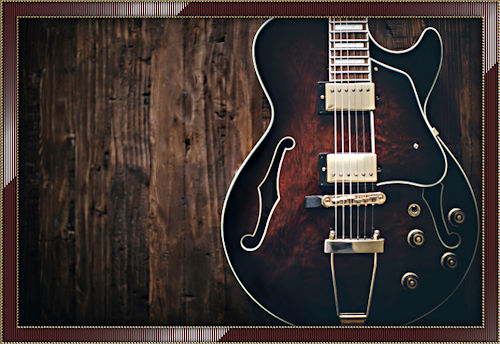
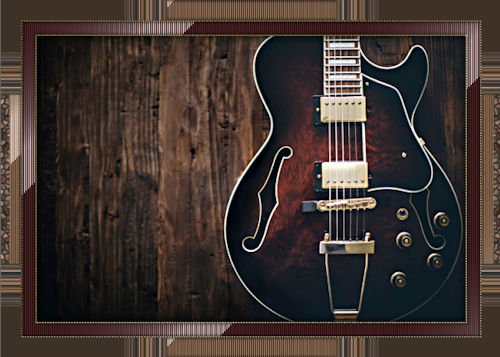
Note* The orientation of the image I used is landscape
style, if you use
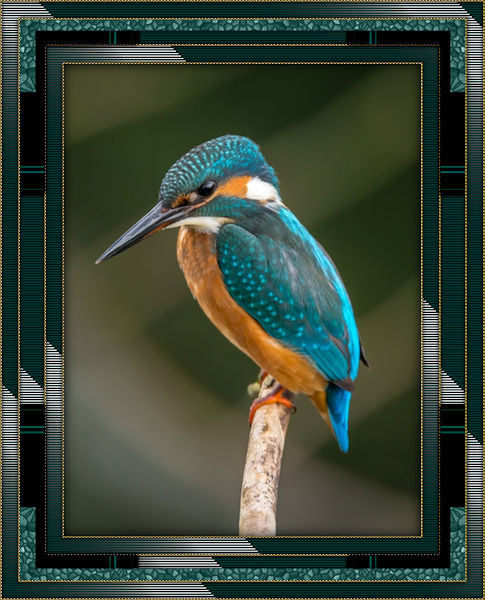
a portrait style image, like my example at the end of the
tutorial, you
need to rotate it (Image..Rotate left or right), otherwise
the kaleidoscope
settings given will give a different result. You can rotate
it back at the end of the tutorial.
|