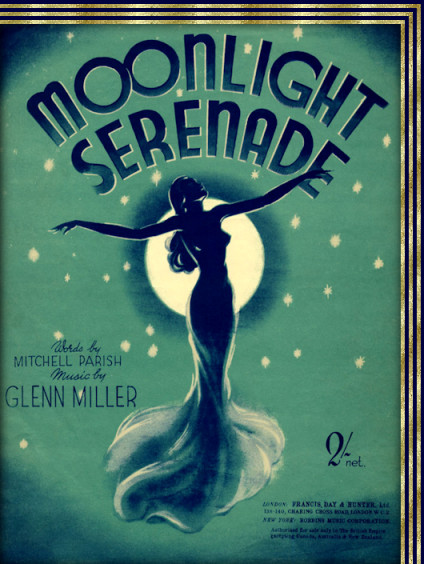
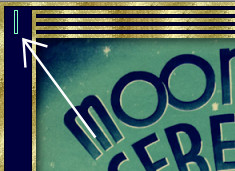
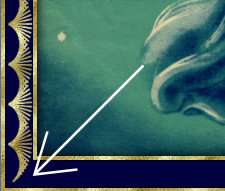
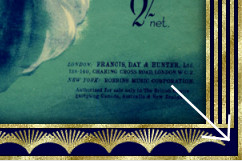
Gold Offset FrameThis tutorial was created 22th June 2003©Copyright Artwork by EssexGirl Updated for PSP2018 March 2018 please do not copy it, or put it anywhere else without my written permission. Filters and programs used in this tutorial :
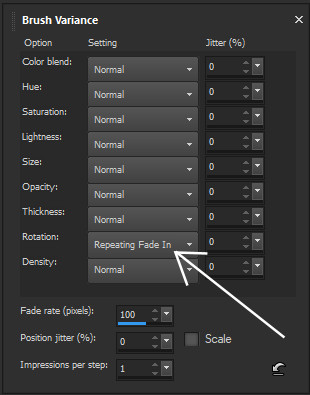
- Materials :- Some images have been made smaller and some just show
a |
Step 1.
For the foreground fill style on the Click on the Foreground and Stroke Properties box to
open Go to Image...Add Borders... You should now have a narrow border along the top and
right |
Step 2. Select None. |
Step 3.
Go to Image...Add Borders... |
Step 4. The other settings stay the same as the last border. Select the border with the Magic Wand and |
Step 5. |
Step 6. Select the border with the Magic Wand and flood fill
with |
Step 7. |
Step 8. One more to add. Go to Image...Add Borders... Select the border with the Magic Wand |
Step 9. Click on the wide coloured border that runs along the left Go to Effects...3D Effects...Cutout... Repeat the cutout but change the vertical and |
Step 10. Make the paintbrush active and click on the brush
tip From the list choose the 'Line vertical' On the tools options palette use these settings Open the Brush Variance palette (F11 is the quickest
way). |
Step 11. Add a new raster layer. Holding down the shift key click at the bottom of the border. Holding down the shift key click at the right |
Step 12. Here is an example using another sheet music cover |
I hope you enjoyed this tutorial. If you wish to contact me you can find an email address
to use included on my Site
Map |