Free Your Dreams

This tutorial was created February 27th 2008 © Artwork by EssexGirl
Rewritten for PSP2018 March 2018
please do not copy it, or put it anywhere else without my written permission.
Filters and programs used in this tutorial :-
Paint Shop Pro
VM Toolbox - Radial Mosaic
FM Tile Tools Blend Emboss
Materials :-
Tube of your choice
My wordart tube, mask and gradient (optional) Here
Put the gradient into your gradient folder and the mask
in
your mask folder.
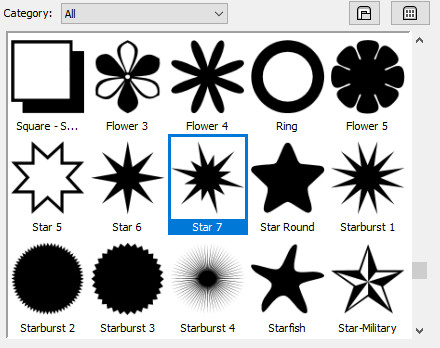
I have included a shapes file from psp8 in the zip in case
it's
not in your version of psp, if you haven't already got it,
put
it in your Preset Shapes folder.
some images have been made smaller to shorten file size