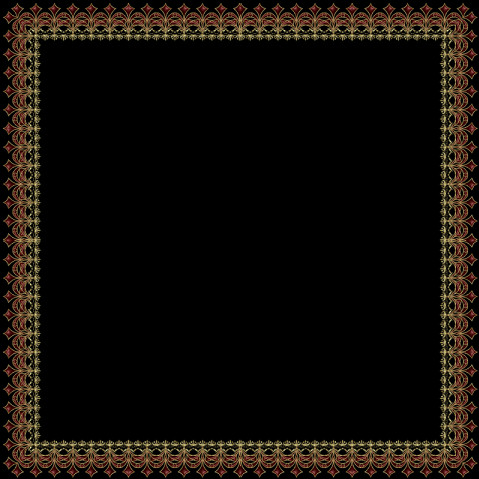
Font Frame Tutorial

This tutorial was created 23rd July. 2005©Copyright Artwork by EssexGirl
updated for PSP 2018
please do not copy it, or put it anywhere else without my written permission.
Filters and programs used in this tutorial :-
Paint Shop Pro
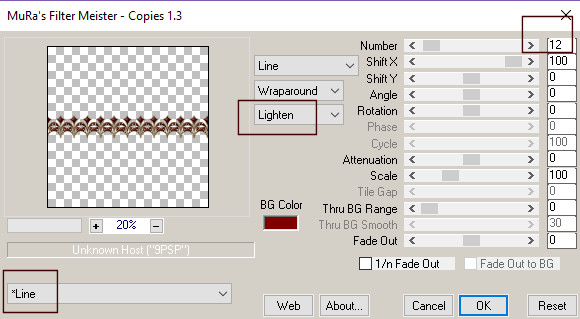
Mura Meister Copies
Materials :-
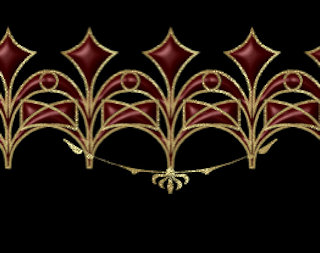
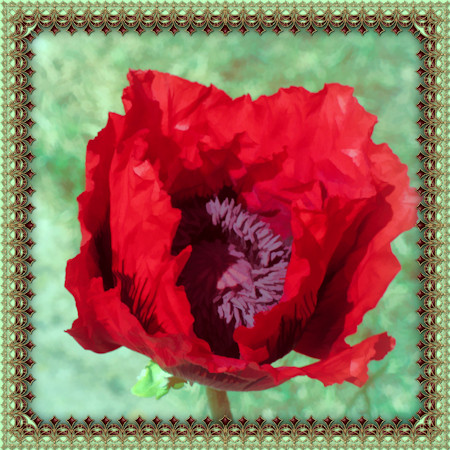
Speckle goldfill pattern and an image of your choice to frame. I have used
some poppy photos taken in my garden, that I applied one of the Topaz filter to.
I have included them in the materials zip, so feel free to use them if you want to.
Materials
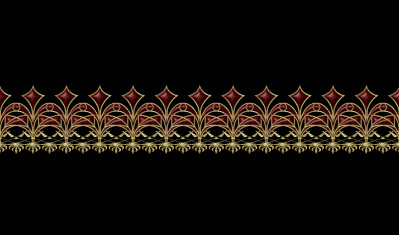
Cornucopia Ornaments Three font available from DaFont in the Dingbats/Shapes section
some images have been made smaller to shorten file size