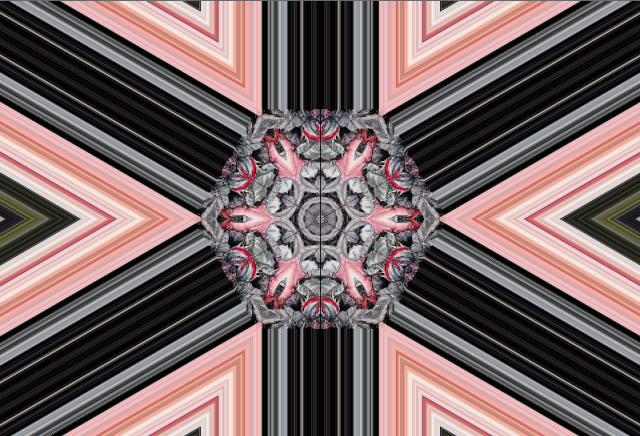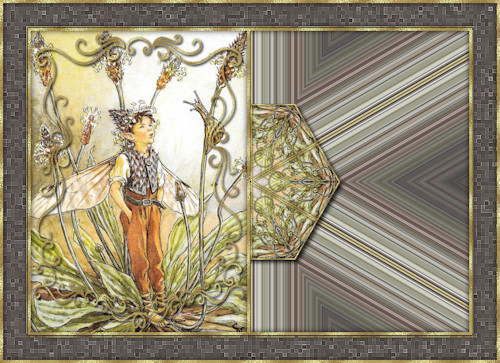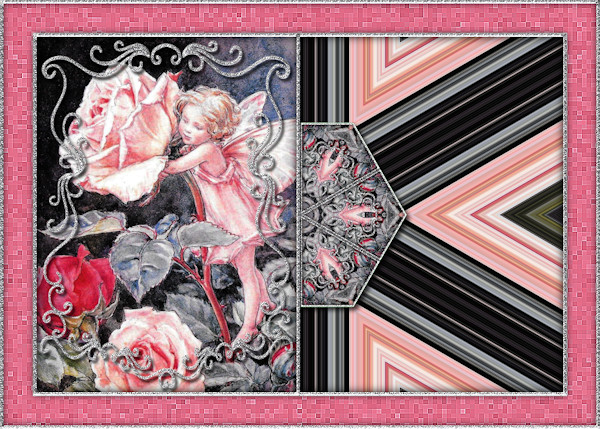
title image

Fairytale

image
This tutorial was created 1st June 2007©Copyright Artwork by EssexGirl
Rewritten for PSP2018 March 2018
please do not copy it, or put it anywhere else without my written permission.

Filters and programs used in this tutorial :-
Paint Shop Pro
Flaming Pear's SuperBladePro

Materials :-
An image of your choice, you will need an image where
the main part of the picture is in the centre.

My sg_silver SBP preset and sg_curls-frame mask Here
Put the mask in your masks folder and the SBP preset
in your SBP environments and textures folder

some images have been made smaller to shorten file size



This tutorial is in two parts, on this page we will create the
framed image. If you want to go on to make some side panelled background and
create an Incredimail Letter with your image you can go on to page 2.
Experienced letter creators please feel free to do your own thing

Step 1.
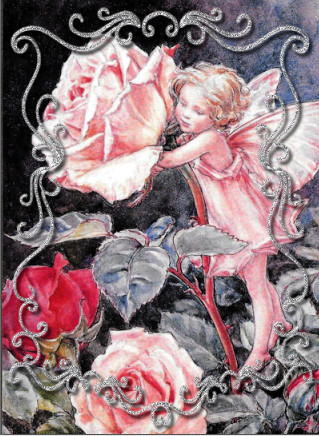
Open the image that you are going to use and resize to
400 pixels width, psp will automatically set the height.
The image needs to be flattened so go to
Layers...Merge...Merge All (flatten)... if this option
is greyed out, the image is already flattened.

Make the foreground and stroke properties of your palette white

Go to Layers and add a new Raster Layer
Flood fill the layer with white

Go to Layers...Load/Save Mask...Load Mask from disk...
from the list of masks choose the sg_curls-frame mask
Orientation=either Fit to canvas, or Fit to layer
Create mask from=Source luminance
Options = Hide all mask, invert mask ticked

(alternatively, you can open the mask in psp, minimise it
and got to Layers...New Mask Layer...From Image...choose
sg_curls-frame mask..Source luminance....Invert mask data ticked)

image


Step 2.
Go to Layers...Merge...Merge Group
Go to Selections...Select All...
Selections...Float...
Effects...Plugins...Flaming Pear... SuperBladePro
Apply the sg_silver preset, or preset of your choice
(If you haven't got SBP you can flood fill with a colour, or
silver, or gold pattern of your choice and use an inner bevel)

Select None

Go to Effects...3D Effects...Drop Shadow...
Vertical and Horizontal offsets = 3
Opacity=75
Blur = 5

image


Step 3.
Make the bottom layer active
Go to Layers...Duplicate...
Go to Selections...Select All...
Selections...Modify....Select Selection borders...
Inside
Border Width=5
Anti-alias = unticked
Flood fill the selected border with white and apply the
same SuperBladePro preset used in the previous step

Go to Selections...Invert...
Selections...Float...
Effects...3D Effects...Cutout...
Vertical and Horizontal offsets=0
Opacity = 100
Blur = 20
Colour=Black
Fill interior with colour=unticked

Select None
Make the top layer (Group - Raster 1) active (highlighted)
Go to Layers...Merge...Merge Down

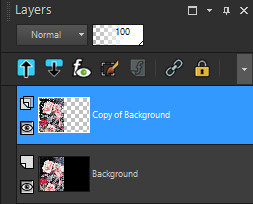
You should now have 2 layers, your original image at
the bottom and the one with the frame and border at the top


Step 4.
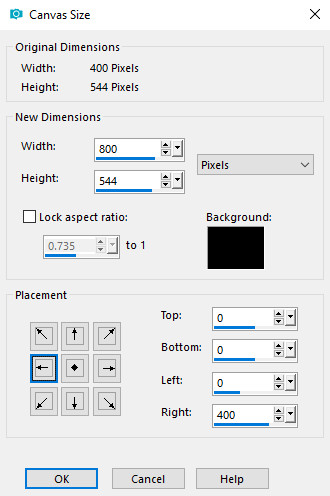
Go to Image...Canvas size...
Lock aspect ratio should be unticked
Make the width 800
The height the should be same height as your image
In the Placement section choose one of the Left boxes.
My screenshot shows the background colour as black, but
it doesn't matter if it's another colour.

image

image

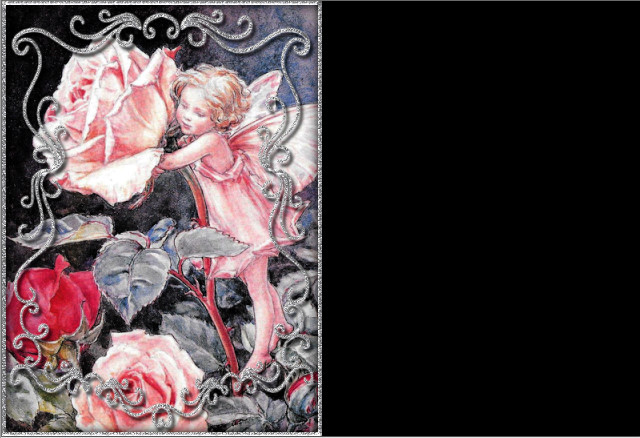
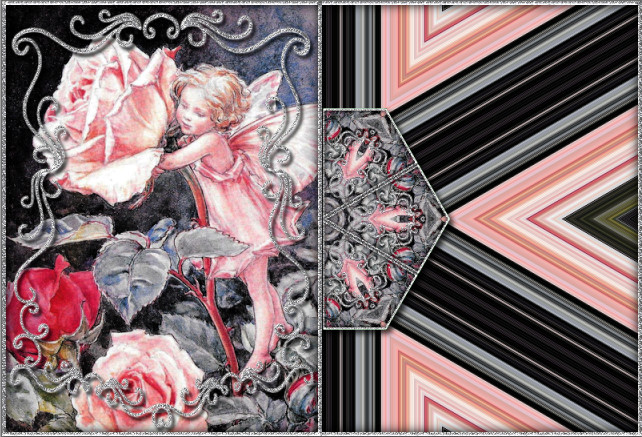
Your top layer should still be the active layer
and the area that shows black on this screenshot
should be transparent on that layer like this

image


Step 5.
Go to Layers...Duplicate....
We are going to work on the bottom layer first, so
Hide the top 2 layers by clicking on the eyes for
those layers. Make the bottom layer active

Different images will give a different centre pattern and stripe
colours in this step, so your result will be different to mine.

Go to Effects...Reflection Effects...Kaleidoscope...
Horizontal and Vertical offsets =0
Rotation angle = 90
Scale factor = -42 (minus 42)
Number of petals = 6
Number of orbits = 0
Radial suction = 0
Edge mode=Repeat

image

Some images give nicer results than others, if you don't like the
colouring of the stripes after the kaleidoscope, undo and try flipping
the layer vertically before applying the kaleidoscope, so that the
colours will be taken from a different area of the picture.

Go to Selections...Select All...
Selections...Modify....Select Selection borders...
Inside
Border Width=5
Anti-alias=unticked
Flood fill the selected border with white and apply the
same SuperBladePro preset used previously

Go to Selections...Invert...
Effects...3D Effects...Cutout...
Vertical and Horizontal offsets=0
Opacity=100
Blur=20
Colour=Black
Fill interior with colour=unticked

Select None


Step 6.
Open up the middle layer by clicking the eye in the layers
palette again so that it is visible and make it the active layer.
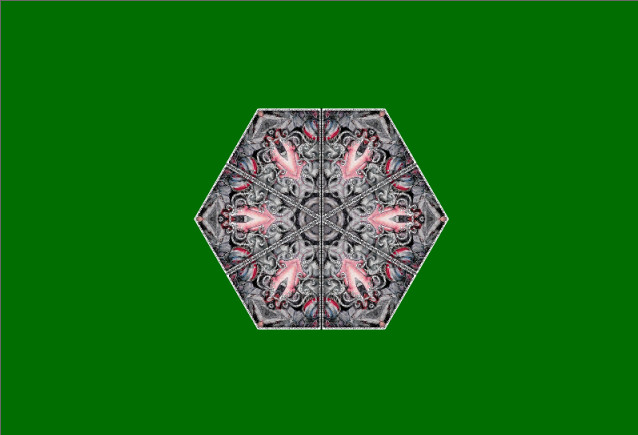
Repeat the kaleidoscope, but change the Edge mode to Color the
colour doesn't matter I used a bright green

image

Click on the plain coloured part of the image with
the Magic Wand to select it then hit the delete key.
Select None

If you are going to go on to create an Incredimail letter on page 2
of this tutorial we will be using this centre motif again, so go
to Edit... Copy... then Edit... Paste as New Image...
Save, or minimise this to use later.

Go to Effects...3D Effects...Drop Shadow....
Vertical and Horizontal offsets = 5
Opacity = 75
Blur = 10
Colour = Black
Shadow on new layer=unticked

image


Step 7.
Open up the top layer by clicking the eye in the layers
palette again so that it is visible and make it the active layer.
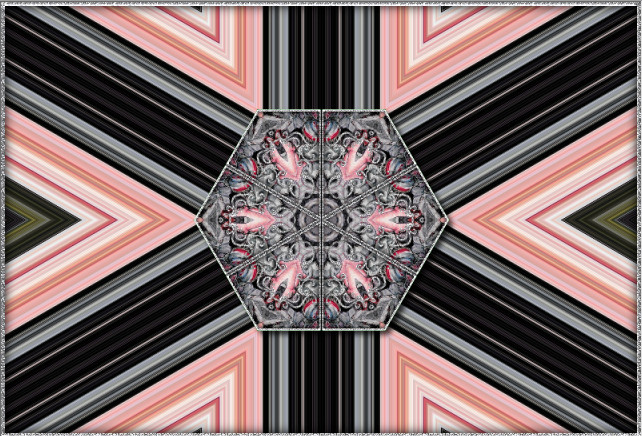
Layer...Merge...Merge All...

image

Go to image...Add Borders... Left click on the colour box and
use the dropper to pick a colour from your image for the border.
Add a symmetric border of 45 pixels
Click the border with the magic want to select it.
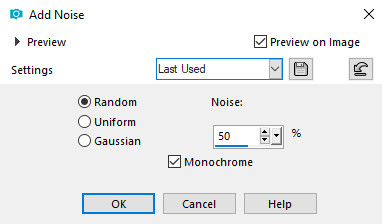
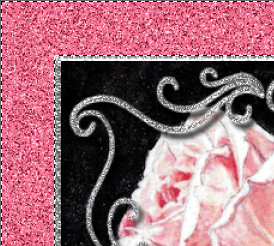
Go to Adjust... Add/Remove Noise... Add Noise...

random, 50, Monochrome

image

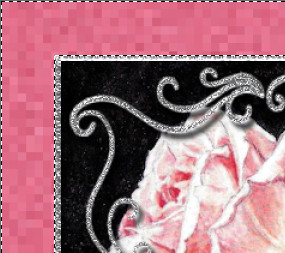
Then Effects...Distortion Effects... Pixelate...

image

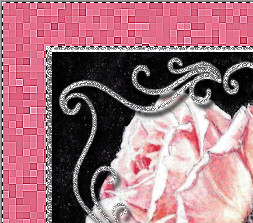
Effects...Edge Effects... Enhance More...

image

Go to Effects...3D Effects...Cutout...
Vertical and Horizontal offsets = 0
Opacity = 75
Blur = 15
Deselect

image


Step 8.
Go to Image...Add Borders...
Add a symettric border of 5 pixels in white
Select the border with the Magic Wand
Apply the same SuperBladePro preset as before.

If the image is larger than you want, go to
Image...Resize...Resample using Bicubic
and resize to a size of your choice.

Here is another example, I used a gold pattern instead of the SuperBladePro

image


I hope you enjoyed this tutorial.
Thankyou to my very helpful testers
To see my other tutorials click Here

If you wish to contact me you can find an email address to use included on my Site Map
Home