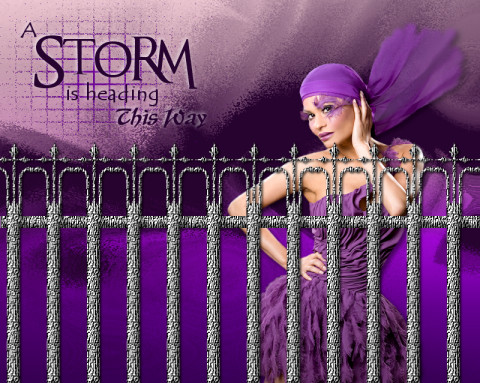
Eye of the Storm Tag
by Sandie © Artwork by EssexGirl, All Rights Reserved.
please do not copy it, or put it anywhere else without my written permission.
Filters and programs used in this tutorial :-
Paint Shop Pro
Mura Meister Copies
Materials :-
See the text file in the zip if you don't know where to put these items
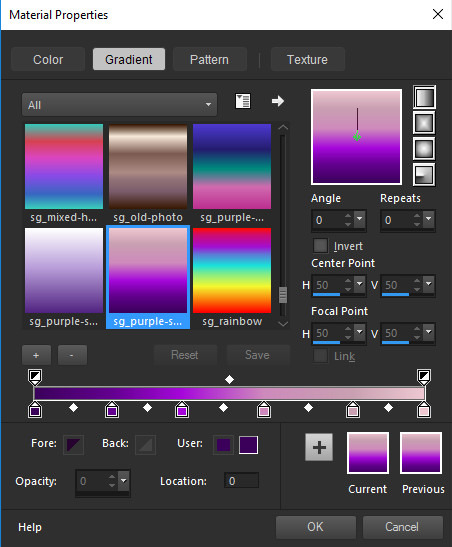
My mask, fence post shapes, wordart tube and purple
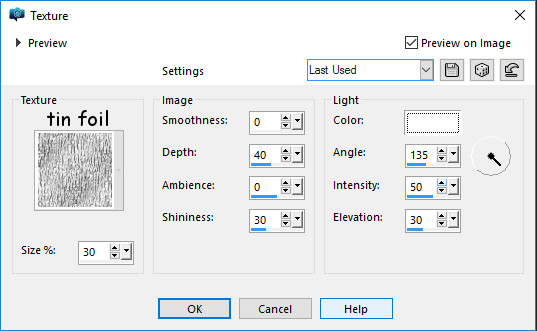
gradient. The tin foil texture came with PSP, but I
have included it in the zip in case you haven't got it.Here
If you prefer the mask in jpg format you can get itHere
You will also need a tube of your choice.