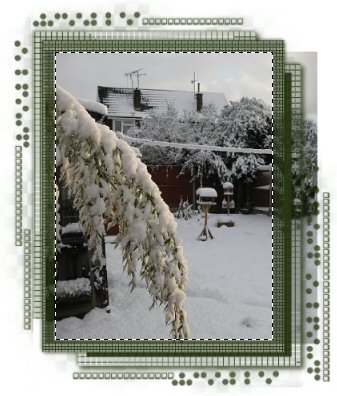
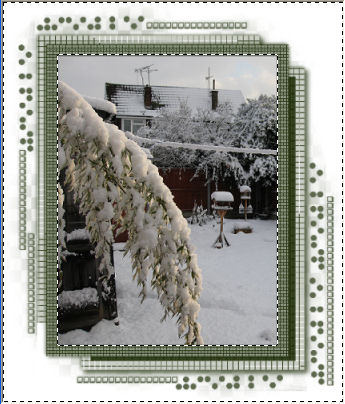
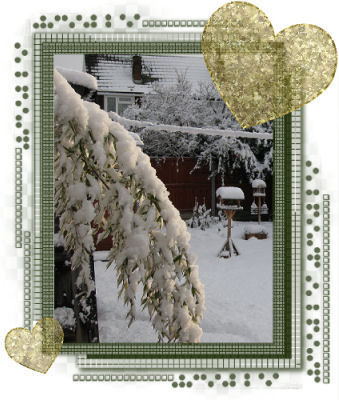
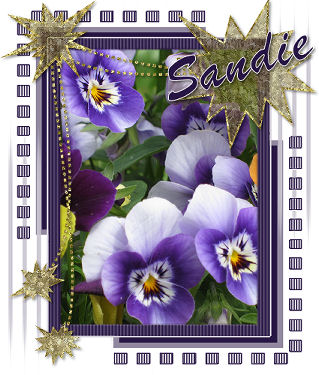
title image

Double Masked Tag

PSP 2018

image
This tutorial was created 2nd January 2010 ©Copyright Artwork by EssexGirl using PSP8
please do not copy it, or put it anywhere else without my written permission. Updated for PSP2018

Filters and programs used in this tutorial :-
Paint Shop Pro

Materials :-
A picture of your choice
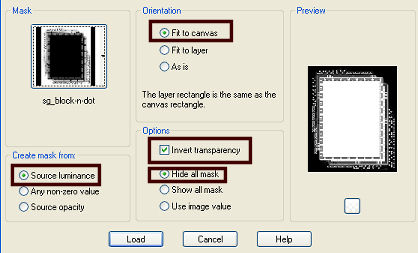
Masks and gold pattern here (there are a few spare masks,
portrait and landscape style included in the zip file) put the masks
into your masks folder and the patterns in your patterns folder.
You can use your own masks and patterns if you prefer

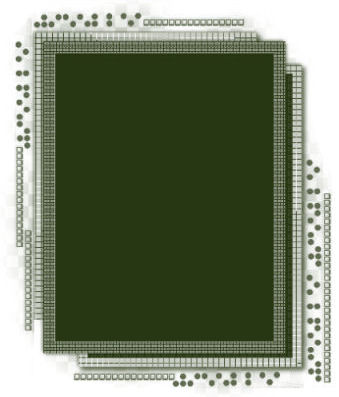
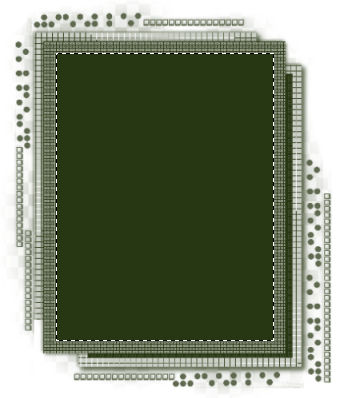
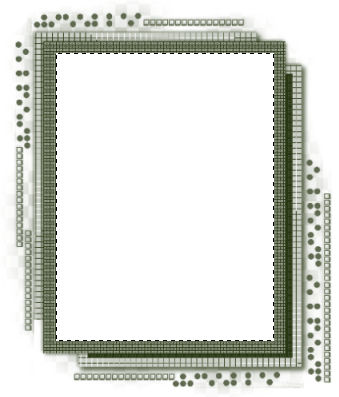
Images have been made smaller to shorten file size
and in some cases only show part of the image.


Step 1.
Open the picture that you want to use as the central image in
your tag. I used a photo I took of my back garden in the snow.
You can minimise your image out of the way for now.

Open a new image 425 X 500 with a white background (this is the size I
used for this tag, but you can experiment with using other sizes)
Go to Layers...New Raster Layer....
Flood fill this layer with a colour, or gradient that will
compliment your image. I used a dark green #293714

Go to Layers...Load/Save Mask...Load Mask from Disk...
Choose the sg_block-n-dot mask
Create mask from - Source luminance
Orientation - Fit to canvas
Options - Hide all mask
Invert transparency = ticked
(if you are using a different mask this may have to be unticked)

image

image

Right click on the layer in the layers palette
and choose Merge...Merge Group...


Step 2.
With this mask the central rectangle where the picture is going to go
is filled (with green). We could put the picture on a layer above it,
but I find it easier to work with the picture below the masked layer,
so we will cut out the solid green centre (some masks will leave
the central area clear, so you won't have to do this if you use one of those).
With the Selection Tool
Selection type = Rectangle
Mode = Replace
Feather = 0
Anti-alias = unticked
Starting at one of the corners, drag the selection to the
opposite corner to select the centre rectangle.

image

Then go to Edit...Cut...(or use the delete key)

image

Don't deselect yet, we can use the selection
again if we need to trim the picture


Step 3.
Open up your picture. Go to Edit...Copy...(your picture can now be closed)
On your masked image make the background layer active, then
go to Edit...Past As New Layer....

image

Go to Image...Resize...
The 'All Layers' box should be unticked
Resample using Bicubic
The amount of resizing will depend on the size of your picture, so you will
have to use some guesswork and the undo option (Edit..Undo) until your
picture (or an interesting part of it) fits into the centre of the tag. You
can use the mover tool to adjust the position of the picture if you want to.

If there are any areas around the edge of he picture
this is where we can use the selection to remove them.
First go to Selections...Modify..Expand...1 pixel
then Selections...Invert...
Edit...Cut...(or use the delete key)

image

Now you can Deselect.
Make the top layer (Group Raster 1) active
You can add a small drop shadow if you want to. I left the shaow off this version.


Step 4.
I am going to add another masked layer. This is optional, if you
prefer, you can just add your name to the tag and finish there.

Go to Layers...New Raster Layer...
Flood fill with a contrasting colour, gradient or pattern of your choice.
I used a gold pattern (sg_real-gold) which is included in the zip file,
(plus a silver version) you are welcome to use these if you want to.

Go to Layers...Load/Save Mask...Load Mask from Disk...
Choose the sg_cornerhearts mask
Untick the 'invert transparency' box
the other settings are the same as we used previously

image

Right click on the layer in the layers palette and Merge Group
You can add a drop shadow if you wish. I didn't do this on my title image,
but I did on the example which you can see end of the tutorial.
(Using these settings Effects...3D Effects...Drop Shadow...horizontal
and vertical = 2 Opacity = 50 Blur = 5)


Step 4.
Now you just need to add your text.
I placed my name diagonally across the large heart
the font I used is called Signature.
I finished by giving my text a drop shadow with these settings
Vertical and Horizontal offsets = 2
Opacity = 50
Blur = 5
Colour = Black

Go to layers...Merge...Merge All...
Resize if neccesary and save as a .jpg

Here is another version using different masks
(I have included these in the materials zip file)

image

And here is a landscape style version

image


If you wish to contact me you can find an email address to use included on my Site Map Home