|
Step 7.
Select all (ctrl+A) Float (ctrl+F)
Apply the same SuperBladePro preset that you used earlier
We want to select the trianglular area at each corner between the rectangular
and diamond shaped frames. These frames are on separate layers and it's not time
to merge them yet, so we need to make the Magic Wand treat them as one layer.
We can do this by turning off the visibility of all the other layers and ticking
the use all layers box on the tool options, so turn off the visibility of the 'mosaic'
and 'picture' layers by clicking the eyes on those layers in the layer palette.
activate the Magic Wand and use these settings
Mode = Add
Match Mode = RGB Value
Tolerance = 0
Feather = 0
antialias=ticked
Use All Layers box = ticked
Click once in each of the corner triangles (arrowed
in the screenshot). 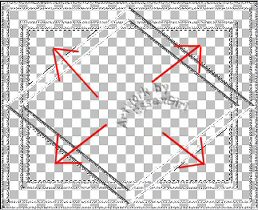
*note- When you finish, you may want to untick the 'All Layers' box on the
tool options ready for when you want to use the wand again.
Add a new layer naming it 'mirror glass'. Go to Selections...Modify...Expand...
Expand the selection by 1 pixel. This is just to make sure there are no gaps
around the edges when we flood fill, any overlap will be covered because
we will be moving this layer below the frames.
Change to gradient fill in the materials palette. Click the Foreground
and stroke properties box and in the dropdown window of gradients choose
sg_silver-metal
use these settings
Style = Linear
angle = 90
repeats = 0
Flood fill the selection with gradient and then Select None.
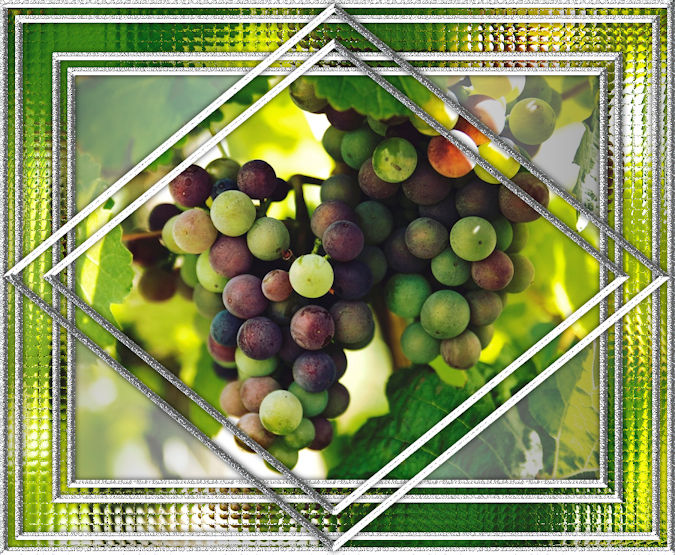
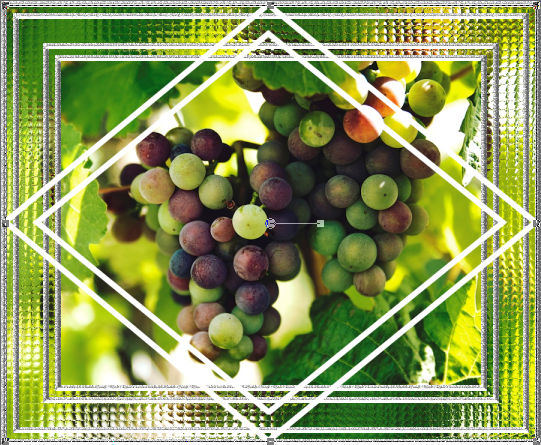
Turn the visibility of all layers back on, by clicking the eyes on those layers again
Lower the transparency of the 'mirror glass' layer to 55 on the layers
palette and drag the layer down so that it is between the 'picture'
and 'rectangle frame'. the image should look like this. 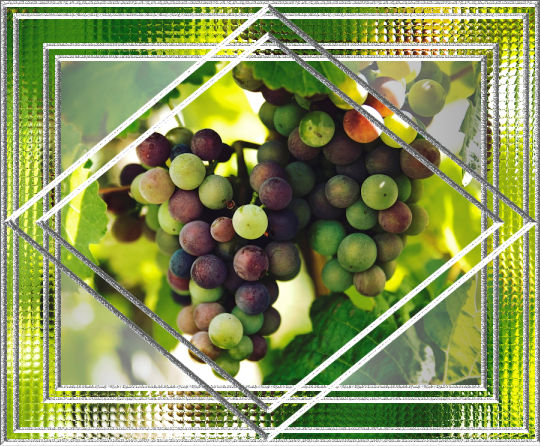
|