title image

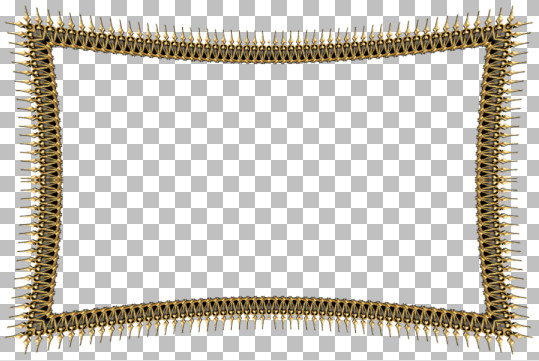
Curve Frame Tutorial

image
This tutorial was created 6th September 2005 ©Copyright Artwork by EssexGirl
Updated March 2018 for PSP2018
please do not copy it, or put it anywhere else without my written permission.

Filters and programs used in this tutorial :-
Paint Shop Pro
Sandy Blair's Simple filters (top left mirror)
Greg's Factory Output Vol II (Pool Shadow)

Materials :-
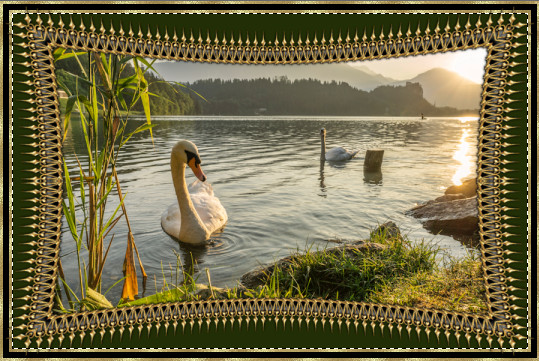
You will need an image to frame. I used a Photo by Ales Krivec on Unsplash
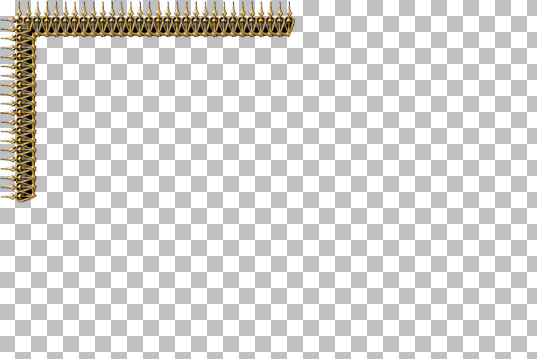
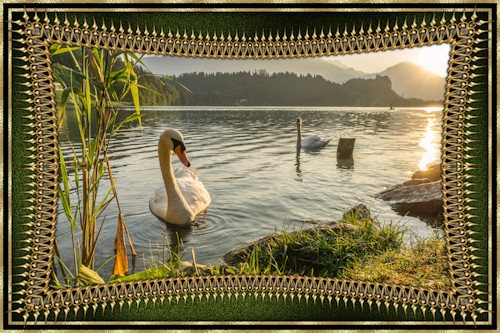
My sg_corner12c tube and the Speckle Goldfill pattern Here
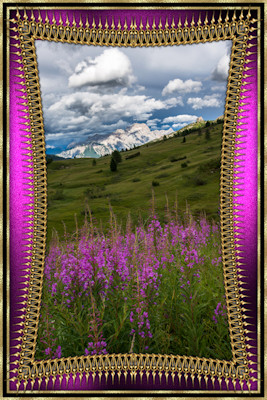
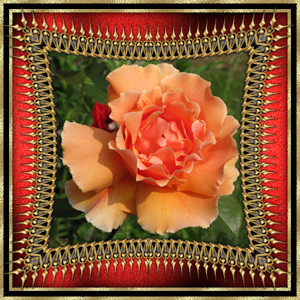
There are several alternative corners included in thw zip

images have been made smaller to shorten file size


Step 1
Open a new image 900 x 600 transparent (You can vary the size of your image,
but if is more than twice the width, or height of the corner tube there will
be a gap in the frame after the Simple Top Left Mirror is applied)
Open the corner tube, I used sg_corner12c. Go to Edit... Copy...
The tube can be closed now
Go to Edit... Paste as New Layer...
Use the Mover Tool to move it to the top left corner

image


Step 2
Go to Effect... Plugins... Simple... Top Left Mirror...

image

Effects...Distortion Effects...Lens Distortion...
Use these settings
Horizontal=0
Vertical=0
Distortion type=Pincushion
Strength=50
Edge mode=Transparent

image

image

Go to Adjust...Sharpness...Sharpen...


Step 3
Open the image that you want to put in your frame
Go to Edit...Copy... then on your main image paste as a New Layer
Go to Layers...Arrange...Move Down.... resize your picture layer
So that the picture fits nicely in your frame

Make the layer with your frame on active and with the Magic Wand Tool
click in the soace in the middle of the frame. Go to
Selections... Modify... Expand... and expand the selection by 1 or 2 pixels
Go to Selections... Invert...
Go back to your picture layer and press the delete key. Select None.

image

Make the frame layer active
Go to Effects...3D Effects...Drop Shadow
Use these settings
Horizontal=0
Vertival=0
Opaciry=100
blur=5


Step 4
Make the foreground of your Materials Palette pattern fill
and choose the speckle goldfill pattern, or a gold of your choice
Make the background colour in the palette black
Add a new layer, then go to
Layers...Arrange...Send to Bottom
Using the Flood Fill Tool with these settings
Match mode=None
Sample Merged=unticked
Blend mode=Normal
Opacity=100
Flood fill the layer with the gold pattern

Go to Selections...Select All...
Selections...Modify...Contract...
Contract the selection by 5 pixels
Flood Fill with black (right click)

Go to Selections...Modify...Contract...
Contract the selection by 10 pixels
Flood fill the layer with the gold pattern

Go to Selections...Modify...Contract...
Contract the selection by 5 pixels
Change the foreground on the palette from pattern to colour
and choose a colour that will go nicely with your picture,
I chose a dark green. Flood fill with your chosen colour
but don't deselect yet.

image


Step 5
Go to Adjust...Add/Remove Noise...Add Noise...
Use these settings
Gaussian 25%
Monochrome=ticked
Go to Effects...Plugins...
Greg's Factory Output Vol II...Pool Shadow
Use the default settings

Go to Selections...Float...then
Effects...3D Effects...Cutout...
Use these settings
Horizontal=0
Vertical=0
Opacity=100
Blur=25.00
Colour=Black

De-select.
Go to Layers...Merge...Merge All...
Resize if necessary.

Here is another example using another photo by Ales Krivec on Unsplash
For this one I rotated my Image before adding the picture in step 3

image

Here is an example using a square image instead of a rectagle in Step 1
The photo is one of my own

image


I hope you enjoyed this tutorial.
Thank you to my great testers

To see my other tutorials click Here

If you wish to contact me you can find an email address to use included on my Site Map
Home