|
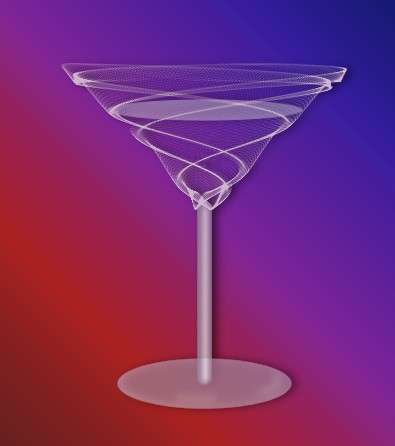
Step 5.
Change the foreground colour back to the one you used in step3
The background colour should still be unchanged
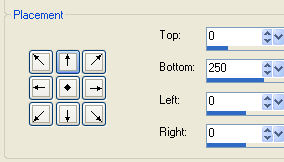
Change the background style to gradient fill using
foreground-background gradient,
style = linear gradient, angle = 320, repeats = 0.
Make the foreground style null
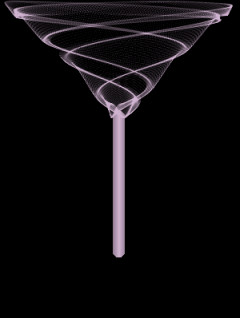
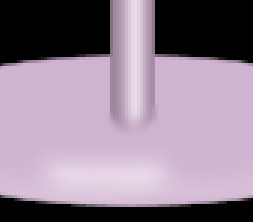
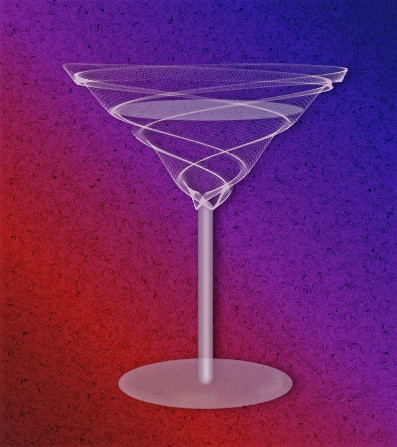
Make the background layer active and add
a new layer naming this layer 'base'.
I like using the elipse and rectange preset shapes from older
versions of PSP, much better than the elipse and rectangle that
come with newer versions. I have included the old shapes in the
materials zip, so if you haven't already got it you can use it,
but you can use the new elipse shape instead if you want to.
Activate the Preset Shapes Tool
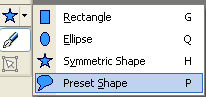
and use these settings
Shape = ellipse
Retain style = unticked
Antialias = ticked
Vector unticked
Line style = solid
Line width = 1
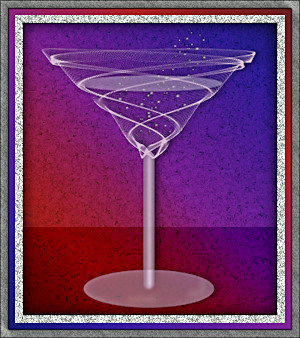
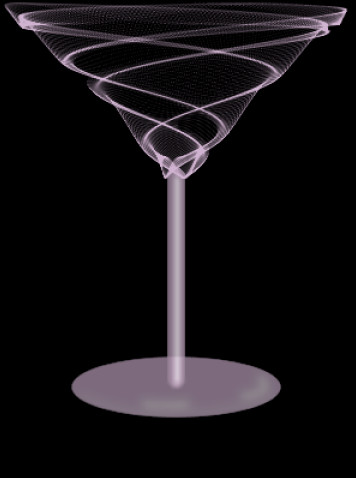
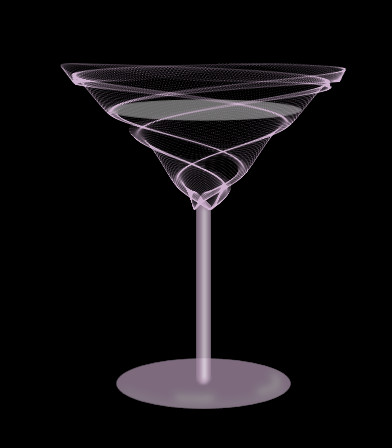
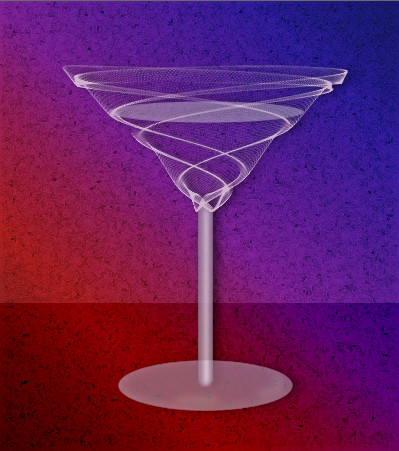
Starting at the bottom centre of the stem right click down with the
mouse and drag down and to the right to draw an ellipse for the base,
keep in mind that it needs to be large enough so that the glass
doesn't topple over, we don't want any spills
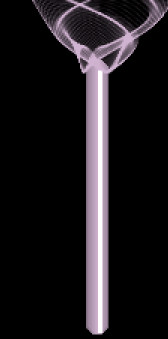
Move into position with the Mover Tool if necessary.
(alternatively you could create the shape as a vector and convert it to
a raster layer afterwards, which is what I usually do, I just thought it
would be a change to do it this way for this tutorial).
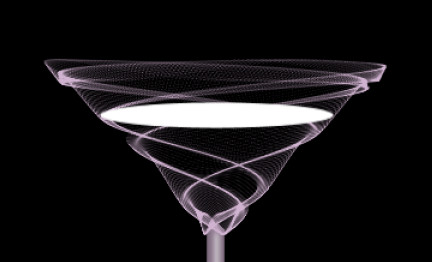
We are going to make a clean up selection for the base in the same way
that we did for the stem. Click the blank area outside the ellipse with
the Magic Wand, save it to the alpha chanel naming it 'base cleanup'.
Select None.
|