Candy Kisses Header
This tutorial was created 15th April 2007©Copyright Artwork by EssexGirl
Rewritten for PSP2018 March 2018
please do not copy it, or put it anywhere else without my written permission.
Filters and programs used in this tutorial :-
Paint Shop Pro
Flaming Pear's Solidify
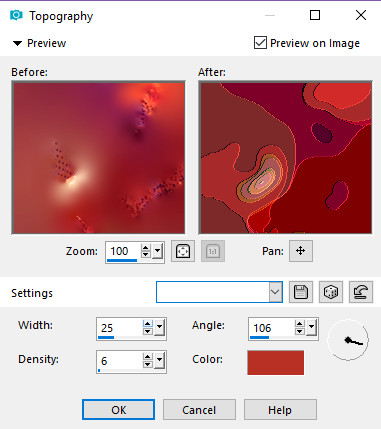
Mura Seamless Filters C
Materials :-
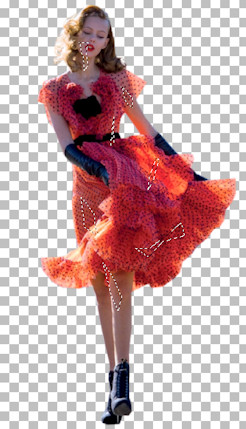
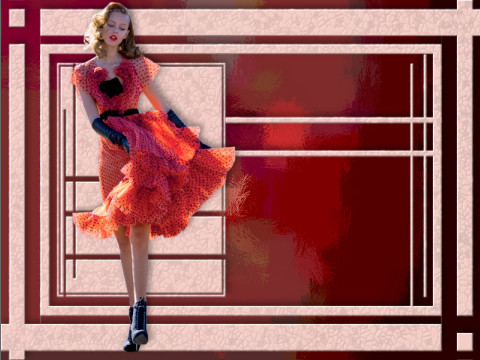
A tube of your choice
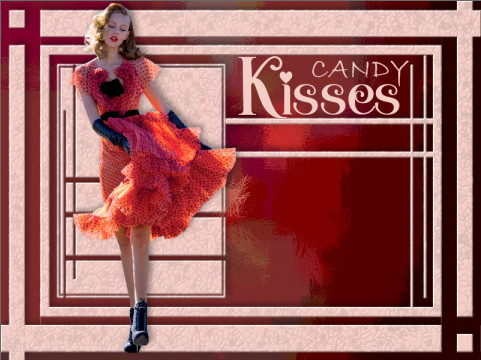
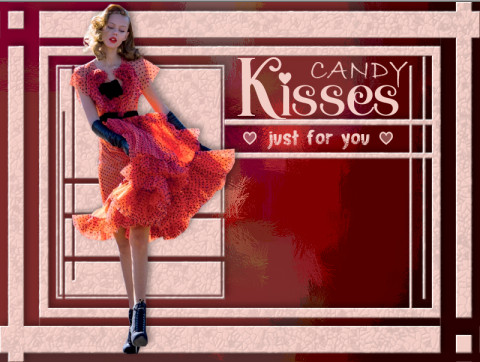
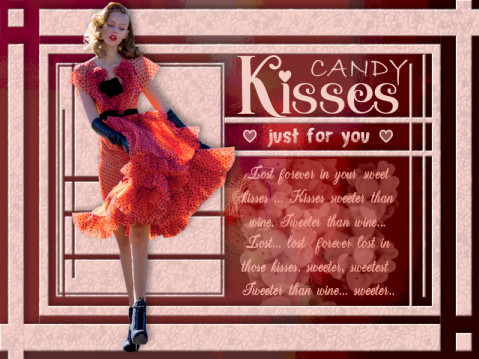
the wordart files, moonsurf texture the and mask Here
Unzip into a folder for your current work, move the mask into
your masks folder (or you can open it in PSP)
and move the moonsurf.bmp into your textures folder.
some images have been made smaller to shorten file size