|
Step 6.
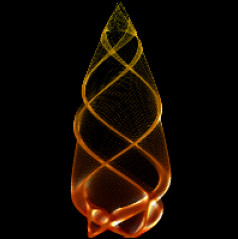
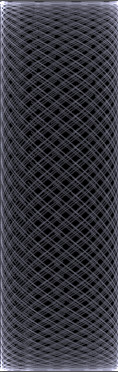
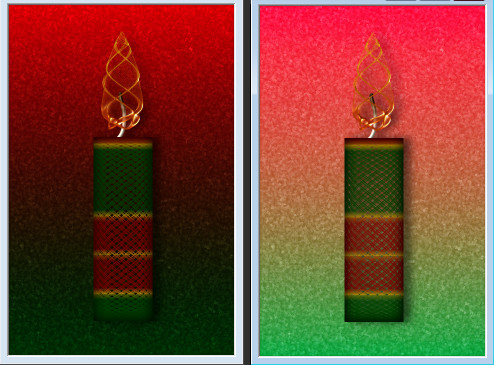
If you want the candle to be more solid you can duplicate the layer
once or twice (more if you want to). Make the 'candle' layer active,
go to Layers...Duplicate...repeat (ctrl+y) until you are happy with
the thickness, then turn off the visibility of the background and
flame layers by clicking the 'Eye' for these layers in the layer palette.
Go to Layers...Merge...Merge Visible...
then re-name the merged layer 'candle'.
Turn the visibility of all the layers back on.
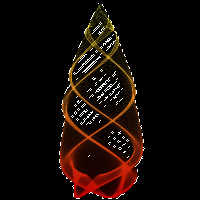
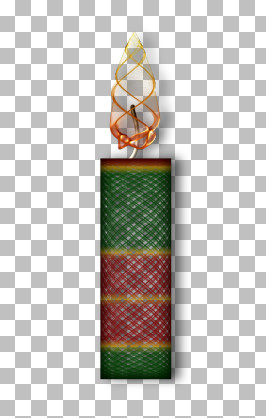
I duplicated my candle layer twice, then merged
the candle and duplicates together.
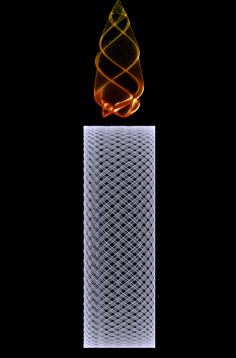
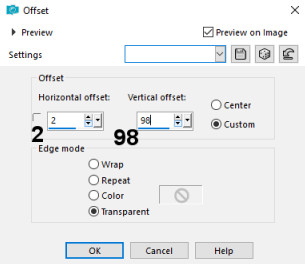
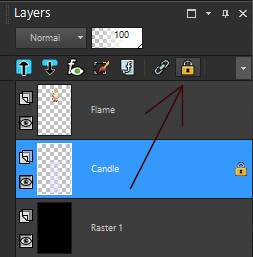
If you want to change the colour of your candle, you can do it by locking
the layer transparency on the layer palette, then flood filling the shape.
This will protect the transparent areas of the layer while you flood fill.
To do this click on the padlock arrowed in this screenshot
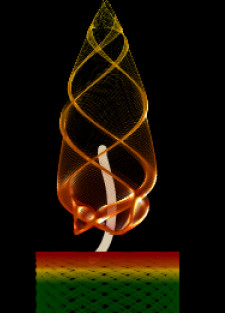
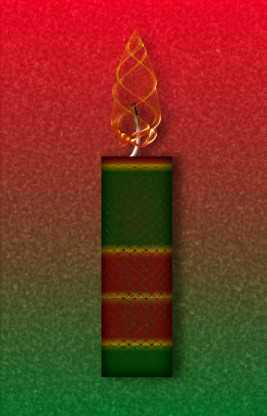
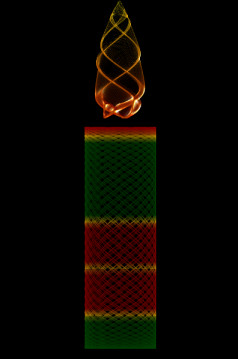
In my original PSP7 version of this tutorial I flood filled my candle with
a gradient called 'ribbon' which I got from a site called Nanson's Place.
Sadly the site doesn't seem to exist any more and I no longer have the gradient,
but I have created a similar one which I have used here, it is called sg_cristmas-ribbon
it is included in in my materials zip if you want to use the same one.
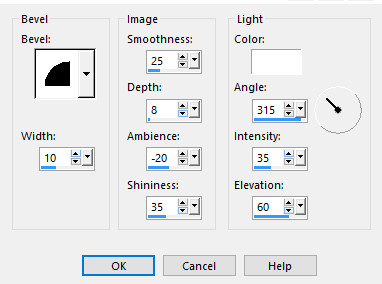
These are the settings I used for the gradient fill.
Angle=0, repeats=1 invert gradient ticked
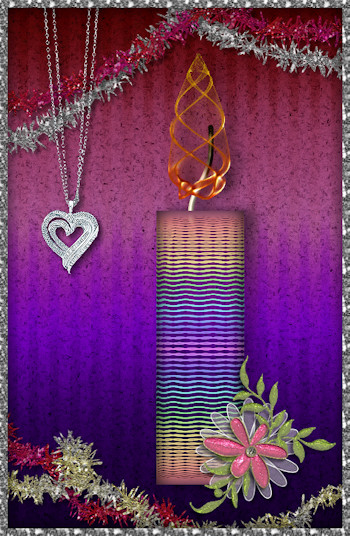
Flood fill the shape with gradient, or colour. Alternatively you can use the Paint Brush,
in fact sometimes that is better, because if there are areas of the shape that don't touch
the rest the flood fill can miss them (the second sinedots candle shape is like that)
Don't forget to unlock the trasparency again when you have finished.
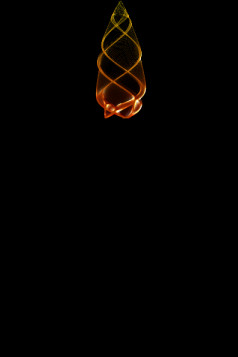
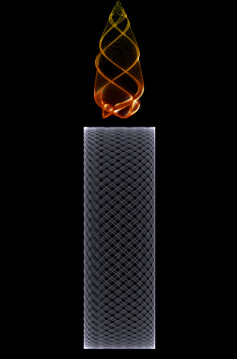
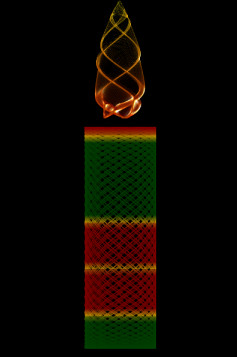
Depending on the colours you use and whether you want your candle to be on a
light or dark background, you may want to duplicate and merge the candle layer,
this is just personal taste. I duplicated my candle layer and felt that looked
better. Try it, if you don't like it you can always delete the duplicate layer.
If you like the look the double layer gives merge the two together.
Layers... Merge... Merge Down...
|