|
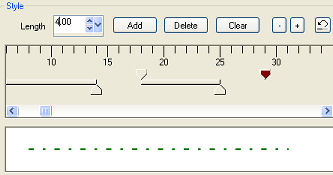
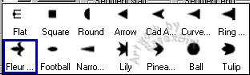
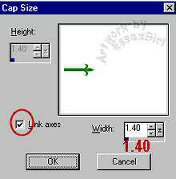
Step 12.
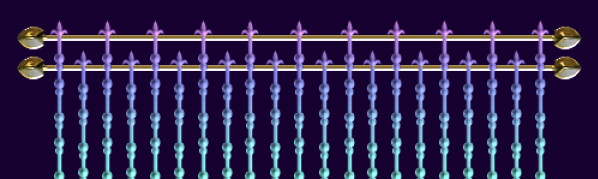
You could apply a SuperBladePro preset to your strings of beads or you could colour
them with a plain colour, a gradient, or pattern and apply an inner bevel.
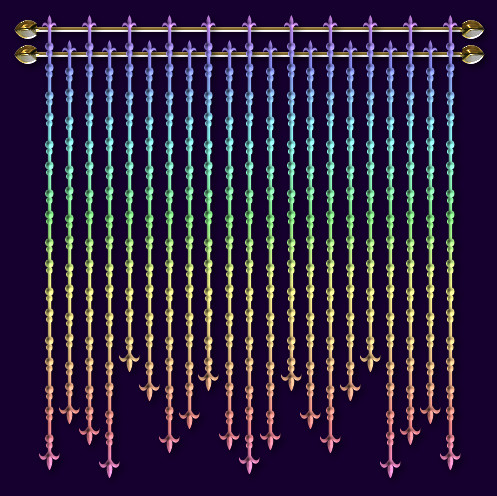
For this tutorial I have used a gradient and applied an inner bevel.
There are two ways of applying the colour that I am showing
in this tutorial but first lets get the palette ready
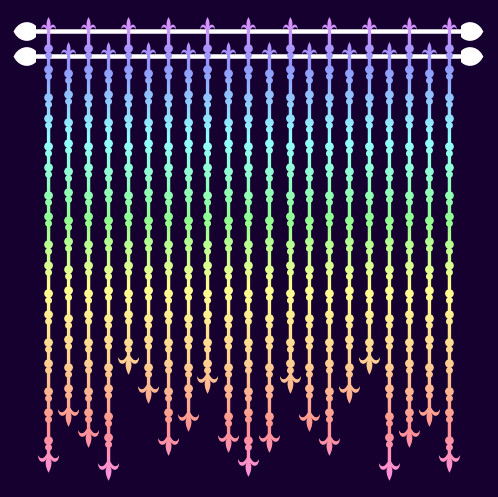
On the Foreground and Stroke properties pick Gradient fill and choose the
Rainbow Pastel gradient which is a Corel gradient (Corel_06_039), or you can
pick a gradient, or colour of your choice).
Use these settings
Style=Linear, angle=0, Repeats=0, Invert=Unticked, Texture=Unticked
The first method you can use for colouring the bead strings is very simple
Selections...Select all...(ctrl+A)
Selections...Float...(ctrl+F)
Flood fill the selection with gradient and de-select.
That's a very quick and easy method, but my favourite method is to lock the layer
transparency and flood fill, or paint the image. I think this gives better results
Lock the transparency of the layer on the layer palette by clicking the padlock.
Then either Flood fill, or paint over the image with a fairly large Paintbrush.
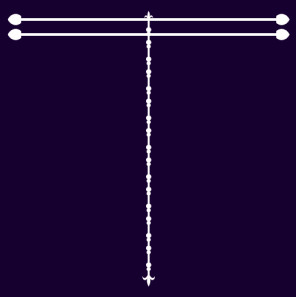
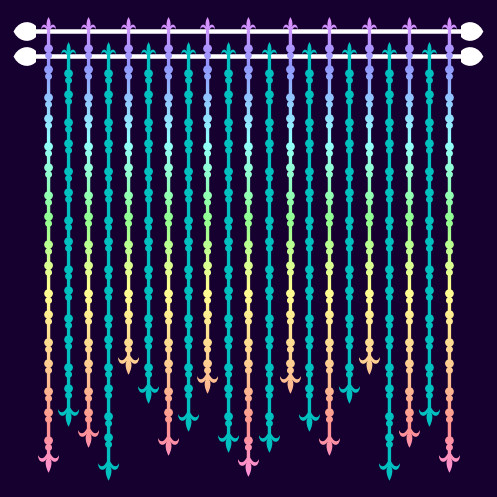
As my bead strings are far enough apart so that they don't touch each other, the
paintbrush worked better for colouring them all together, as the flood fill only
coloured them one at a time, but this did give the possibility for an interesting
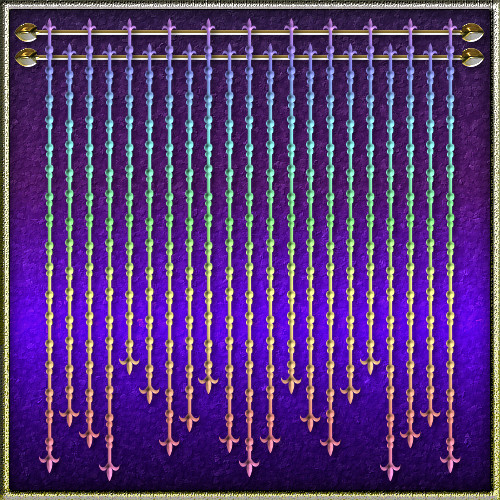
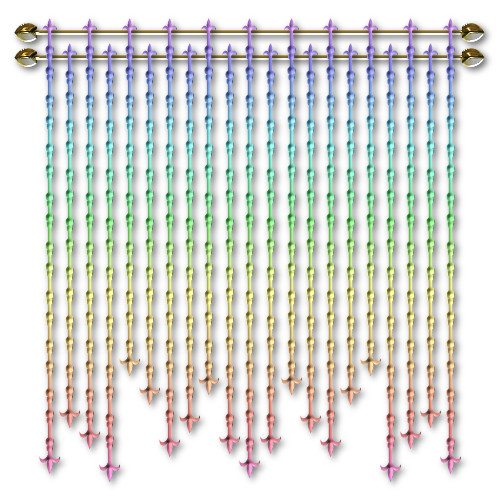
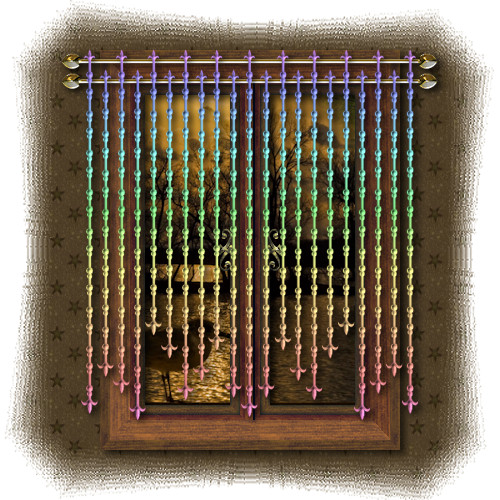
variation, as it meant each string could be given a different colour. See in my
second example below, I coloured them alternately with gradient and plain turqoise
example 1
example 2
Don't forget to unlock the transparency by clicking the padlock when you have finished.
Go to Effects...3D Effects...Inner Bevel...
I used these settings
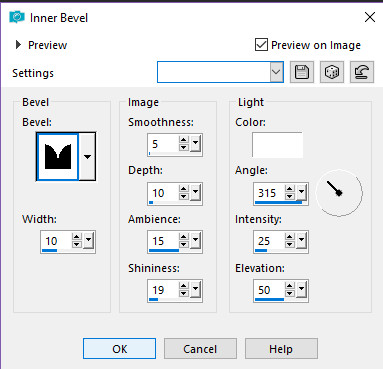
Bevel=7, Width=10, Smoothness=5, Depth=10, Ambience=15,
Shininess=19, Colour=white, Angle=315, Intensity=25, Elevation=50
Or experiment with the settings, you might come up with something that you like better

|